Almost every steel shed that fails early in Canada fails from the bottom up. The panels are fine, the roof is fine — but the pad underneath moved over a winter or two, the walls racked a few millimetres out of square, and now the sliding doors bind every time it rains. A storage shed is one of the few backyard purchases where what you do before the delivery truck arrives matters more than the model you picked. This guide covers how to size and build a shed foundation for a Canadian backyard: the real pad dimensions from our catalogue, the four base types that work here, and the anchoring and snow-load details that decide whether your shed is still square in ten years.
Why the base decides how long your shed lasts
Steel sheds are self-supporting structures made of thin panels that get their strength from being bolted together square, so they have very little tolerance for a base that twists. Put one on soil that heaves unevenly and the frame slowly parallelograms — doors stop meeting in the middle, roof panels lift at the seam, and water finds its way in at the corners.
Canada makes this worse in three specific ways. First, frost: the ground freezes deep enough across most of the country that anything sitting directly on soil is lifted and dropped again every year, and it rarely comes back down in exactly the same place. Second, meltwater: a shed floor sitting at grade in Ontario or Quebec spends March standing in a puddle. Third, the freeze–thaw cycle itself, which is far more destructive than sustained cold — Southern Ontario and the St. Lawrence valley swing through zero dozens of times a winter.
A proper base solves all three at once. It stays flat because it is built on compacted aggregate rather than topsoil, it drains because water runs through it instead of pooling on it, and it holds the shed a little above grade so the bottom rail is not sitting in slush.
Measure the pad from the foundation size, not the name on the box
This is where most people get caught. A shed sold as "8x6" is not 96 by 72 inches. The nominal name is marketing shorthand; what you need is the foundation footprint — the rectangle the shed's base rail actually sits on. On Arrow steel sheds the assembled exterior is typically about two inches larger than that footprint in each direction, because the roof and eaves overhang the base. Size your pad to the exterior and you over-build; size it to the nominal name and you come up short.
Here are the real numbers from the product specifications for the most common sizes we ship:
| Shed (nominal size) | Foundation footprint | Assembled exterior | Interior floor area |
|---|---|---|---|
| Arrow Classic 6x4 | 74 × 45¼ in (6 ft 2 in × 3 ft 9¼ in) | 76½ × 47 in | 21 sq ft |
| Arrow Classic 8x6 | 97½ × 68¾ in (8 ft 1½ in × 5 ft 8¾ in) | 99¾ × 71¼ in | 43 sq ft |
| Arrow Classic 10x8 | 121 × 92¾ in (10 ft 1 in × 7 ft 8¾ in) | 123¼ × 95¼ in | 74 sq ft |
| Arrow Classic 10x12 | 121 × 143¼ in (10 ft 1 in × 11 ft 11¼ in) | 123¼ × 145¾ in | 115 sq ft |
| Arrow Elite 12x12 | 145 × 145 in (12 ft 1 in square) | 146.9 × 144.7 in | 141 sq ft |
Two things worth noting. At the same nominal size the Elite series runs slightly deeper than the Classic and is considerably taller — its high gable buys real headroom, which matters if you are hanging bikes or standing a snowblower with the chute up. And the interior area is always less than the footprint, because the wall panels and door channel eat a few inches all round.
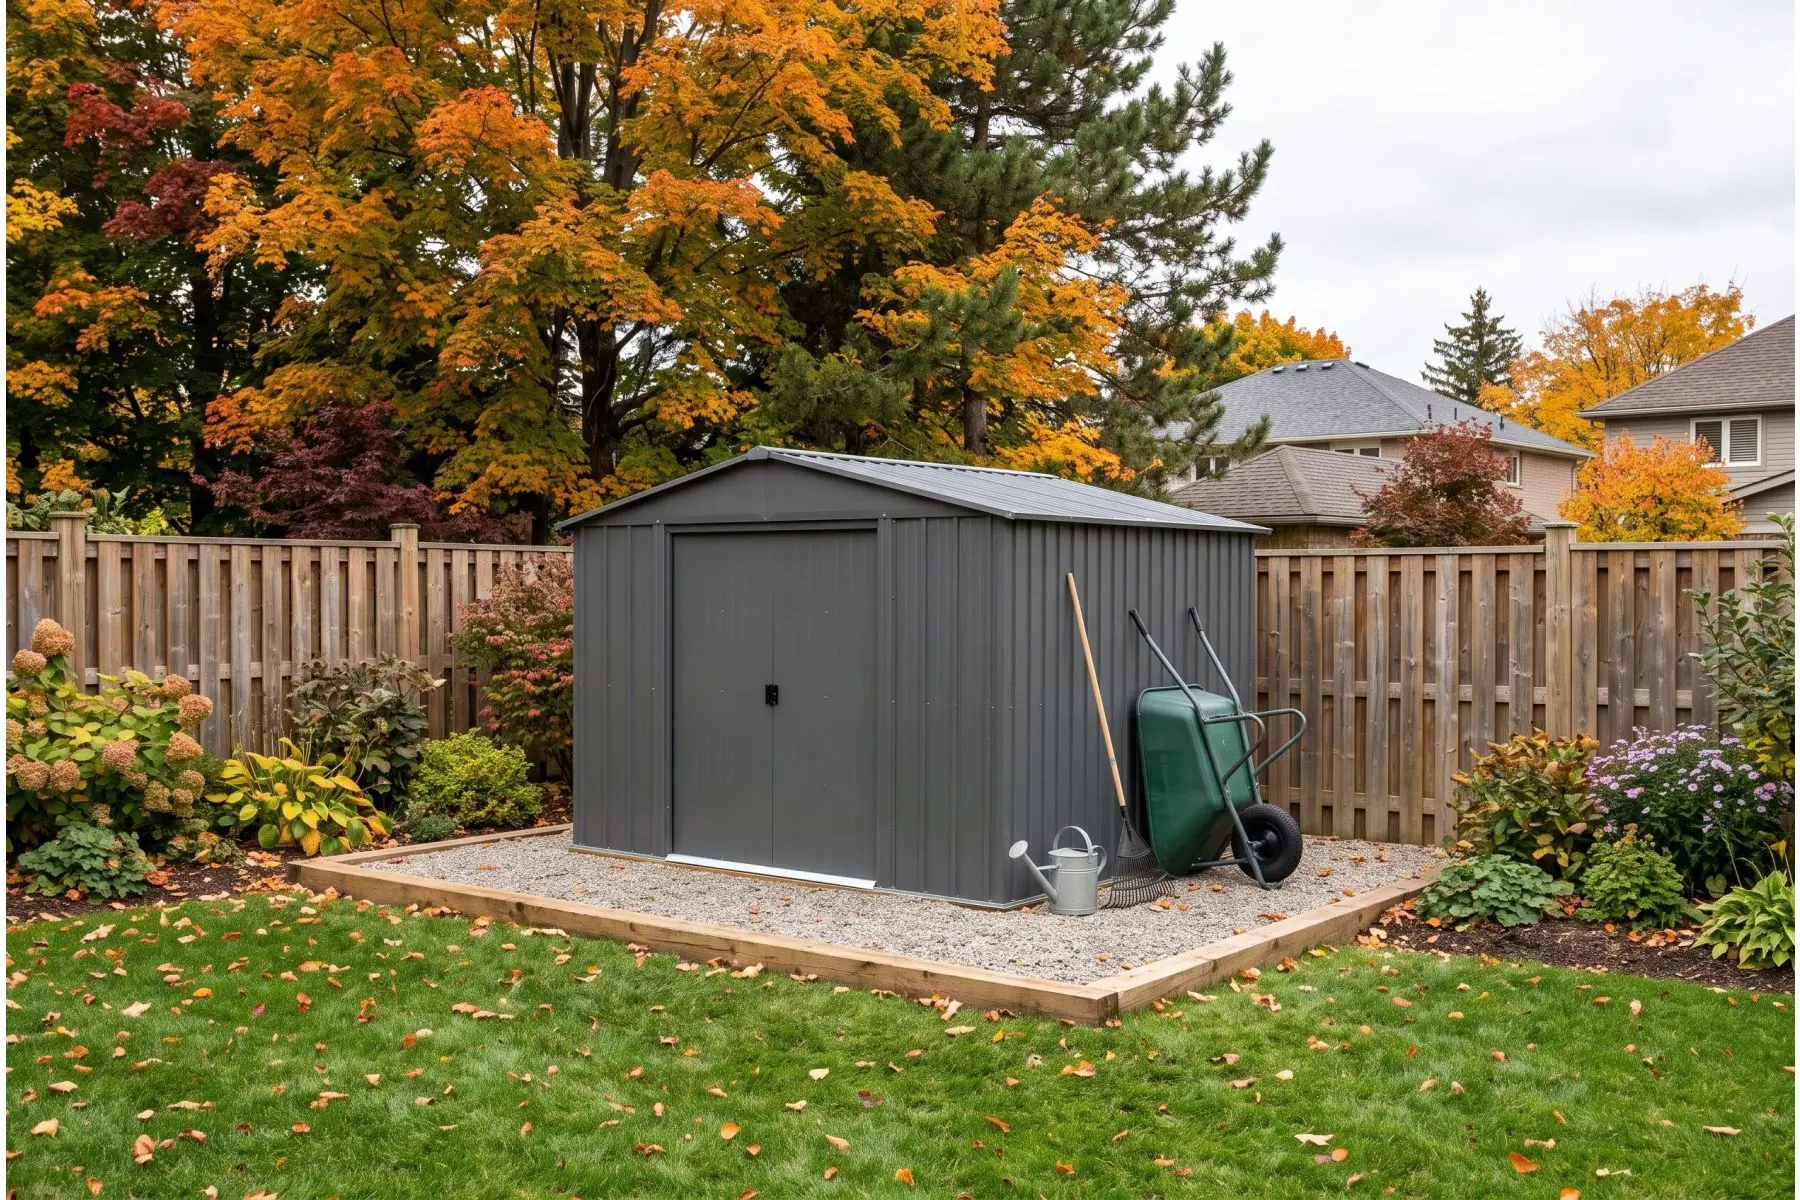
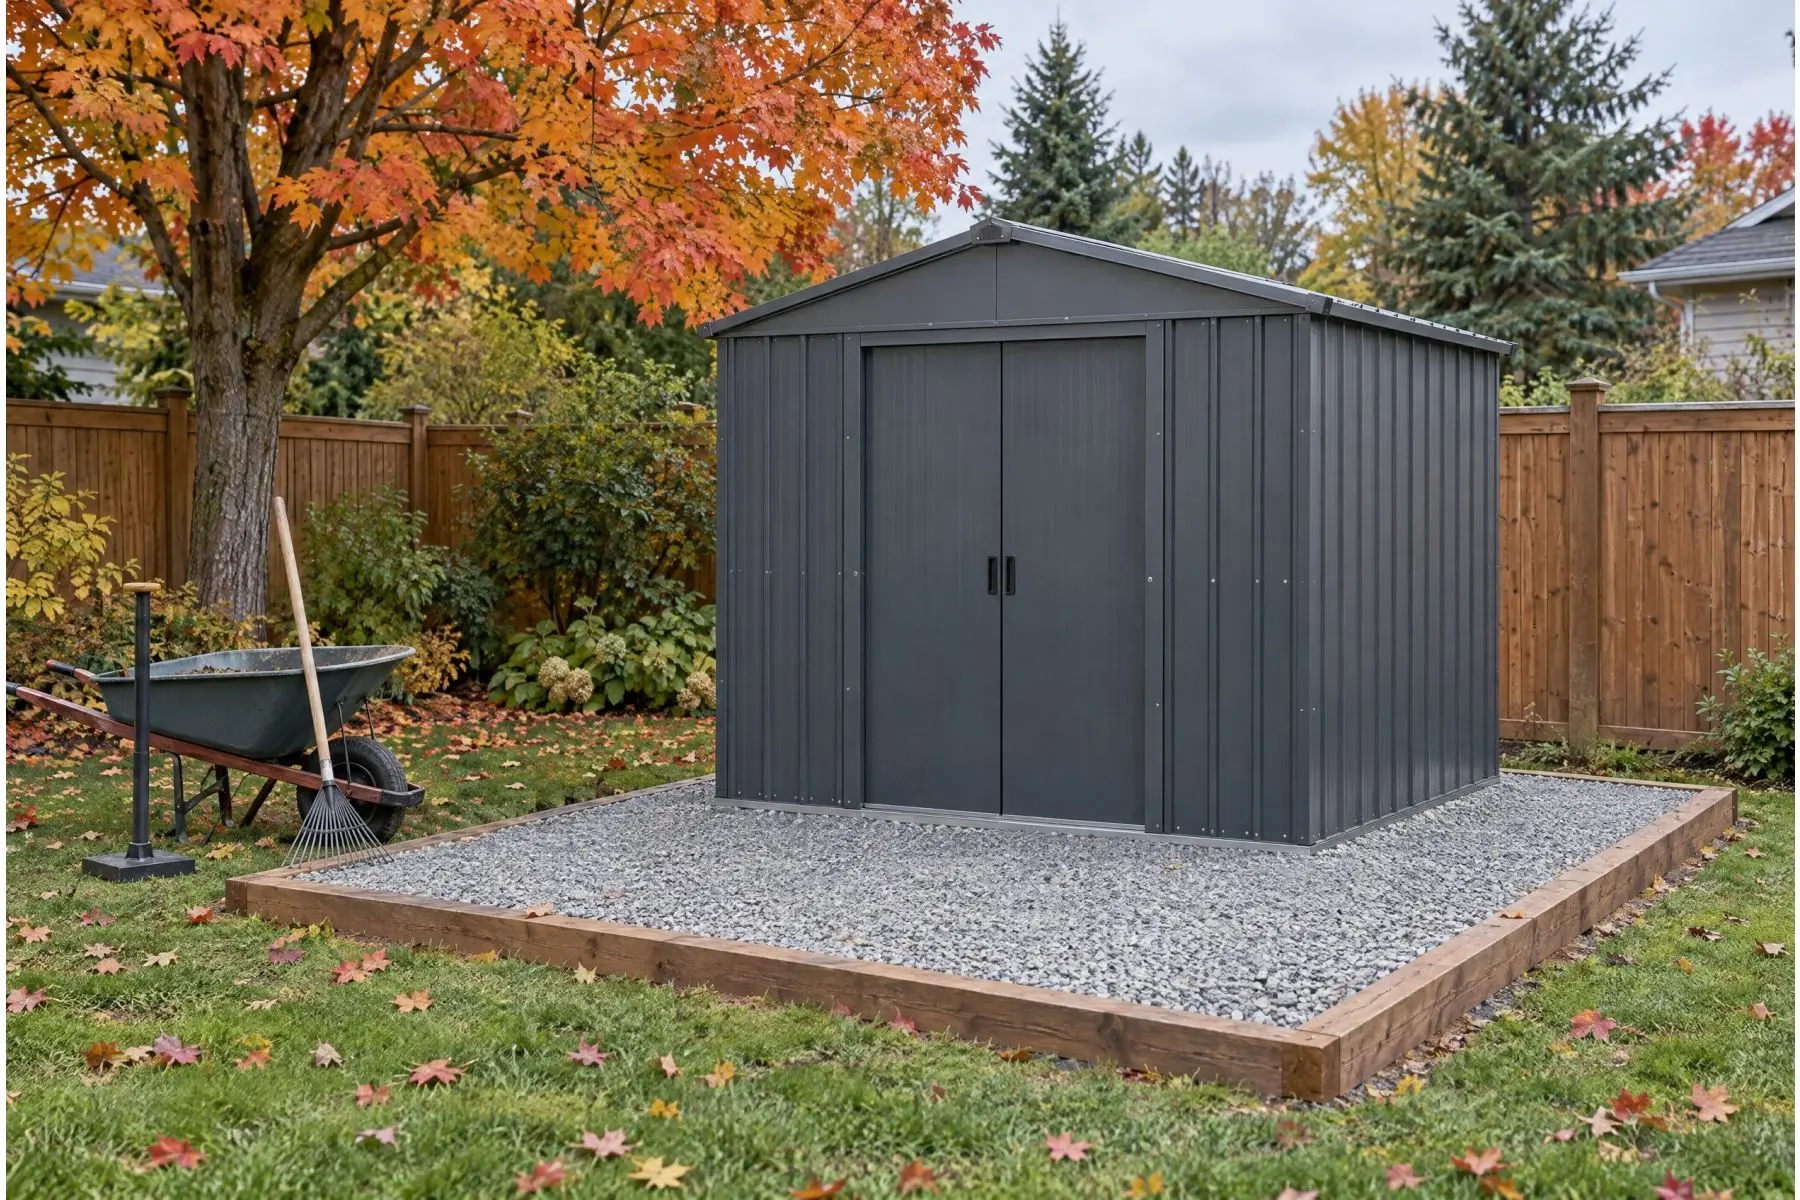
Whatever base you choose, build it to the foundation footprint, then extend the gravel a foot past it on all sides. That skirt keeps roof runoff from splashing soil back onto the bottom panels, which is where rust starts on a steel shed.
Four bases that work in a Canadian backyard
There is no single right answer — it depends on your soil, your slope, and whether you ever want to move the thing.
| Base | Best for | Effort | Drainage | Notes |
|---|---|---|---|---|
| Compacted gravel pad | Most backyards; the default choice | A weekend with a rented plate compactor | Excellent | Forgiving of minor frost movement; easy to re-level later |
| Concrete slab | Large sheds, or if you will drive a mower or ATV in | Forms and a pour — usually a contractor | Good if pitched away from the door | Permanent; bolts down solidly with a concrete anchor kit |
| Wood platform on deck blocks | Sloped yards where levelling by excavation is impractical | Moderate carpentry | Good — the floor is raised | Keep pressure-treated lumber away from the steel (see below) |
| Floor frame kit + plywood | Keeping contents off the ground on top of a gravel pad | Easy; installs after the shed is up | Depends on the pad under it | Galvanized framing only — you supply the plywood |
The last one deserves an explanation, because the name misleads people. An Arrow floor frame kit is not a foundation and not a floor. It is a hot-dipped galvanized steel framework that bolts inside the shed and gives you something to fasten decking to, raising your stored items above the gravel. The flooring is not included: the instructions call for exterior-grade plywood at least 5/8 inch thick, made with a waterproof adhesive.
And here is the detail almost every generic shed-base article gets wrong: do not use pressure-treated plywood or lumber anywhere it touches the shed. The copper compounds in modern pressure-treated wood attack galvanized steel. Arrow's own documentation is blunt about it — contact with pressure-treated lumber causes accelerated corrosion and voids the warranty. Building a wood platform under a steel shed? Either use untreated exterior-grade material for the top surface, or put a moisture barrier between the treated joists and the shed's base rail.
Kits are matched to specific shed sizes rather than universal, so check the compatibility list before ordering: those for the small Classic and Select sheds cover the 6- and 8-foot widths, a separate kit covers the 10-foot family, and the Elite series has its own. Floor frame kits, anchors and the rest of the shed accessories are sold separately from the buildings.
How to build a compacted gravel pad
This is the base we would build in most Canadian backyards, and it is genuinely a DIY job. The sequence matters more than the tools.
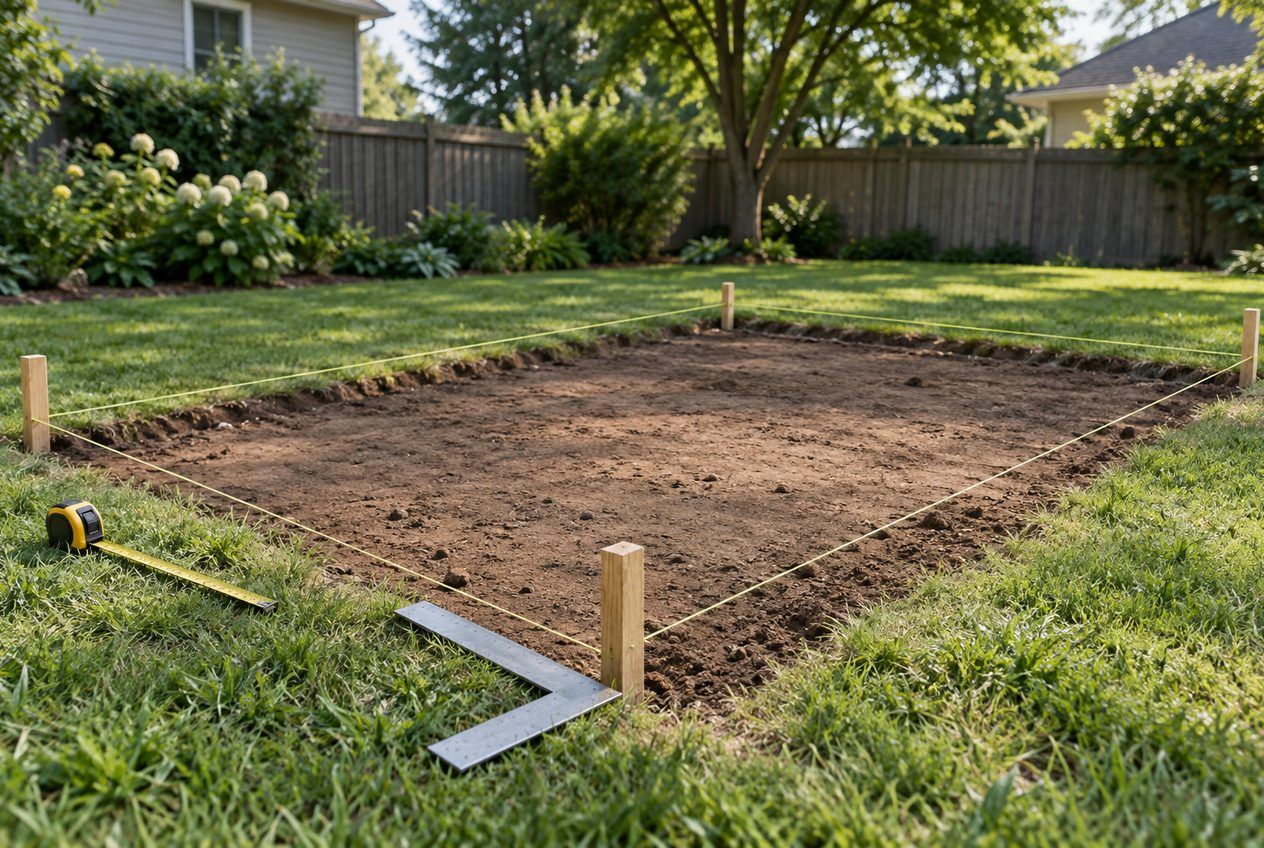
Pick the spot, and check the rules. Most Canadian municipalities set a floor area below which an accessory building needs no building permit, and nearly all have setback requirements from property lines and easements. Those thresholds differ from one city to the next — and mid-size sheds are exactly where the line tends to fall. Call for a utility locate too: in most provinces it is free but takes a few business days.
Strip the sod and topsoil. Topsoil holds water and compresses unevenly, so it all has to come out — dig down four to six inches across the whole pad, including the one-foot skirt. Landscape fabric across the bottom stops the gravel disappearing into the soil and weeds growing up through it.
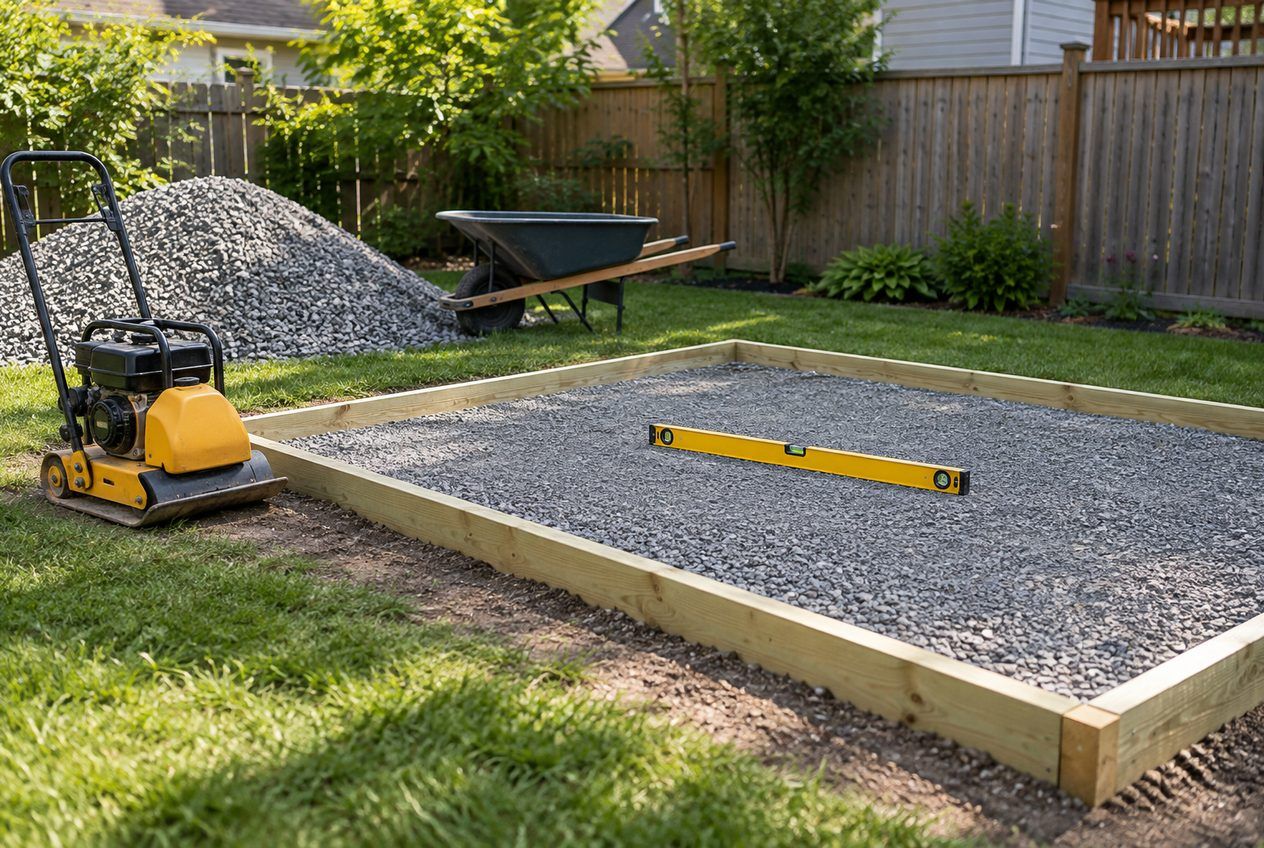
Edge it. Timber edging, landscape ties or steel edging holds the aggregate in place. Without an edge, a gravel pad spreads and thins at the perimeter within a couple of seasons — exactly where you need it flat.
Fill and compact in layers. Clear crushed stone in the ¾-inch range locks together and still drains. Add it in two-inch lifts and compact each one; filling to depth in a single go leaves a pad that looks flat and settles unevenly under load. A rented plate compactor does in twenty minutes what a hand tamper does in an afternoon.
Level, then check again. Use a long straightedge with a level on it, in both directions and across both diagonals. Steel sheds want a base that is flat and square — out-of-square is the error that causes door problems, and it is far easier to fix now than after the panels are bolted together.
Anchoring: concrete anchors or ground augers
An unanchored shed is a sail. Prairie chinooks, Atlantic storms and plain ordinary spring wind have all sent unanchored sheds across yards, and anchoring is usually a condition of any warranty claim after a wind event.
Products in this guide
 Arrow Floor Frame Kit for Classic Sheds (6 × 7, 8 × 4, 8 × 6, 8 × 7, 8 × 8 ft) and Select Sheds (6 × 6, 6 × 7, 8 × 4, 8 × 6, 8 × 7, 8 × 8 ft)$98.95
 Arrow Floor Frame Kit for Classic and Select Sheds, 10 × 11, 10 × 12 and 10 × 14 ft$165.95
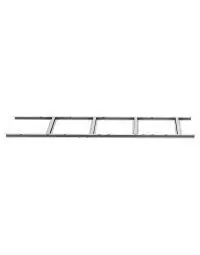 Arrow Floor Frame Kit for Elite Sheds, 6 × 6 and 8 × 6 ft$121.13
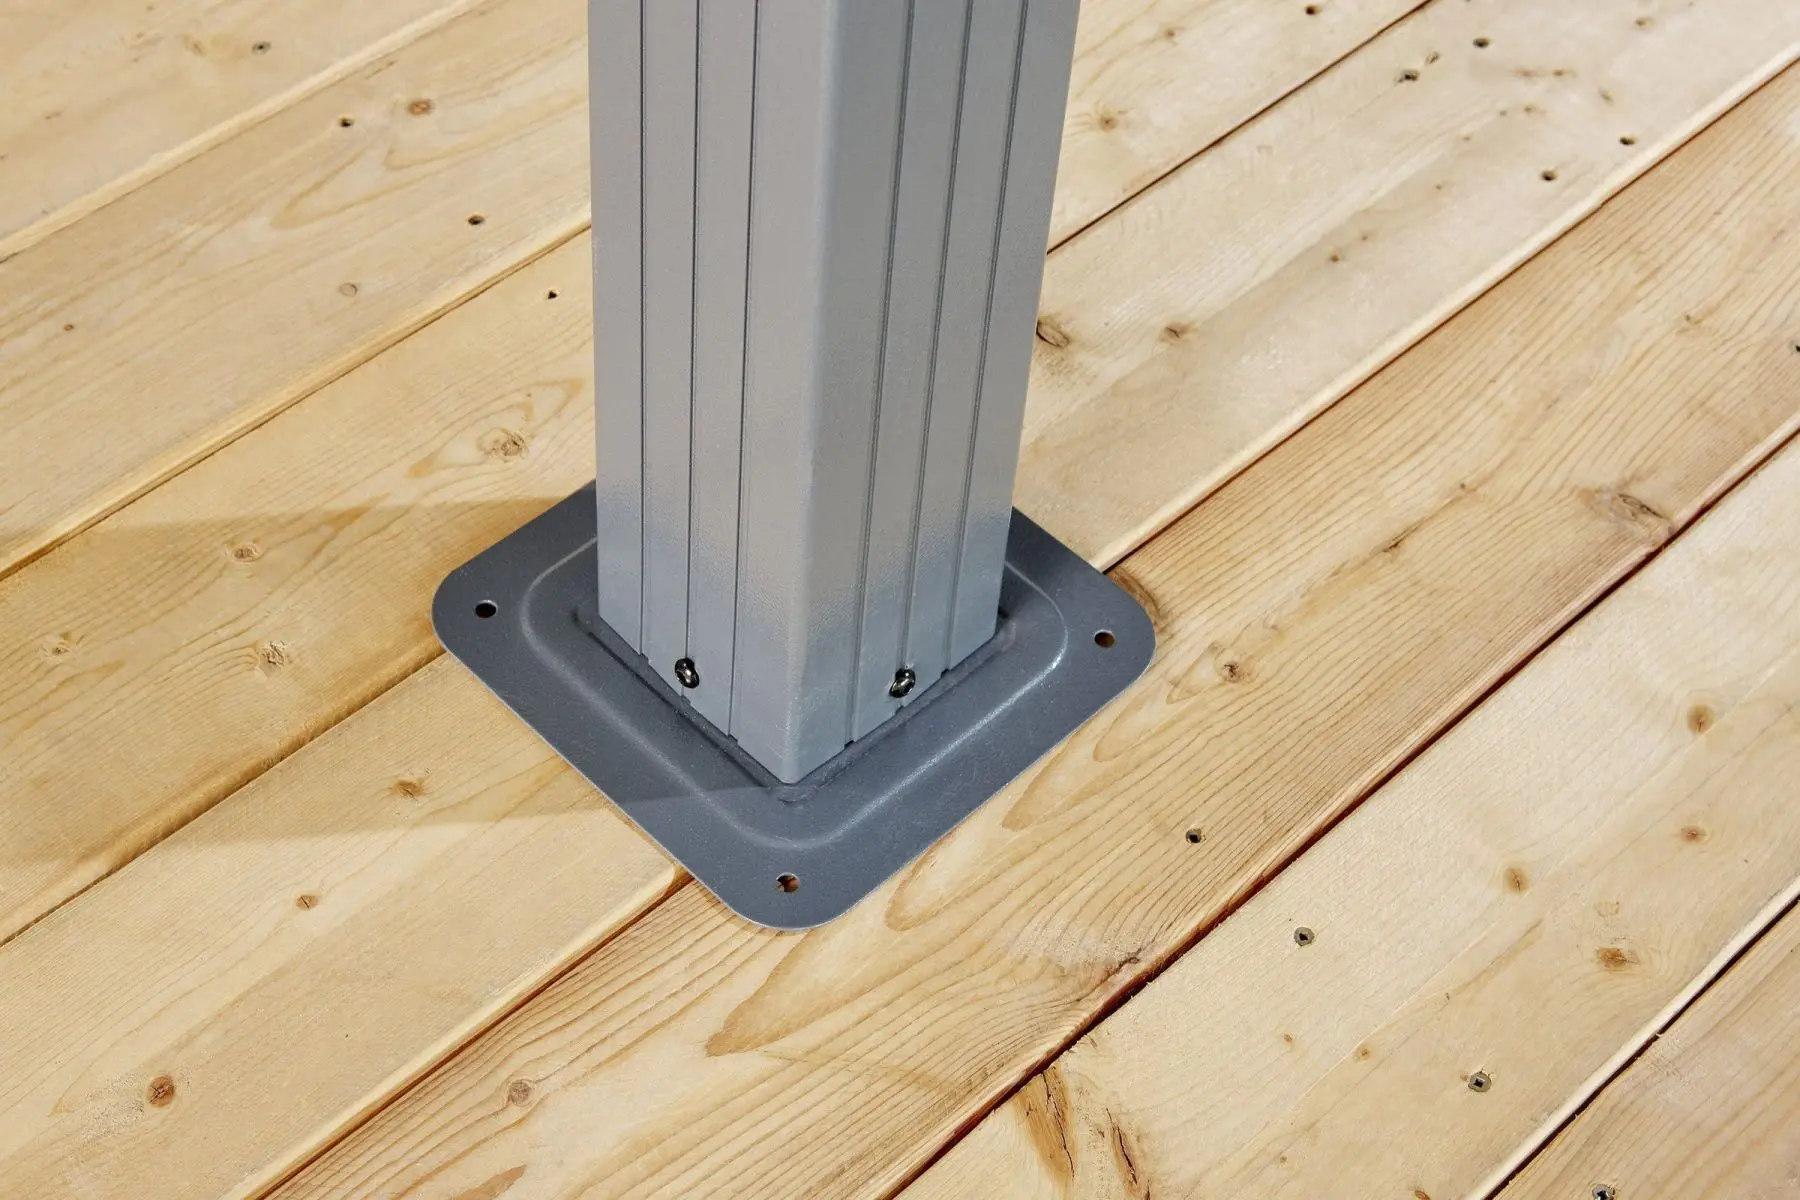
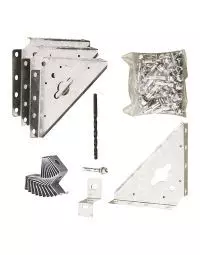
There are two kits, and the base you built decides which you need. A concrete anchor kit is for a slab: four steel corner gussets and perimeter clips, lag bolts that fix the building directly into the concrete, and a ¼-inch masonry drill bit. It fits any Arrow building, and while four anchors at the corners are the minimum, the same clips can be used as often as every two feet around the perimeter of a larger shed — worth doing on anything in the 10- and 12-foot range.
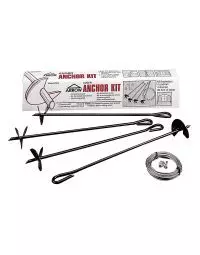
For a gravel pad, a wood platform or bare earth, you want a ground auger anchor kit instead. Heavy-duty galvanized augers twist into the soil by hand, then steel cables and brackets tie them to the shed frame — no concrete, no special tools, and compatible with all Arrow steel storage sheds. Fabric-covered portable garages and car shelters use a different anchoring system again.
Snow, roof strength and the fall timing window
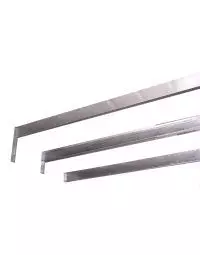
The pad is only half the winter story. A low-gable steel roof drains rain well but holds snow, and in snow country the fix is a roof strengthening kit: extra roof beams and gable braces that add to the roof's snow-load capacity. These are sized to specific shed dimensions — there are kits for the smaller 6x5 and 8x6 buildings, for the 10-foot family, and for the 10x12 and 10x14 sizes.
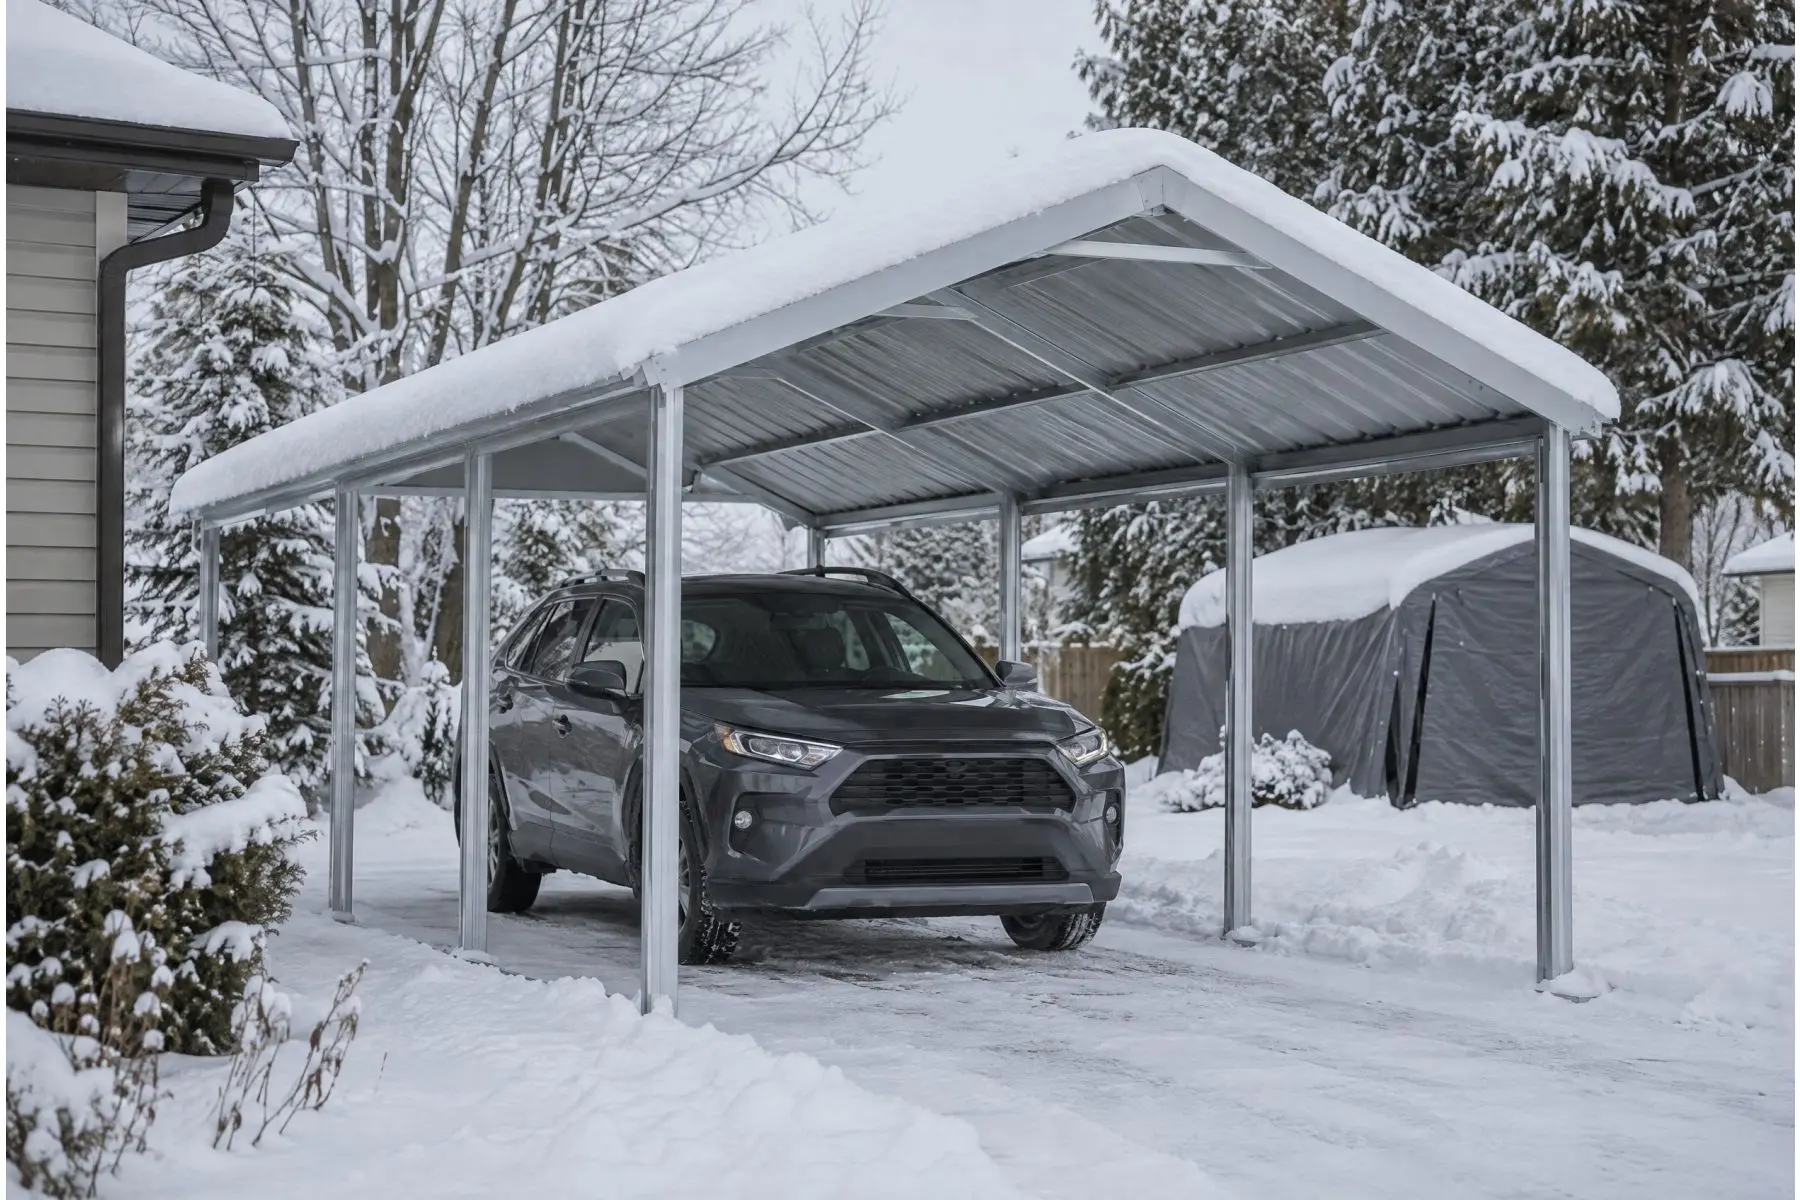
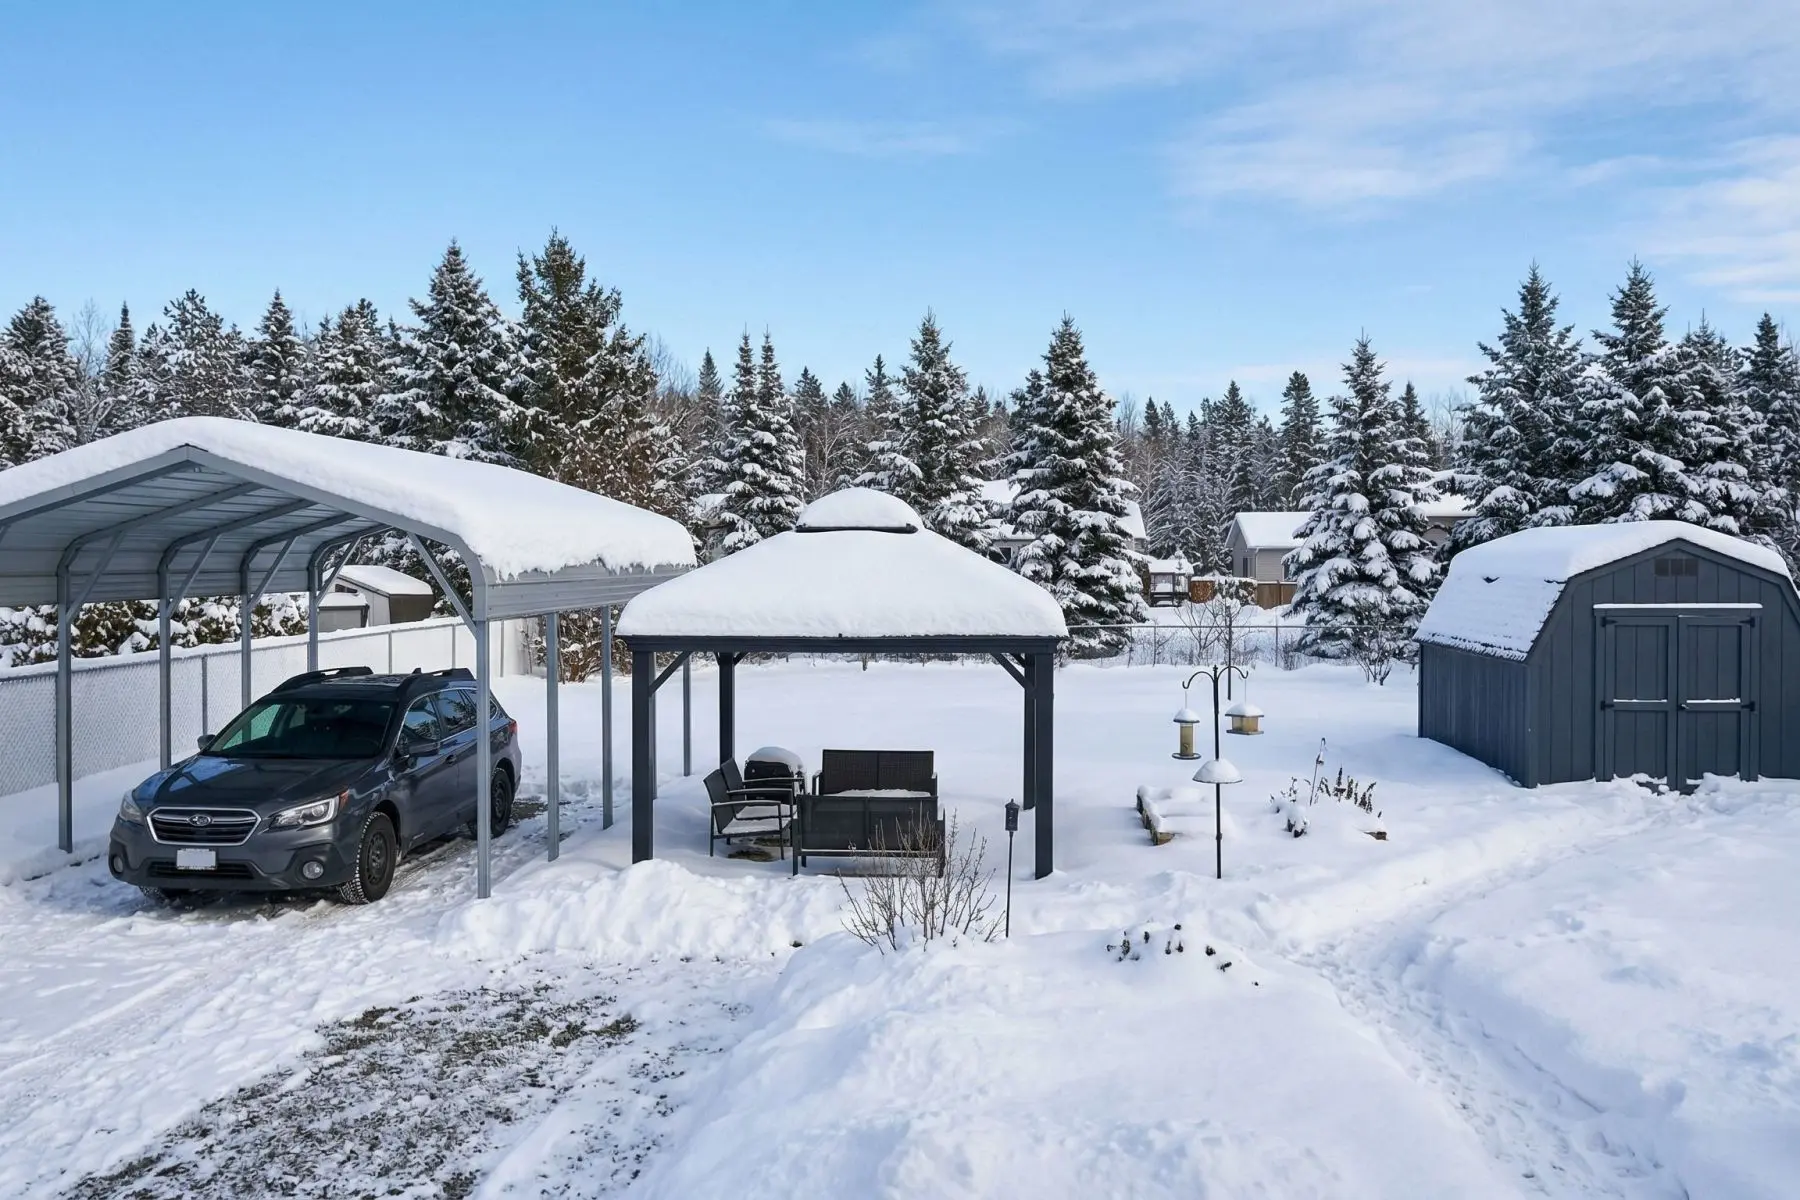
The practical point is when to install one. The manufacturer recommends fitting the kit during initial assembly; adding it to a shed that is already standing may require partially disassembling the roof. So if you are buying in the fall for a Quebec, New Brunswick or Northern Ontario winter, order the kit with the shed, not in January when the roof is already loaded. Our guide to snow load ratings for Canadian carports and garages covers what the PSF numbers mean.
Timing the base is the other half. You cannot compact gravel into frozen ground, or level a pad you cannot dig. In most of the country the practical window closes somewhere in November. Build the pad in the fall and you can assemble on the first dry weekend in spring instead of waiting for the thaw.
What actually arrives on delivery day
Worth planning for, because it surprises people: the shed and its accessories arrive separately and by different methods. The buildings ship by freight carrier — a large, heavy carton that most carriers deliver to the curb by default, so do not count on it being carried to the backyard. An 8x6 Classic is a single carton in the neighbourhood of 190 pounds; a 10x12 is closer to 300; a 12x12 Elite comes as three cartons totalling well over 500 pounds. Roof strengthening kits also ship freight, while floor frame kits and both anchor kits go by parcel courier — so they often arrive on a different day.
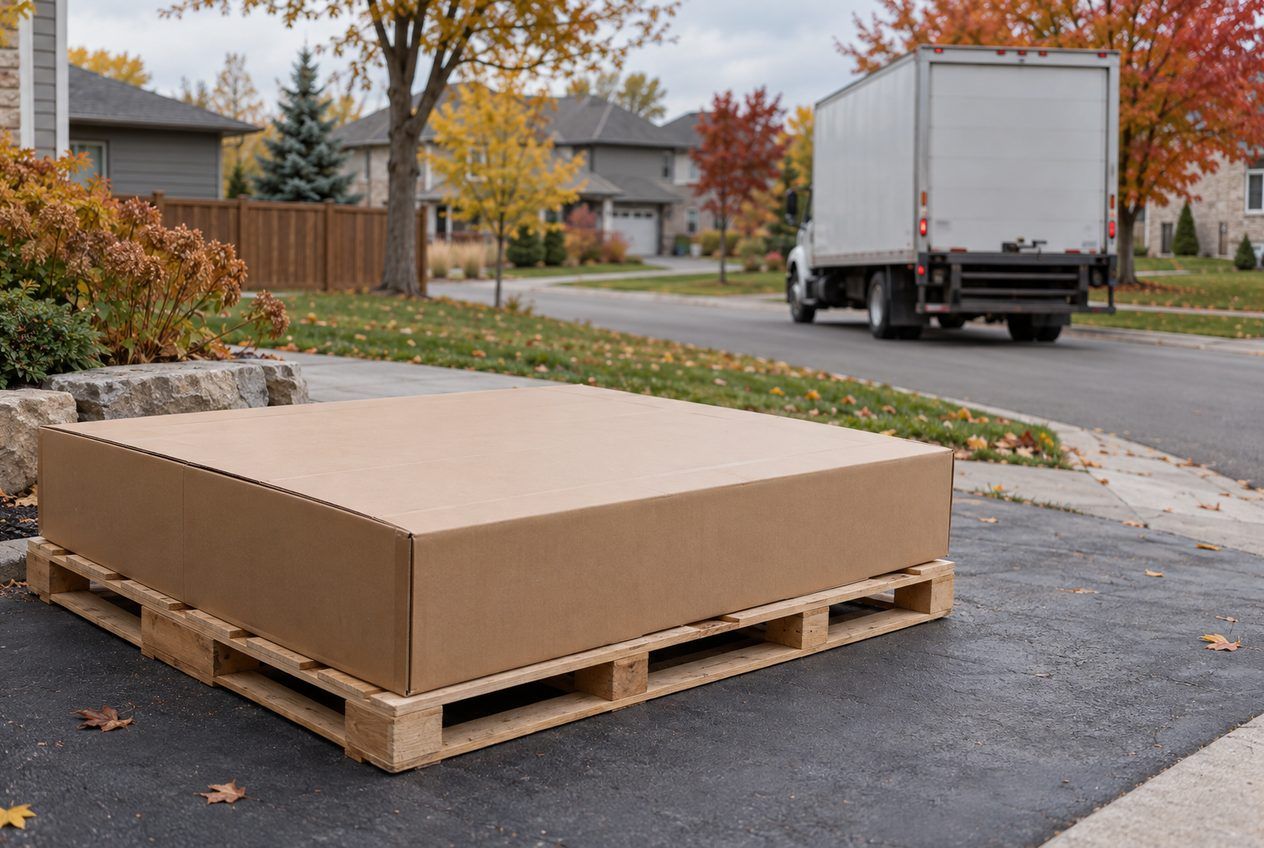
Have two people, a hand truck and a flat route from the curb to the pad ready for delivery day, and finish the pad before the truck comes, so the cartons go straight to where they will be opened.
Frequently Asked Questions
Can I put a steel shed directly on grass or bare soil?
You can assemble it there, but it will not stay square through a Canadian winter. Soil holds moisture, compresses unevenly under load and heaves with frost, and a steel shed that twists even slightly develops door and seam problems. At minimum, build a compacted gravel pad. A floor frame kit also lifts your stored items off the ground and improves drainage under them.
How big should the gravel pad be compared to the shed?
Build the level, compacted area to the shed's foundation footprint — not to its nominal size or its assembled exterior, which includes the roof overhang. Then extend the gravel about a foot beyond on every side. That skirt catches roof runoff so it does not splash soil onto the bottom panels, and gives you somewhere to stand while you assemble.
Do I need a permit for a backyard shed in Canada?
It depends entirely on your municipality. Most Canadian cities exempt accessory buildings below a certain floor area from a building permit but still enforce setbacks from property lines and easements, and sometimes a maximum height. The exempt size and setback distances vary from city to city, so check your own municipality's rules before you build the base — and request a utility locate before digging.
Can I use pressure-treated plywood for the shed floor?
No. Arrow's instructions specifically warn that contact between pressure-treated lumber and the shed causes accelerated corrosion of the galvanized steel and voids the warranty. Use exterior-grade plywood at least 5/8 inch thick, made with a waterproof adhesive, and keep any treated framing separated from the shed's steel by a moisture barrier.
The short version
Size the pad from the foundation footprint in the product specifications, not from the name on the box. Build a compacted gravel pad with an edge and a one-foot skirt, level and square it properly, and anchor the building — ground augers on gravel, a concrete anchor kit on a slab. Add a floor frame kit if you want your gear off the ground, with untreated exterior-grade plywood on top. In snow country, order the roof strengthening kit with the shed so it goes on during assembly.
Do those five things and the shed becomes the boring, reliable part of the backyard — exactly what you want from a shed. Browse our steel and resin sheds and the shed accessories that go with them; if you are still deciding on dimensions, our storage shed size guide walks through what actually fits inside each size.
Reviewed by the IPATIO team, Saint-Laurent, Quebec.