How to Anchor a Gazebo on Any Surface: Concrete, Deck, Grass & Gravel
A gazebo transforms your backyard into an outdoor living space you can enjoy from spring through fall — and in many parts of Canada, even into winter. But no matter how sturdy your structure is, it is only as secure as its anchoring. A poorly anchored gazebo is a safety hazard: strong winds can lift, topple, or send an unsecured structure tumbling across your yard, damaging property and risking injury.
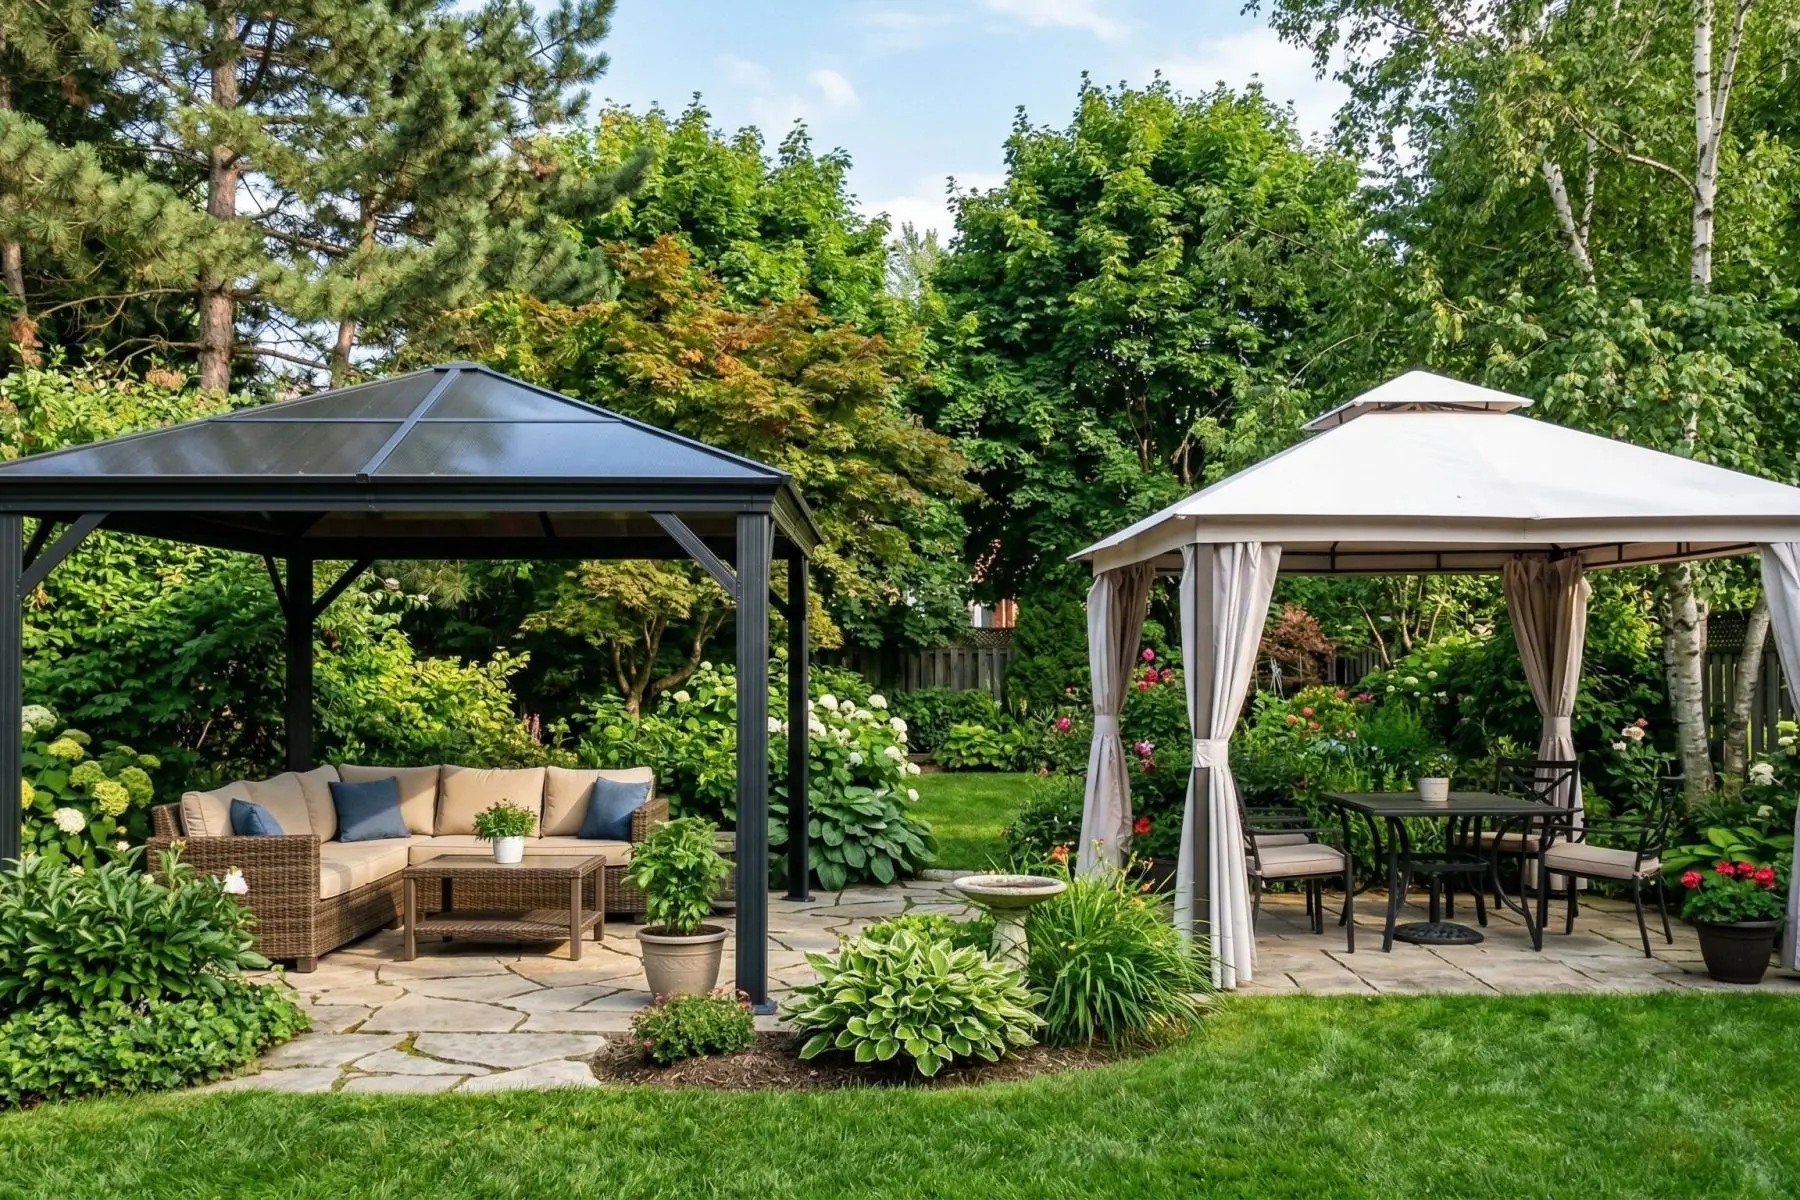
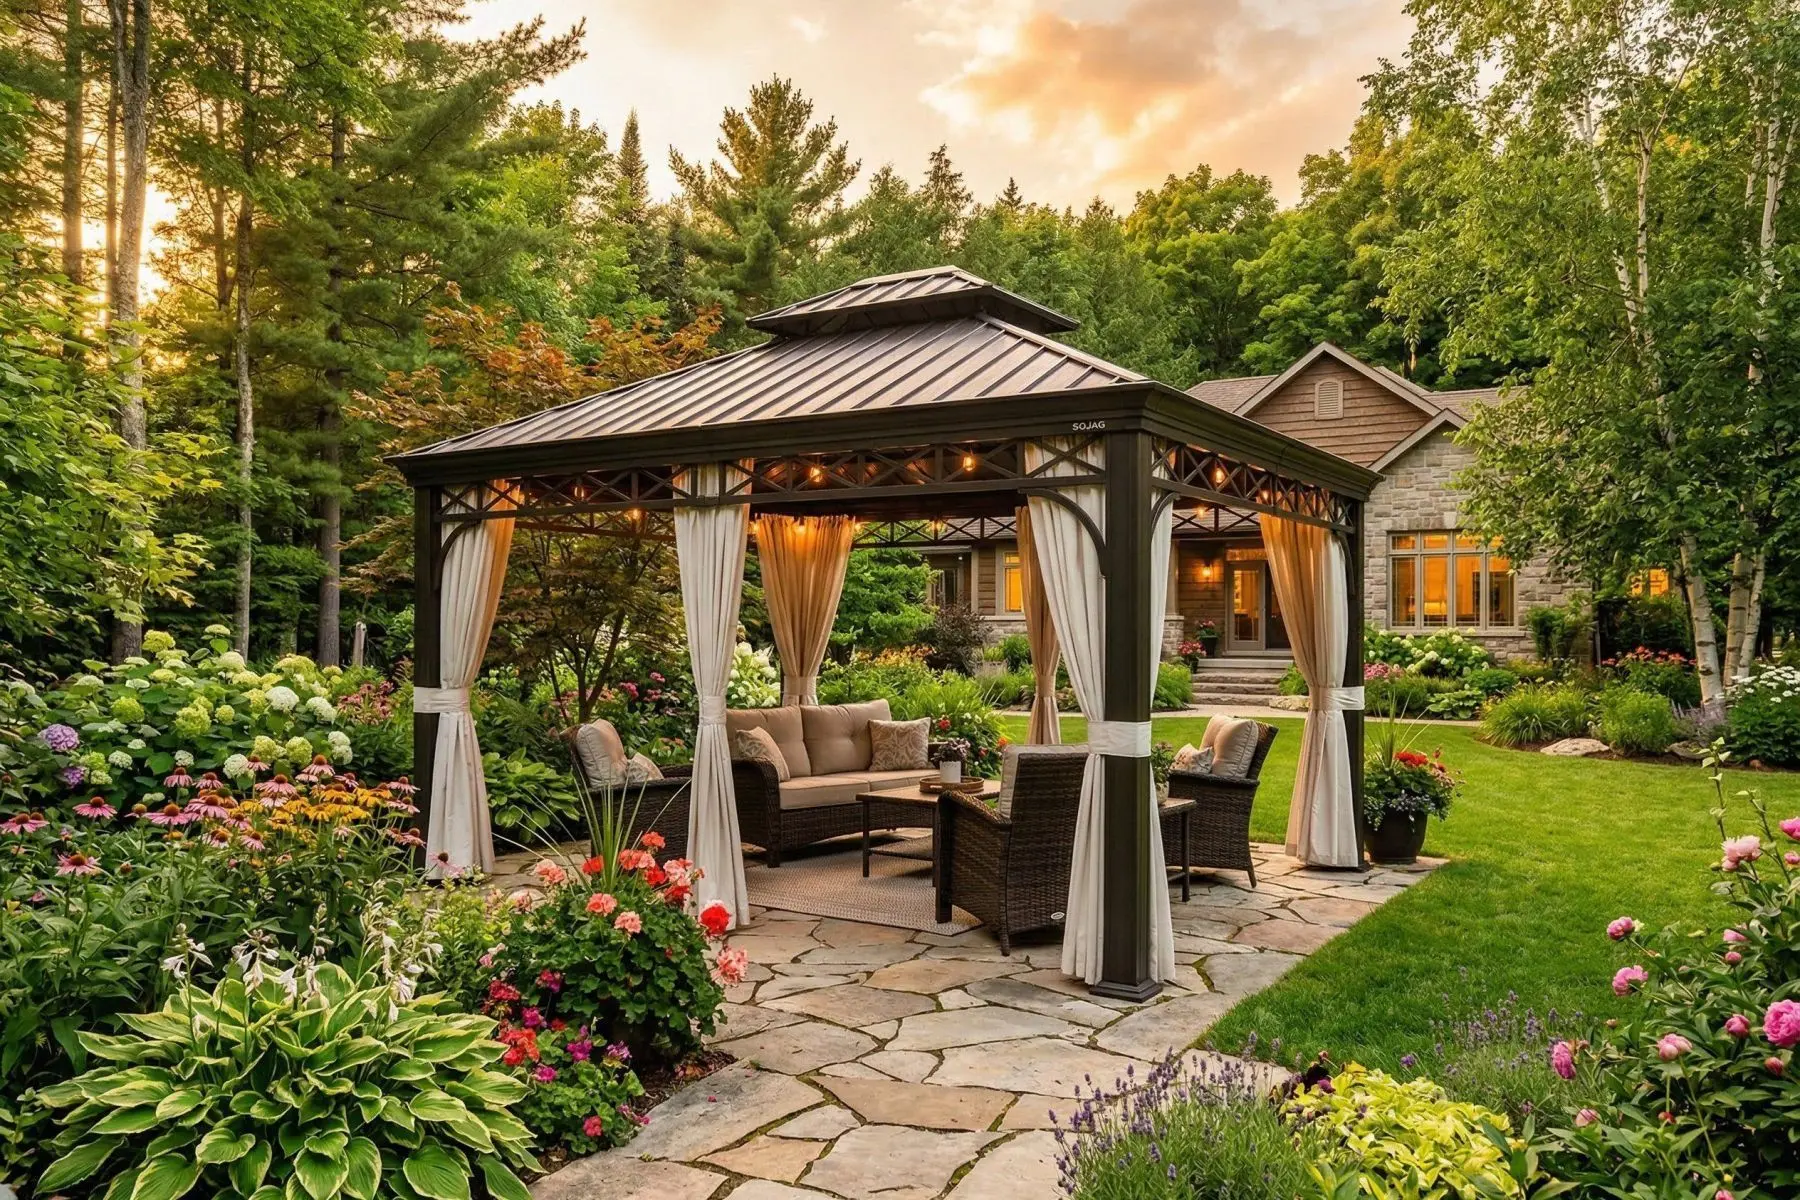
Whether you have purchased a Sojag hardtop gazebo built to handle Canadian winters or a ShelterLogic soft-top canopy for summer entertaining, proper anchoring is essential. This guide walks you through step-by-step anchoring methods for four common surfaces — concrete pads, wooden decks, grass and soil, and gravel — along with wind safety considerations and Canadian building code requirements.
Why Anchoring Matters in Canada
Canadian homeowners face unique challenges that make gazebo anchoring more critical than in milder climates:
- High wind events: Summer thunderstorms and autumn gales can produce gusts exceeding 90 km/h in many provinces.
- Frost heave: Repeated freeze-thaw cycles shift the ground beneath your gazebo, loosening anchors that were secure in the fall.
- Snow loads: Hardtop gazebos like those from Sojag are engineered to handle snow, but uneven accumulation creates lateral forces that stress anchor points.
- Liability: If an unsecured structure damages a neighbour's property or injures someone, you may be held liable.
Proper anchoring protects your investment, your family, and your neighbours.
Anchoring a Gazebo on a Concrete Pad
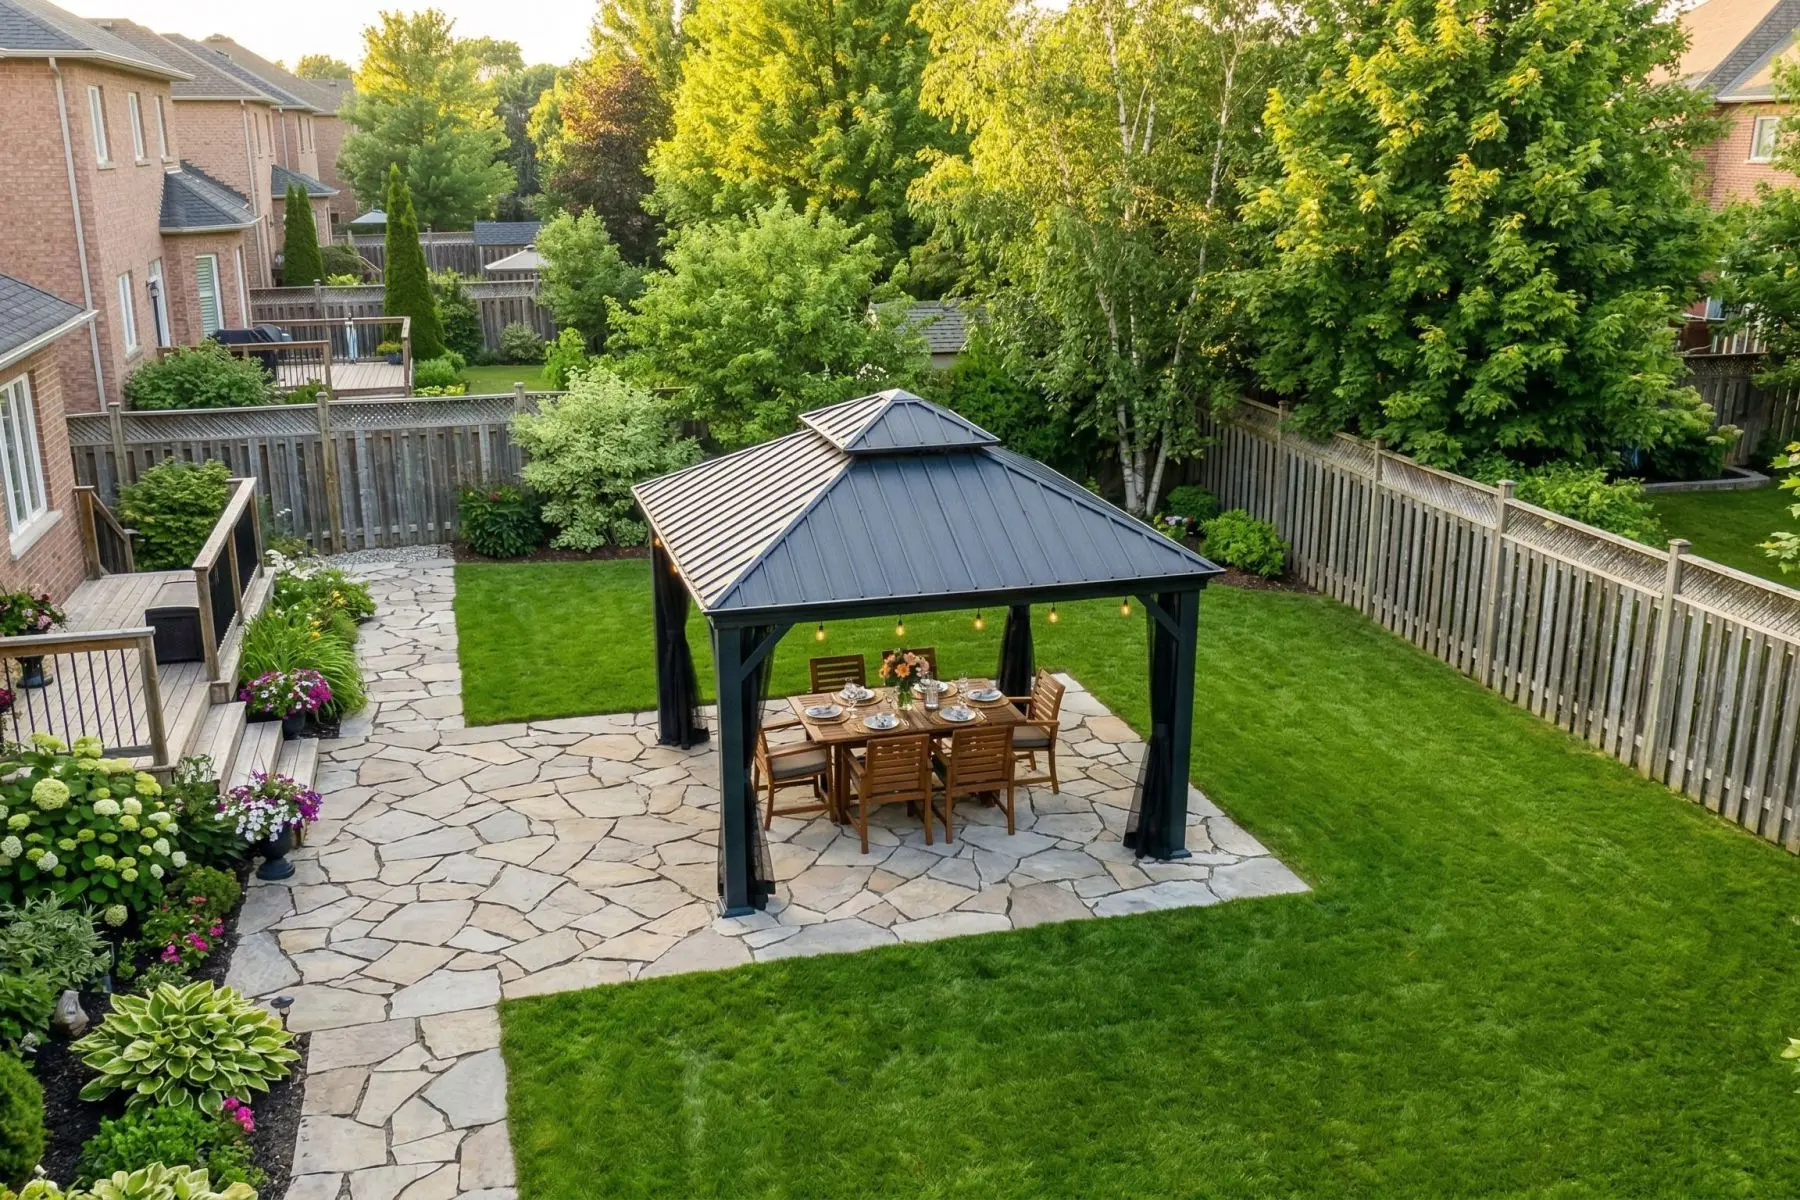
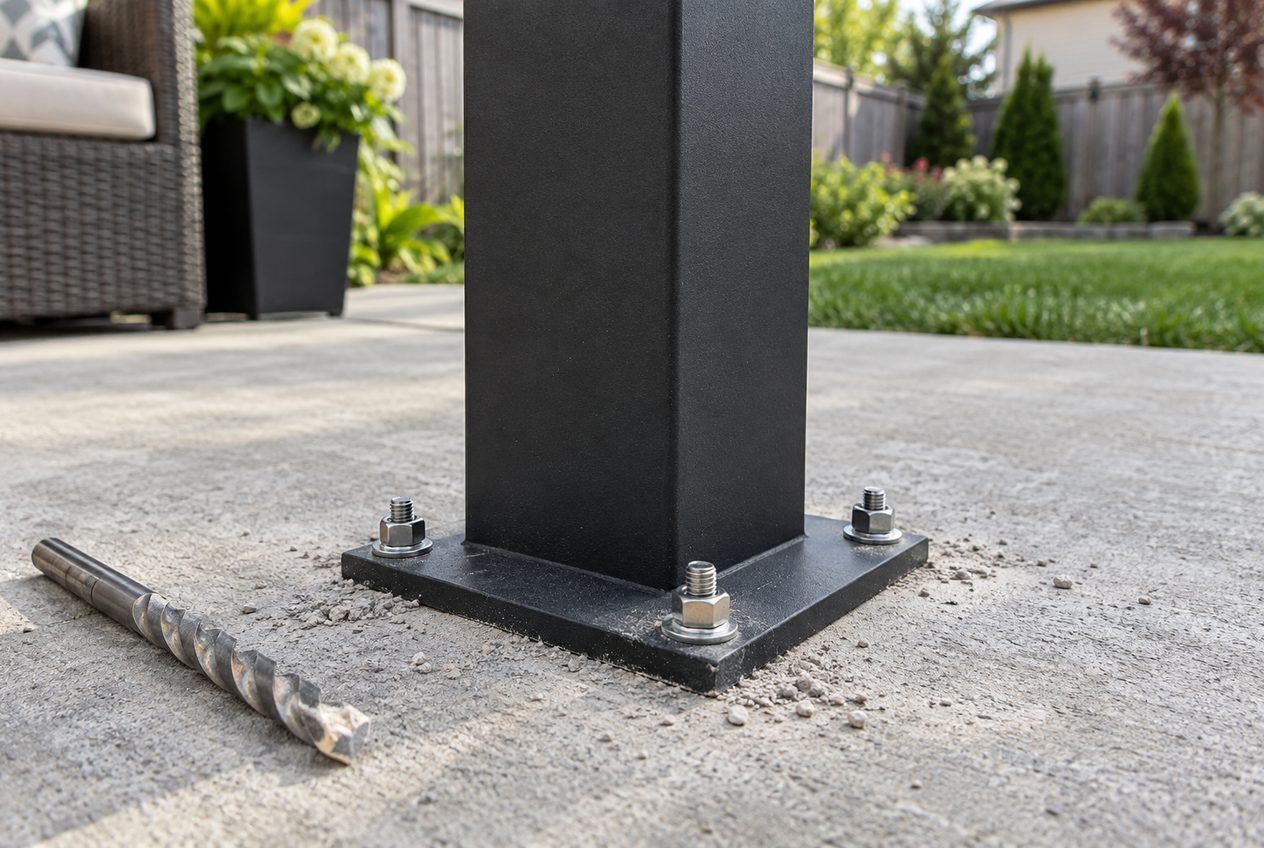
Concrete is the most stable surface for gazebo installation. It provides a flat, level foundation that resists shifting over time. Most Sojag hardtop gazebos and Arrow steel structures are designed with concrete anchoring in mind.
Tools & Materials Needed
- Hammer drill with masonry bit (1/2 inch recommended)
- Concrete wedge anchors or sleeve anchors (1/2 inch x 3-1/2 inch minimum)
- Socket wrench or impact driver
- Tape measure and pencil
- Safety glasses and hearing protection
- Shop vacuum or compressed air
- Level
Step-by-Step Process
- Position the gazebo frame on the concrete pad. Ensure equal spacing from all edges and use a level to confirm the pad is even. Shim any low corners with composite shims.
- Mark the anchor holes. With the frame in its final position, use a pencil to mark through each pre-drilled foot plate hole onto the concrete below.
- Move the frame aside and drill into the marked positions. Drill 1/2 inch deeper than the anchor length to allow for dust accumulation at the bottom of the hole.
- Vacuum or blow out the holes thoroughly. Dust left in the hole reduces anchor holding strength by up to 30%.
- Reposition the frame and align foot plates with the drilled holes.
- Insert wedge anchors through the foot plates and into the concrete. Tap them into place with a hammer, then tighten with a socket wrench until the foot plate is firmly clamped against the concrete.
- Apply a bead of exterior silicone sealant around each anchor to prevent water from pooling in the holes and freezing during winter.
Pros & Cons
| Pros | Cons |
|---|---|
| Strongest, most permanent anchoring method | Requires a hammer drill (rental ~$40/day) |
| Resists wind uplift and lateral forces | Leaves holes in concrete if gazebo is removed |
| Level surface simplifies installation | Concrete pad must be at least 4 inches thick |
| Works with all gazebo types | Not suitable for cracked or deteriorating concrete |
Pro tip: If your concrete pad is less than 4 inches thick, use concrete screw anchors (such as Tapcon brand) instead of wedge anchors. They provide reliable holding power in thinner slabs.
Anchoring a Gazebo on a Wooden Deck
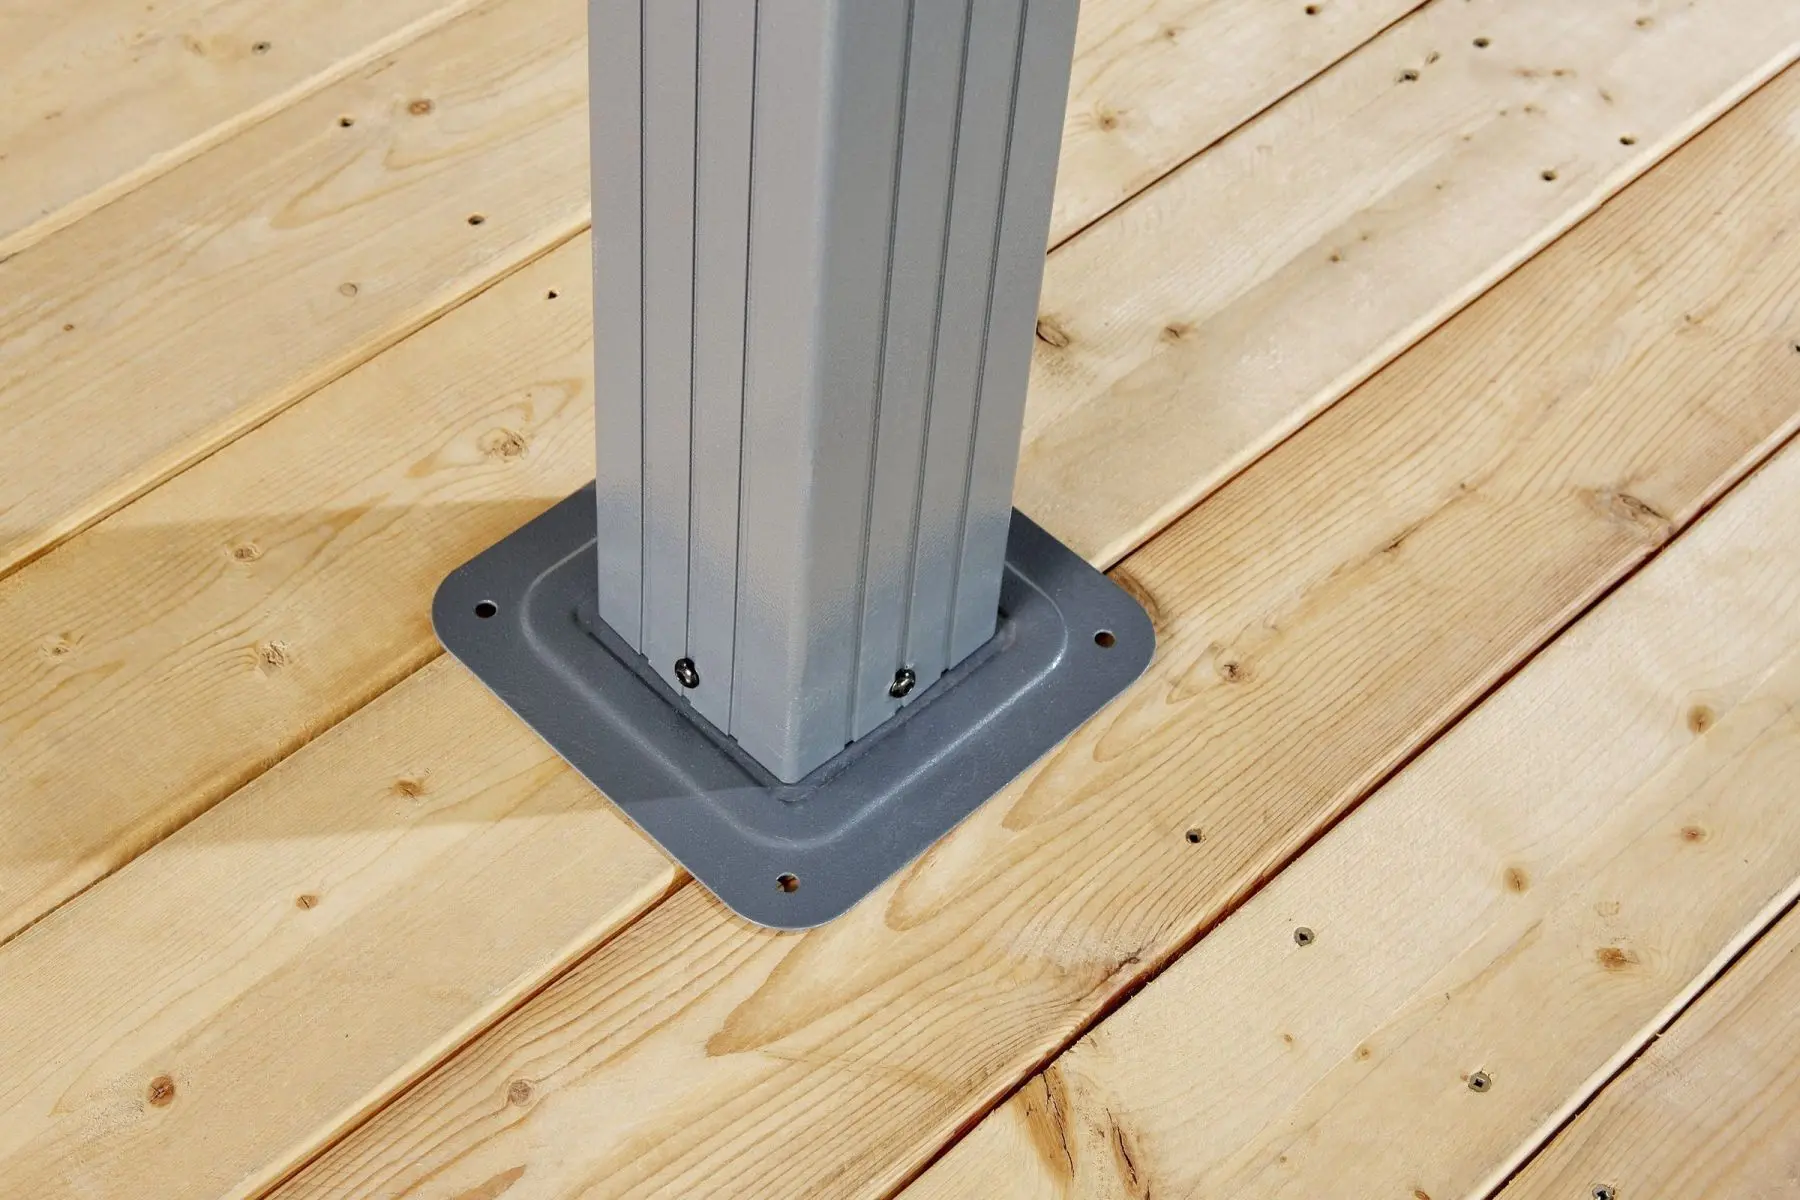
Wooden decks are a popular location for gazebos because they create a unified outdoor living area. However, decking boards alone cannot support the forces generated by wind on a gazebo. You must anchor through the decking and into the structural framing below.
Tools & Materials Needed
- Standard drill with wood bits
- Lag bolts (3/8 inch x 4 inch minimum) with washers
- Socket wrench
- Stud finder or access to underside of deck
- Tape measure, pencil, and level
- Deck board plugs or sealant (to protect exposed holes)
Step-by-Step Process
- Locate the deck joists. Use a stud finder from above or inspect the deck from below. Joists are typically spaced 16 inches on centre. Mark their locations on the deck surface with painter's tape.
- Position the gazebo so that as many foot plates as possible align with joists. You may need to shift the gazebo a few inches in any direction to achieve alignment.
- If foot plates cannot align with joists, install blocking between joists from below. Use 2x8 or 2x10 lumber (matching joist size) cut to fit between joists and secure with structural screws or joist hangers.
- Pre-drill through foot plates and decking into the joist or blocking below. Use a bit slightly smaller than the lag bolt diameter.
- Drive lag bolts with washers through the foot plates, through the decking, and into the joist. Tighten until snug — do not over-torque, which can split the joist.
- Seal each bolt penetration with exterior wood sealant or silicone to prevent water intrusion that leads to rot.
Pros & Cons
| Pros | Cons |
|---|---|
| Elevated surface keeps gazebo dry | Deck must be structurally sound (check for rot) |
| Creates a cohesive outdoor living space | Requires locating joists accurately |
| No specialized tools beyond a standard drill | May need blocking if foot plates miss joists |
| Easier to remove than concrete anchors | Bolt holes need sealing to prevent deck rot |
Pro tip: Before anchoring a heavy hardtop gazebo like a Sojag model to your deck, verify that the deck's load-bearing capacity can handle the additional weight. A 10 x 12 foot hardtop gazebo can weigh over 500 lbs. Consult a structural engineer if your deck is older or shows signs of wear.
Anchoring a Gazebo on Grass & Soil
Grass and soil are the most common surfaces for gazebo placement, especially for larger backyard installations. While soil is softer and less stable than concrete, the right anchoring approach can provide excellent security.
Tools & Materials Needed
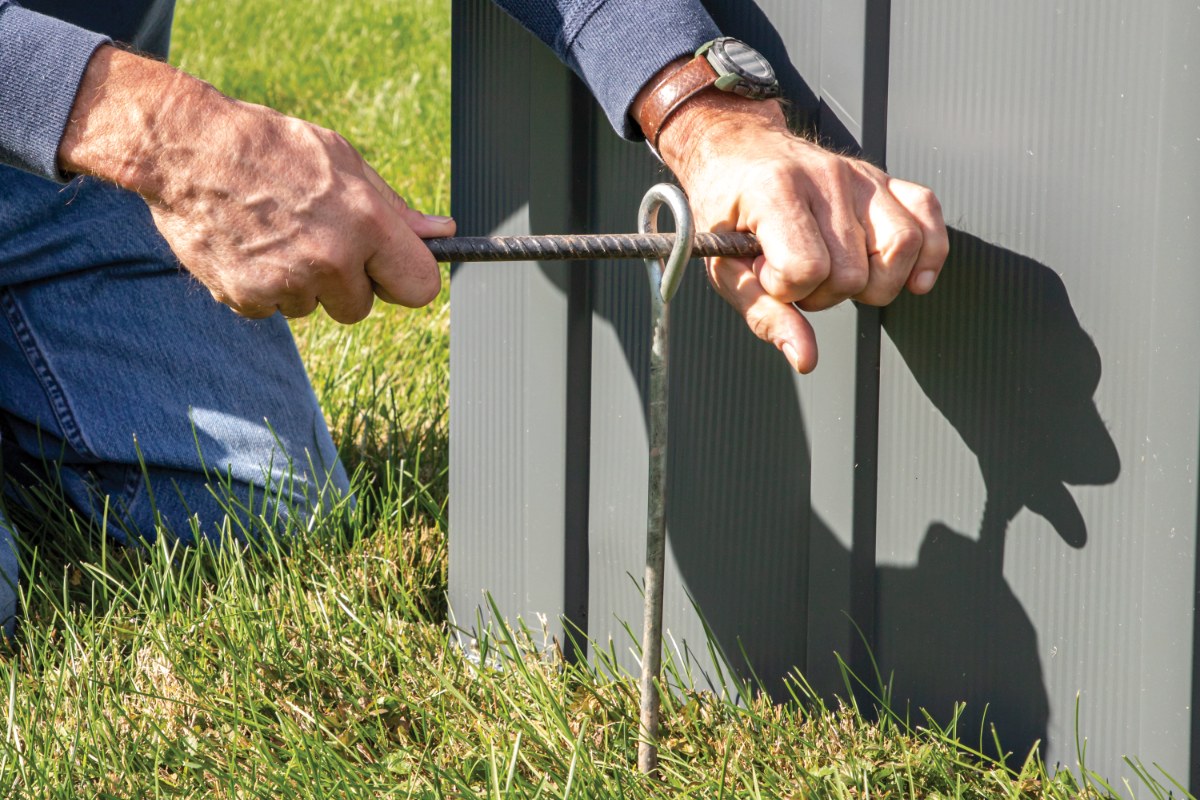
- Ground auger anchors (15-inch or longer spiral stakes) — at least one per foot plate
- Ratchet or breaker bar for tightening
- Rubber mallet
- Level
- Landscape fabric and gravel (optional, for ground preparation)
- Concrete footings or deck blocks (recommended for permanent installations)
Step-by-Step Process
Option A: Auger Anchors (Semi-Permanent)
- Level the ground. Remove sod in a slightly larger area than the gazebo footprint. Fill low spots with compacted gravel or sand and verify with a level.
- Position the gazebo frame and confirm it sits level.
- Drive auger anchors through the foot plate holes (or immediately adjacent) into the soil. Screw them in by hand initially, then use a ratchet or breaker bar to drive them at least 12 inches deep.
- Secure the foot plates to the auger anchor heads using the provided hardware.
- Check tightness after the first rainfall, as soil settling can loosen anchors.
Option B: Concrete Footings (Permanent)
- Dig four holes at the marked foot plate positions. Each hole should be 12 inches in diameter and extend below the frost line (typically 48 inches in most of Ontario and Quebec, up to 60 inches in Northern Canada).
- Insert a sonotube into each hole and fill with premixed concrete.
- Set a galvanized post base bracket into the wet concrete at each location, aligned with your gazebo's foot plate pattern.
- Allow concrete to cure for 48 to 72 hours before mounting the gazebo frame.
- Bolt the gazebo foot plates to the post base brackets.
Pros & Cons
| Pros | Cons |
|---|---|
| No existing pad or deck required | Soil shifts with frost heave in Canadian winters |
| Auger anchors are affordable and removable | Auger anchors may loosen in sandy soil |
| Concrete footings provide permanent stability | Concrete footings require significant labour |
| Flexible placement anywhere in the yard | Ground must be levelled before installation |
Pro tip: In clay-heavy soils common across southern Ontario and the St. Lawrence region, auger anchors grip exceptionally well. In sandy soil common in cottage country, opt for longer anchors (24-inch) or go directly to concrete footings.
Anchoring a Gazebo on Gravel
Gravel pads have become increasingly popular for gazebo bases because they provide natural drainage, resist frost heave better than bare soil, and offer a clean, finished appearance. However, loose gravel alone provides minimal resistance to anchor pull-out.
Tools & Materials Needed
- Auger-style ground anchors (18-inch or longer — must penetrate through gravel into soil below)
- Ratchet or breaker bar
- Concrete deck blocks or pier blocks (alternative method)
- Level and tape measure
- Landscape fabric (if not already in place under gravel)
Step-by-Step Process
- Clear gravel at each foot plate location down to the compacted base or soil beneath. Create a cleared area roughly 12 x 12 inches at each corner.
- Place a concrete deck block at each cleared location. Level each block individually, then check that all four blocks are level with each other using a long straight-edge and level.
- Position the gazebo frame on the deck blocks.
- Drive auger anchors through the foot plate holes and down through the deck block openings (if using slotted blocks) or immediately beside the blocks, deep into the soil beneath.
- Alternatively, use anchor straps: wrap galvanized steel strapping around the deck blocks and over the foot plates, then secure with lag screws.
- Replace the cleared gravel around the base of each foot plate for a finished look.
Pros & Cons
| Pros | Cons |
|---|---|
| Excellent drainage prevents standing water | Gravel alone provides no anchor holding power |
| Resists frost heave better than bare soil | Must anchor through gravel into soil below |
| Professional, finished appearance | Deck blocks can shift if gravel is not well-compacted |
| Easy to adjust and re-level over time | Requires more components than other methods |
Pro tip: A 4-inch layer of 3/4-inch crushed gravel over compacted road base with landscape fabric underneath creates the ideal gazebo pad. This combination drains quickly, resists settling, and gives anchors solid material to pass through.
Weight Bag Alternatives for Temporary Setups
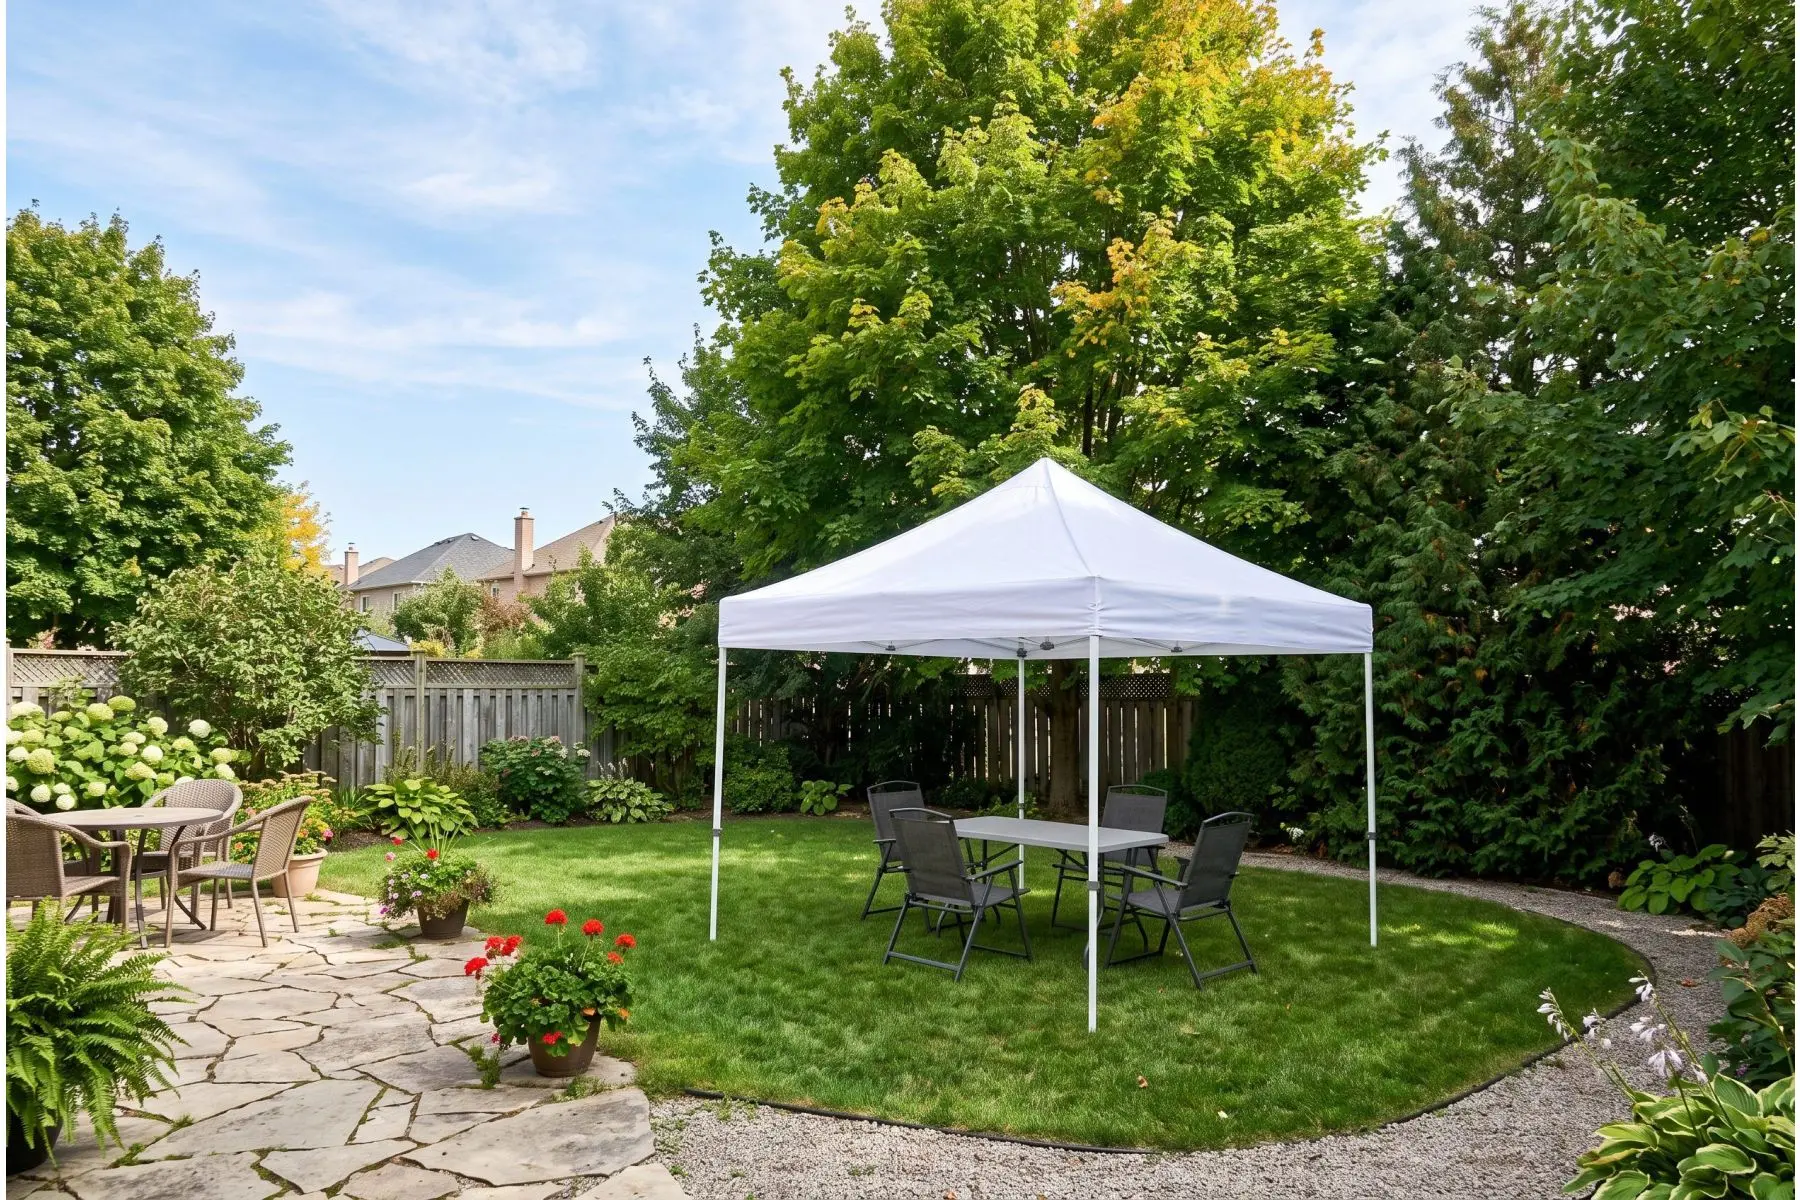
Not every gazebo installation needs to be permanent. If you are setting up a ShelterLogic pop-up canopy for a weekend event or want a seasonal gazebo on a rental property, weight bags and anchoring weights offer a drill-free alternative.
Products in this guide
Types of Weight Bags
- Sand-filled leg weights: Wrap-around bags that strap to each gazebo leg. Each bag holds 25 to 40 lbs of sand. Use four to eight bags for a standard 10 x 10 canopy.
- Water-filled bases: Hollow plastic bases that slide over each leg and fill with water. Lighter when empty for easy transport but can crack in freezing temperatures.
- Concrete paver stacks: Standard 16 x 16 inch concrete pavers weigh about 36 lbs each. Stack two per leg and secure the foot plate to the stack with ratchet straps.
- Steel plate weights: Purpose-built steel plate weights that bolt directly to the gazebo foot plates. Available in 30 and 50 lb options.
How Much Weight Do You Need?
| Gazebo Size | Minimum Weight (Calm Conditions) | Recommended Weight (Windy Conditions) |
|---|---|---|
| 8 x 8 feet | 100 lbs total (25 lbs per leg) | 200 lbs total (50 lbs per leg) |
| 10 x 10 feet | 160 lbs total (40 lbs per leg) | 320 lbs total (80 lbs per leg) |
| 10 x 12 feet | 200 lbs total (50 lbs per leg) | 400 lbs total (100 lbs per leg) |
| 12 x 16 feet | 300 lbs total (75 lbs per leg) | 500+ lbs total (125+ lbs per leg) |
Important: Weight bags are a temporary solution only. They are not a substitute for proper anchoring on permanent or hardtop gazebo installations. Never rely on weight bags alone for a Sojag or Arrow hardtop gazebo.
Wind Safety & Canadian Building Code Considerations
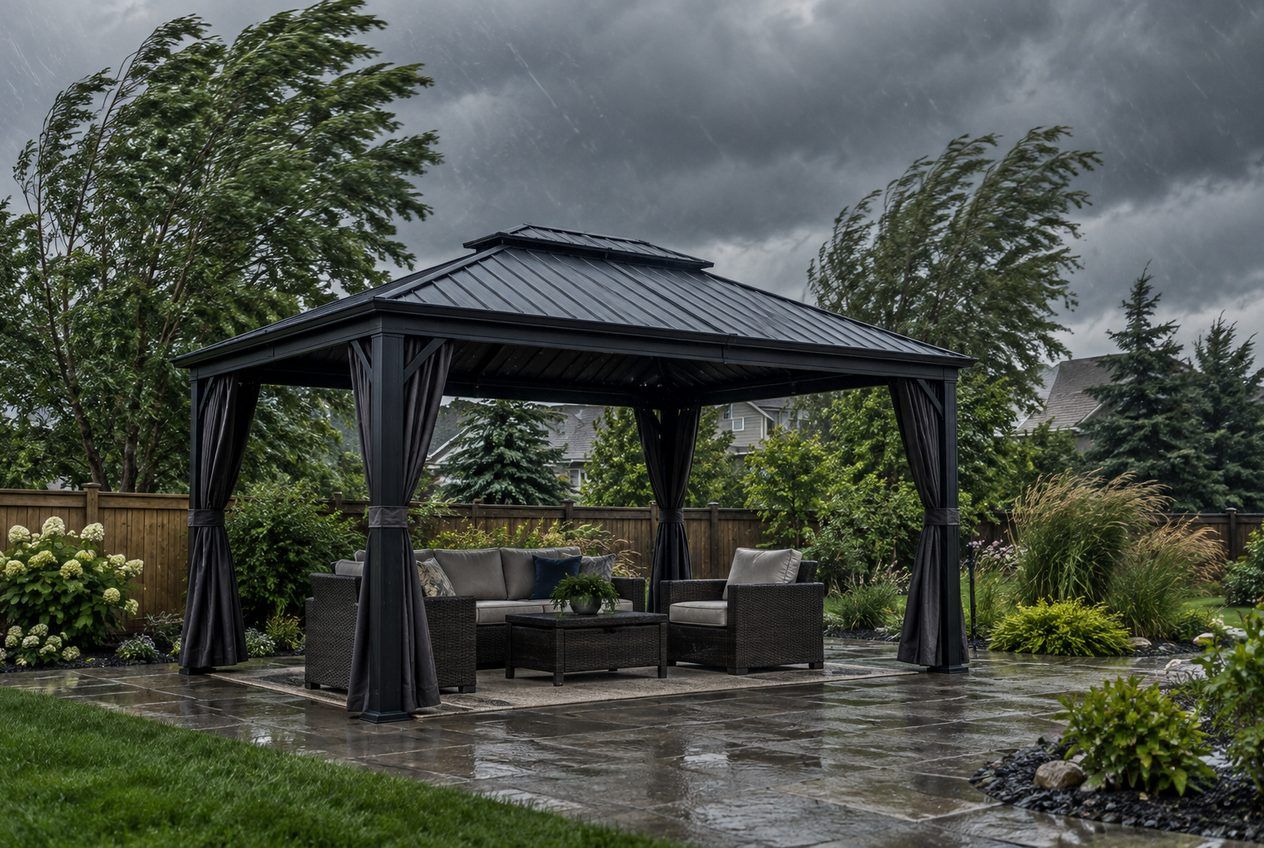
Wind is the primary threat to any gazebo, and Canadian building codes address outdoor structures specifically.
National Building Code of Canada (NBCC) Requirements
- Structures under 10 square metres (approximately 107 square feet) are generally exempt from building permits in most municipalities. Most 10 x 10 foot gazebos fall just under this threshold.
- Structures 10 square metres and above typically require a building permit. A 10 x 12 foot or 12 x 14 foot gazebo exceeds this threshold.
- Setback requirements vary by municipality but commonly require structures to be at least 3 to 5 feet from property lines.
- Wind load design: The NBCC specifies minimum wind load resistance for structures in different regions. Coastal British Columbia and Atlantic Canada have higher wind load requirements than inland areas.
Practical Wind Safety Tips
- Check your local municipality's bylaws before installation. Requirements vary significantly between cities and townships.
- Use all anchor points provided. Most gazebos have four to six anchor holes per foot plate. Use every one of them — they are there for a reason.
- Add guy wires for exposed locations. If your gazebo sits on a hilltop, near open water, or in an area without wind-breaking trees or fences, install guy wires from the upper frame corners to ground anchors at 45-degree angles.
- Remove canopy fabric or side panels if severe weather is forecast. A soft-top canopy acts like a sail in high winds. Taking down the fabric eliminates the primary uplift force.
- Inspect anchors seasonally. Frost heave can loosen ground anchors over a single winter. Check and re-tighten every spring before your first use of the season.
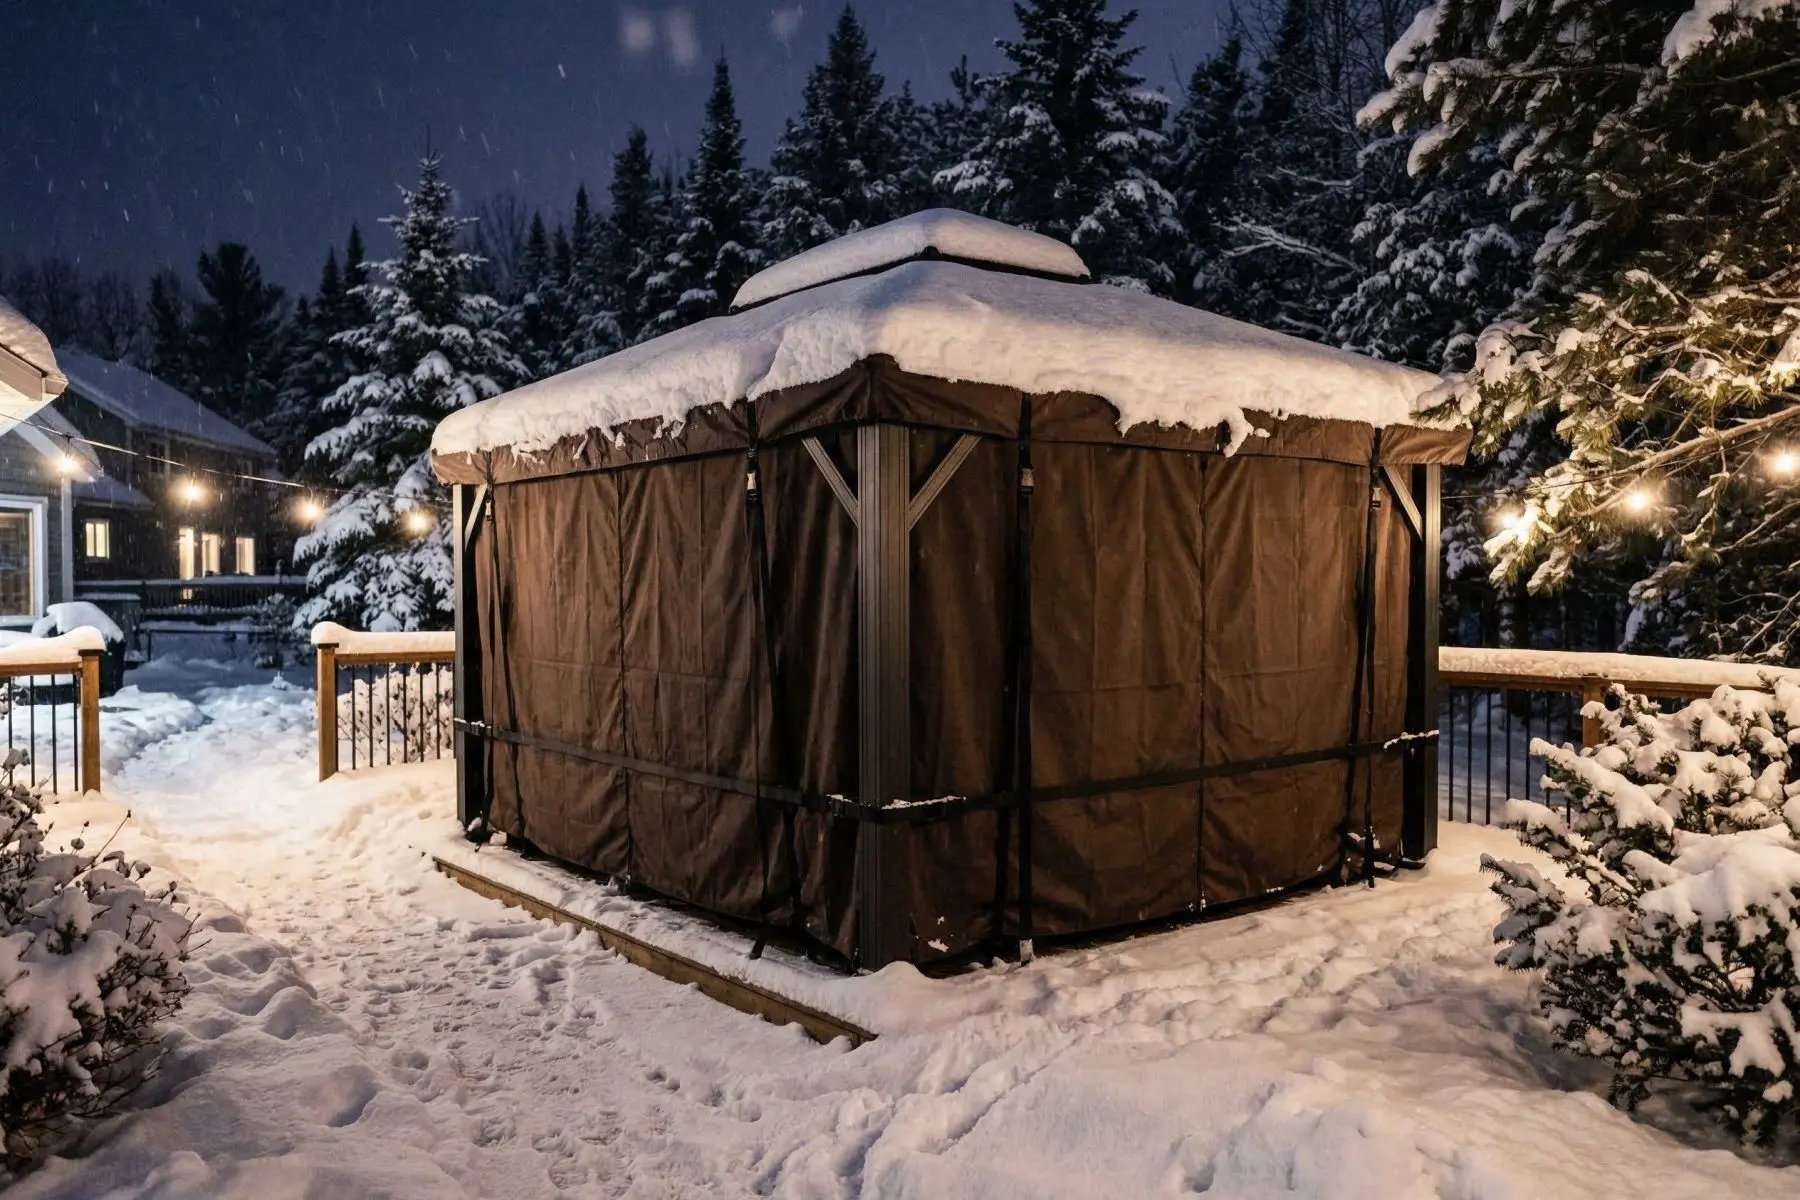
- Snow removal: Even hardtop gazebos rated for snow loads should be cleared after heavy snowfalls exceeding 12 inches. Use a roof rake or soft broom — never a metal shovel on polycarbonate or galvanized steel panels.
Wind Speed Reference
| Wind Speed | Risk Level | Recommended Action |
|---|---|---|
| Under 40 km/h | Low | Normal use — properly anchored gazebos are safe |
| 40 to 60 km/h | Moderate | Remove loose items, close side panels if applicable |
| 60 to 90 km/h | High | Remove soft-top canopies, secure all loose components |
| Over 90 km/h | Severe | Stay indoors — even anchored structures may sustain damage |
Choosing the Right Anchoring Method: Quick Comparison
| Surface | Best For | Difficulty | Permanence | Cost |
|---|---|---|---|---|
| Concrete pad | Hardtop gazebos, permanent installations | Moderate | Permanent | $30 to $60 |
| Wooden deck | Integrated outdoor living spaces | Moderate | Semi-permanent | $20 to $40 |
| Grass & soil | Flexible yard placement | Easy to Hard* | Semi-permanent to Permanent* | $15 to $200* |
| Gravel pad | Drainage-priority installations | Moderate | Semi-permanent | $40 to $80 |
| Weight bags | Temporary or seasonal canopies | Easy | Temporary | $40 to $120 |
*Range depends on whether you use auger anchors (easy, affordable) or concrete footings (labour-intensive, higher cost).
Frequently Asked Questions
Can I anchor a gazebo without drilling into concrete?
Yes. If you cannot drill into your concrete pad — for example, on a condo patio or shared space — you can use weighted base plates, concrete paver stacks with ratchet straps, or freestanding weight systems. However, these methods are significantly less secure than bolted anchors. For any hardtop gazebo, drilling is strongly recommended. Weight-based anchoring is best suited for lightweight soft-top canopies like ShelterLogic models in calm-wind locations.
How deep should ground anchors go for a gazebo in Canada?
For auger-style ground anchors, a minimum of 12 inches is recommended for semi-permanent installations. For concrete footings supporting permanent hardtop gazebos, you should dig below the frost line — 48 inches in most of southern Ontario and Quebec, and up to 60 inches in northern regions. Going below the frost line prevents the freeze-thaw cycle from pushing your footings upward over winter.
Do I need a permit to install a gazebo in my backyard?
In most Canadian municipalities, a detached structure under 10 square metres (roughly 107 square feet) does not require a building permit. A standard 10 x 10 foot gazebo is approximately 9.3 square metres and usually falls under this exemption. However, larger gazebos such as 10 x 12 or 12 x 16 foot models exceed the threshold and typically require a permit. Always check with your local building department, as rules vary by municipality. Setback requirements from property lines apply regardless of size.
Should I remove my gazebo for winter in Canada?
It depends on the gazebo type. Hardtop gazebos from brands like Sojag are designed to withstand Canadian winters, including moderate snow loads, when properly anchored. You should not need to remove them, but do clear heavy snow accumulation after storms. Soft-top canopies from brands like ShelterLogic should be disassembled and stored indoors for winter. The fabric cannot withstand snow weight, and the lighter frames are not built for winter wind loads. At minimum, remove the canopy fabric and store it indoors even if you leave the frame standing.
Final Thoughts
Anchoring your gazebo properly is not optional — it is the foundation of a safe, long-lasting outdoor structure. The method you choose depends on your surface, your gazebo type, and whether the installation is permanent or seasonal. Take the time to do it right the first time, and your gazebo will provide years of enjoyment through Canadian summers and beyond.
At IPATIO, we carry a full selection of Sojag hardtop gazebos, ShelterLogic canopies, and gazebo accessories including anchoring hardware and weight systems. All orders over $88 ship free across Canada. Browse our gazebo collection to find the perfect structure for your backyard, and refer back to this guide when it is time to anchor it down.