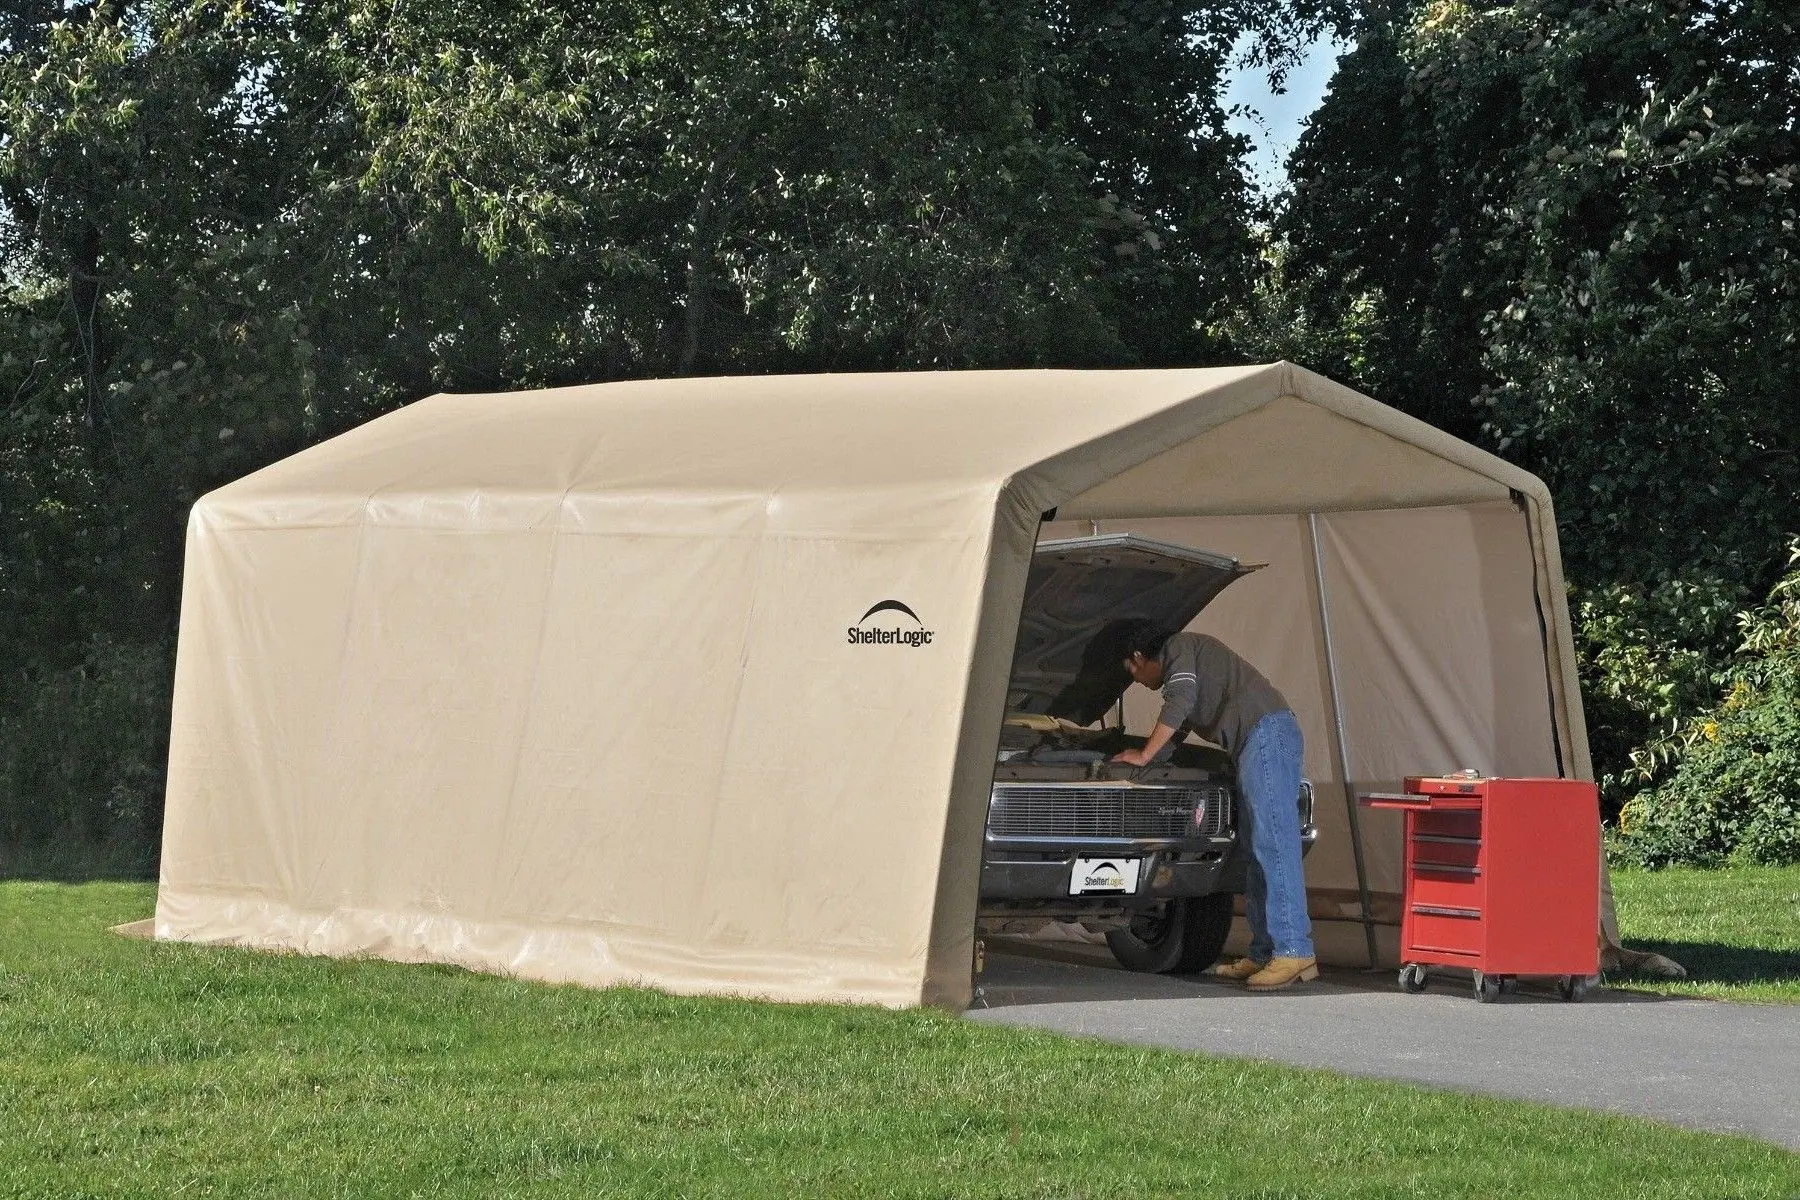
How to Set Up a ShelterLogic Portable Garage: Step-by-Step Guide
A ShelterLogic portable garage is one of the most practical investments you can make to protect your vehicles, equipment, and outdoor gear from the elements. Whether you've chosen a ShelterCoat for quick seasonal coverage or a ShelterTube for heavy-duty year-round protection, proper setup is the key to getting the most out of your structure. This comprehensive guide walks you through every stage of assembly — from choosing the right spot on your property to tightening the final anchor — so you can get your portable garage up safely and efficiently.
Pre-Assembly Planning
Site Selection
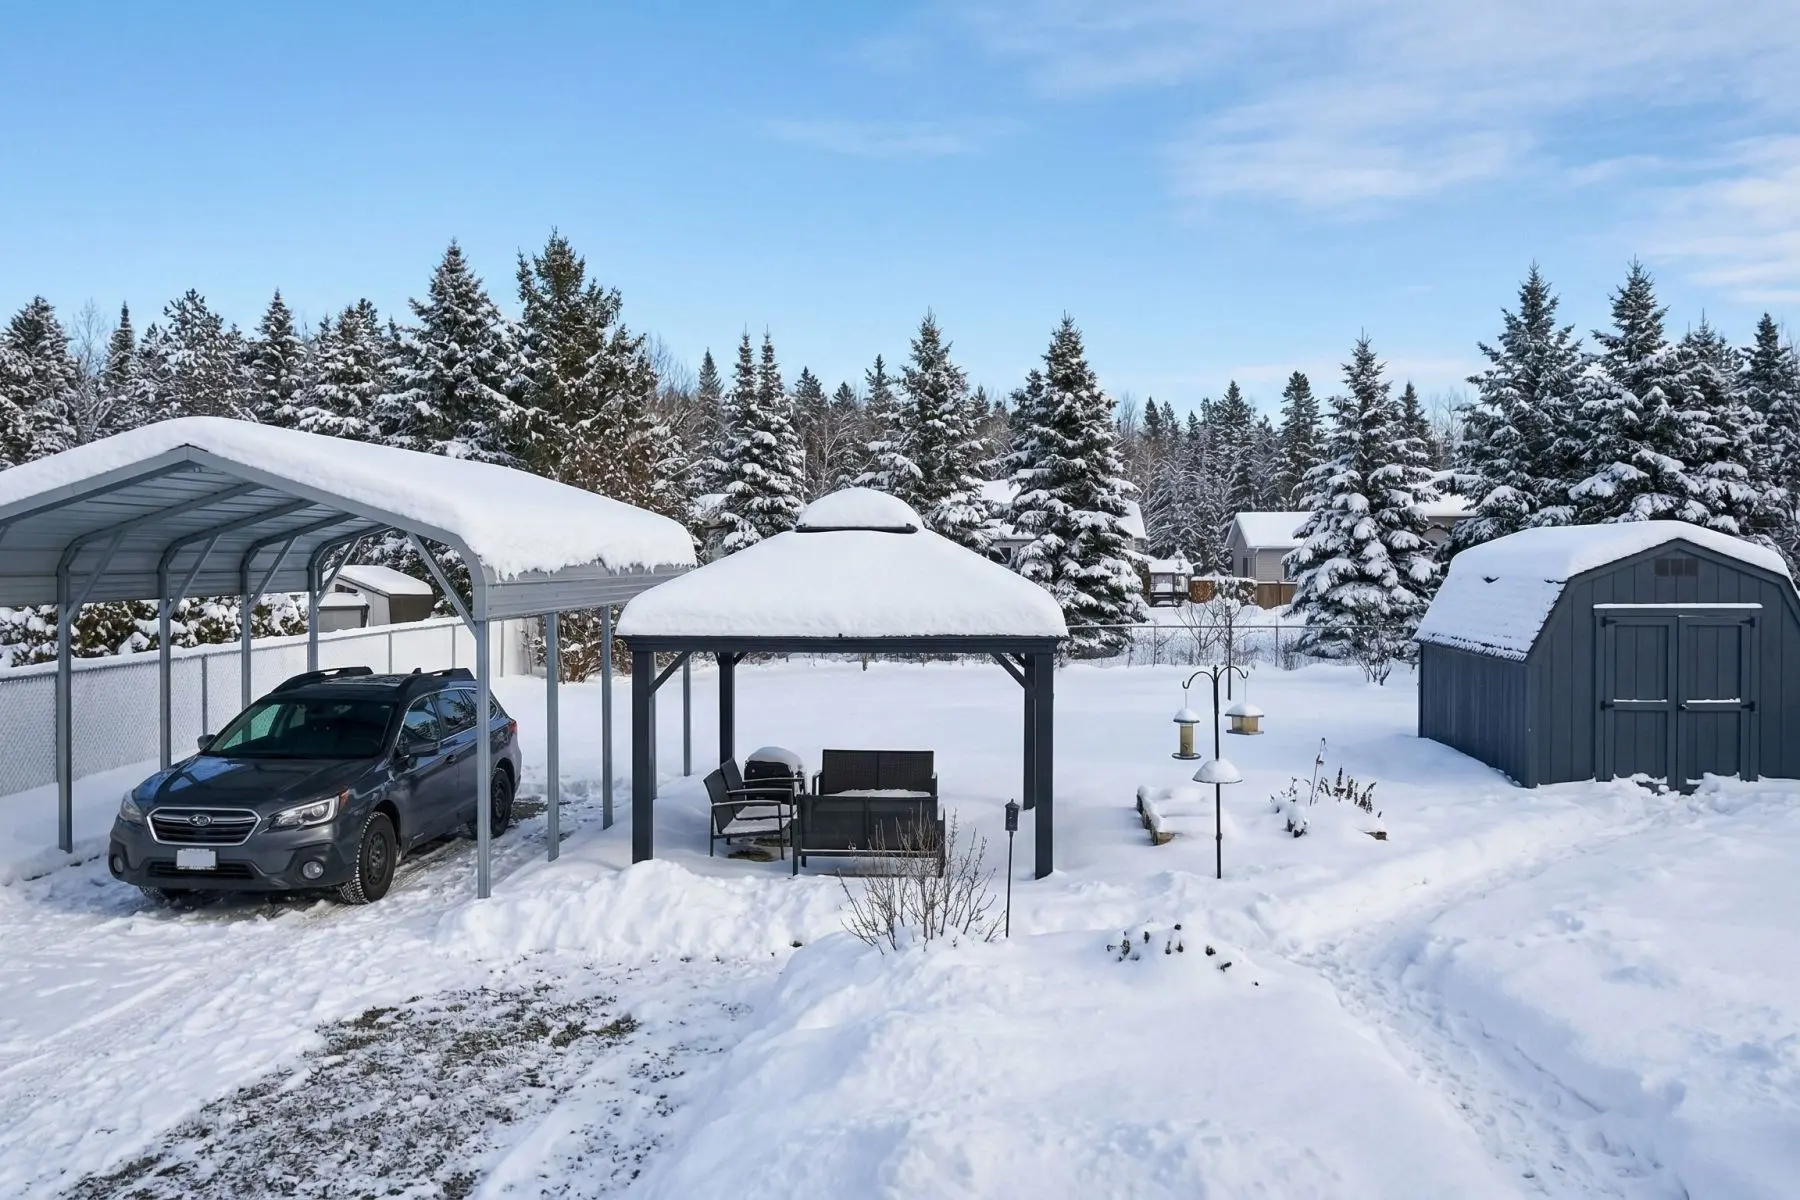
Choosing the right location is arguably the most important decision you'll make before a single bolt is tightened. A poor site can lead to water pooling, structural stress, and premature wear on the cover fabric. Here's what to look for:
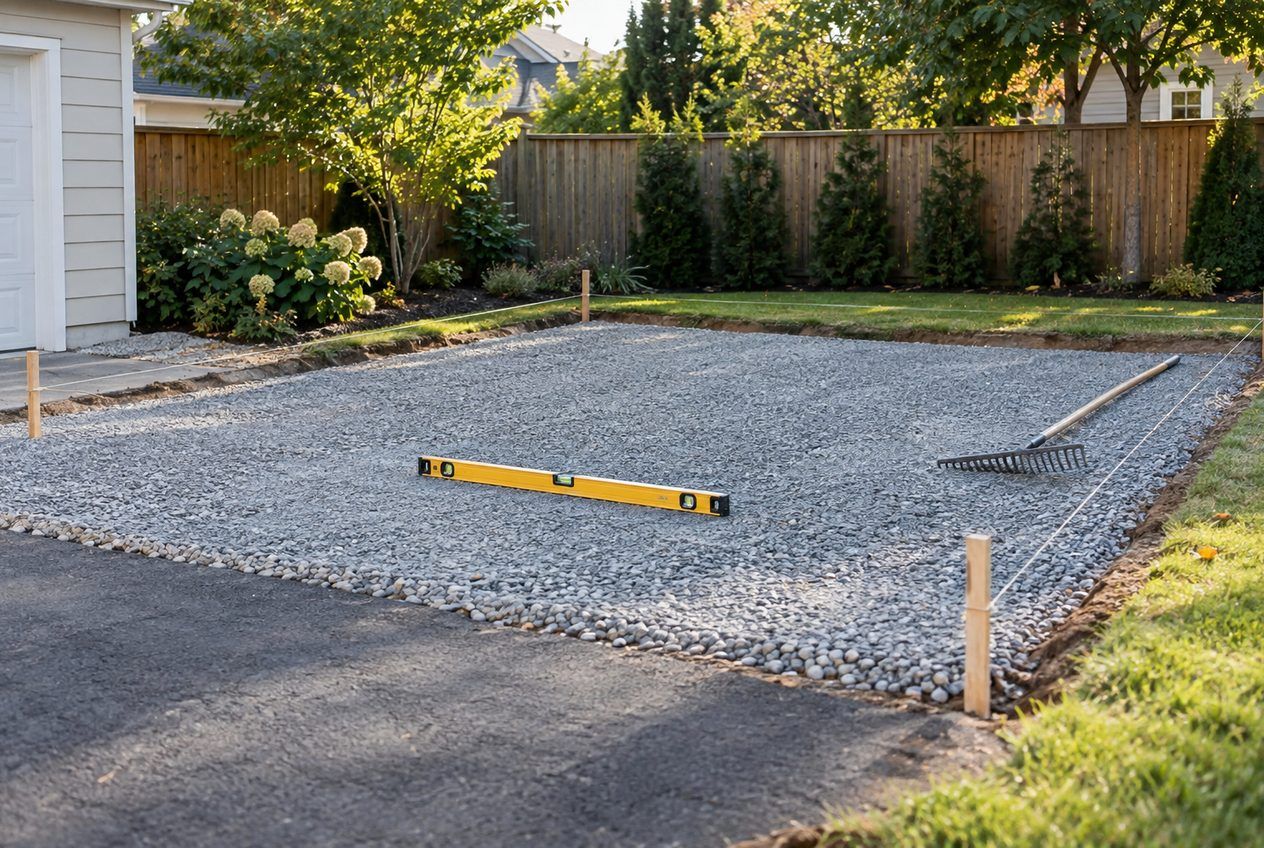
- Level ground: The site should be as flat as possible. Even a slight slope can cause uneven weight distribution on the frame and make doors difficult to operate. Use a long spirit level or a laser level to check.
- Drainage: Avoid low-lying areas where water collects after rain or snowmelt. Ideally, the ground should slope very gently away from the structure on all sides.
- Clearance: Allow at least 2-3 feet of clearance on all sides for anchoring, maintenance access, and snow clearing. Keep the structure away from trees with overhanging branches that could drop limbs or heavy snow loads.
- Orientation: Position the open end or door away from the prevailing wind direction. In most parts of Canada, winds come predominantly from the west or northwest, so orienting the opening toward the east or south is often ideal.
- Sun exposure: While the UV-treated covers are designed to resist sun damage, positioning the structure where it receives some shade during peak afternoon hours can extend the cover's lifespan.
Foundation Options
ShelterLogic portable garages do not require a permanent concrete foundation, but the base surface matters significantly for stability and longevity:
| Foundation Type | Best For | Pros | Cons |
|---|---|---|---|
| Compacted gravel pad | Most installations | Excellent drainage, level surface, allows anchoring | Requires preparation work |
| Existing concrete pad | Driveways, patios | Already level, very stable | Requires concrete anchor bolts |
| Asphalt surface | Parking areas | Stable, already level | Can soften in extreme heat |
| Bare earth/grass | Temporary setups | No preparation needed | Poor drainage, uneven settling |
For the best results, a compacted gravel pad (4-6 inches deep) is the gold standard. It provides drainage, a level surface, and allows earth auger anchors to be driven securely.
Permits and Regulations
Before assembling your portable garage, check your local municipality's bylaws. Many Canadian municipalities classify portable shelters differently from permanent buildings, but rules vary widely:
- Some municipalities allow temporary structures under a certain square footage without a permit.
- Others require setback distances from property lines, roads, and other buildings.
- Homeowners' associations (HOAs) may have additional restrictions on size, colour, or placement.
- In rural areas, regulations tend to be more relaxed, but it's always worth confirming.
A quick call to your local building department can save you from costly fines or forced removal later.
What You Need: Tools & Materials Checklist
Gather everything before you begin. Having the right tools on hand prevents frustrating mid-assembly trips to the hardware store.
Tools Required
- Adjustable wrench or socket set (7/16" and 1/2" most common)
- Ratchet with deep sockets
- Rubber mallet or dead-blow hammer
- Step ladder (6-8 ft)
- Tape measure (25 ft minimum)
- Spirit level (4 ft)
- Drill with masonry bit (for concrete installations only)
- Work gloves (the steel tubing edges can be sharp)
- Safety glasses
Materials Included with Your Kit
- Steel frame tubes (numbered or colour-coded by section)
- Cover fabric (polyethylene or woven polyethylene)
- Ratchet tensioning system or bungee cord fasteners
- Foot plates and base rails
- Anchor kit (auger anchors for earth, or concrete anchor hardware)
- Assembly hardware (bolts, nuts, washers)
- Assembly instruction manual
Additional Materials You May Want
- Extra auger anchors for high-wind areas (4-8 additional anchors recommended for Canadian winters)
- Anti-vibration pads for foot plates on concrete
- Silicone spray for tube connections that are tight-fitting
- Zip ties for securing any loose cover edges
- Landscape fabric (to suppress weeds under the structure)
Step-by-Step Assembly: ShelterCoat
Estimated time: 3-4 hours with 2 people
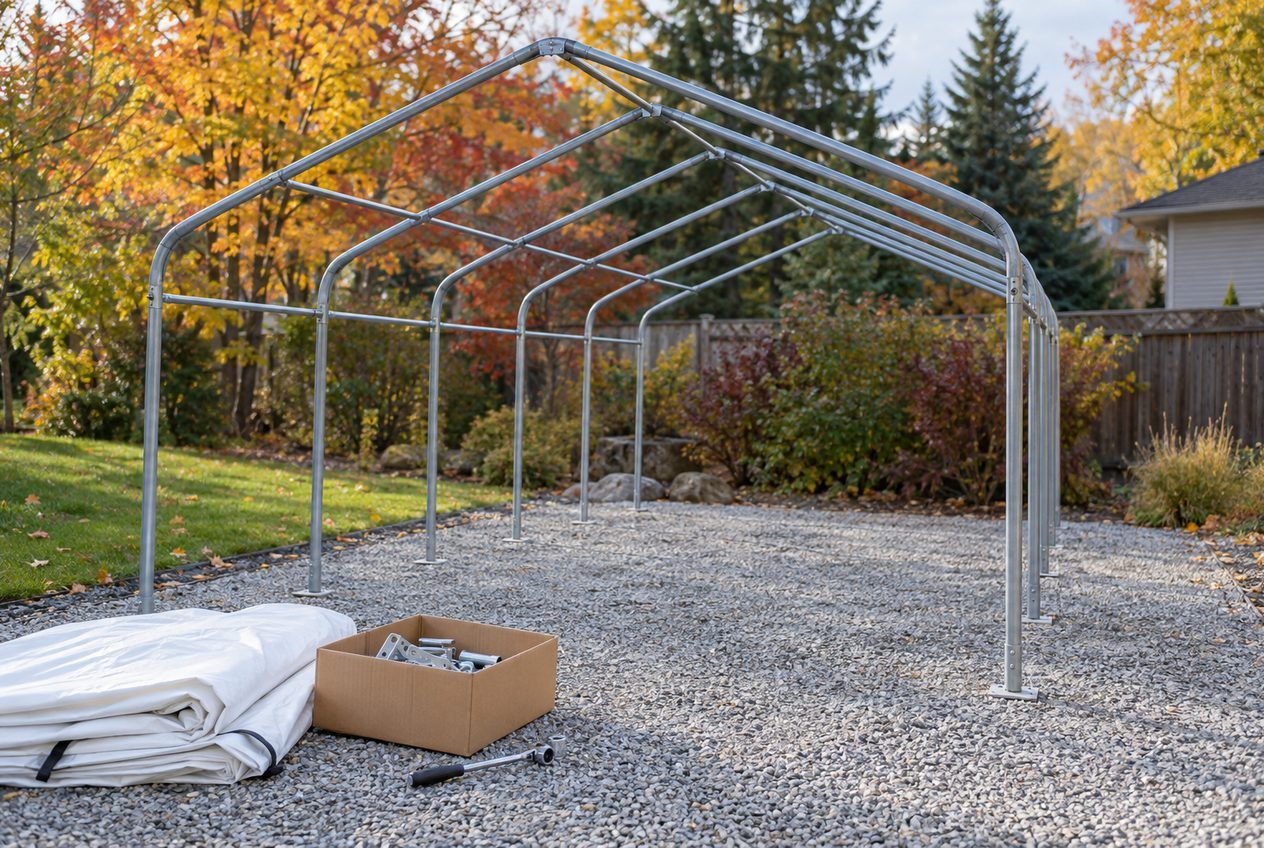
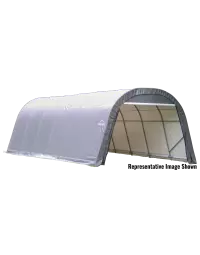
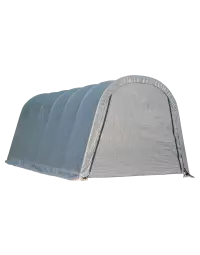
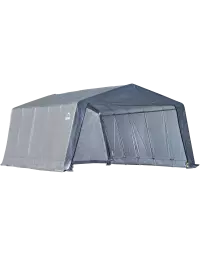
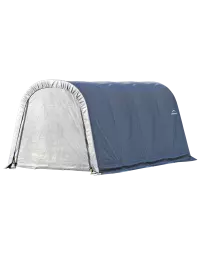
The ShelterCoat is ShelterLogic's peak-style or round-style portable garage with a bonded cover that stays attached to the frame. Its integrated design makes it the faster and simpler option to assemble.
Step 1: Lay Out and Inventory All Parts (20 minutes)
Unpack everything and organize the components by type. Cross-reference each piece with the parts list in your manual. ShelterCoat frames are typically colour-coded — match the colours to the diagram. This step may seem tedious, but it prevents confusion later when you're working overhead with a frame section in each hand.
Step 2: Assemble the Base Rails (20 minutes)
Connect the base rail sections to form the rectangular footprint of your shelter. Lay them out on your prepared surface and use your tape measure to verify the dimensions match the specifications. Check that diagonals are equal — this confirms the base is square. Secure all bolts finger-tight only at this stage.
Step 3: Build the Frame Ribs (30-40 minutes)
Assemble each arched or peaked rib on the ground before raising it. Depending on the size, each rib consists of 2-4 tube sections that connect with swedged ends (one end is narrower and slides into the next). A rubber mallet helps seat tight connections. Connect the ribs to the base rails at the foot plate locations.
Step 4: Raise the Frame Ribs and Connect Purlins (40-50 minutes)
This is where your second person is essential. Raise each rib into its upright position while your partner steadies it. Once two adjacent ribs are up, connect them with the horizontal purlin tubes for stability. Work from one end to the other, raising each rib and connecting purlins as you go. The structure becomes progressively more stable with each connected section.
Step 5: Install the Cover (30-40 minutes)
The ShelterCoat cover is pre-bonded and designed to be pulled over the frame as a single piece. Start from one end and work the cover over the frame, pulling it taut as you go. This is easier on a calm day — wind can turn the cover into a sail. Secure the cover to the base rails using the included ratchet tensioners, which allow you to pull the fabric drum-tight.
Step 6: Install End Panels (20-30 minutes)
Attach the front and rear end panels. ShelterCoat models typically include zippered door panels for vehicle access. Ensure the zipper tracks are aligned properly before final tensioning.
Step 7: Anchor the Structure (20-30 minutes)
Drive the auger anchors through the foot plate holes into the ground. For earth installations, screw them in until the top is flush with the foot plate. For concrete, drill pilot holes and install concrete anchors with washers. Tighten all frame bolts to their final torque now that the structure is complete and aligned.
Step-by-Step Assembly: ShelterTube
Estimated time: 4-6 hours with 2-3 people
The ShelterTube is ShelterLogic's heavy-duty round-profile garage designed for maximum snow-shedding capability and wind resistance. Its thicker steel frame and advanced anchoring system require more assembly time but deliver superior durability.
Step 1: Layout and Parts Check (20 minutes)
The ShelterTube has more components than the ShelterCoat due to its heavier frame and additional bracing. Organize all parts and verify against the inventory list. Pay special attention to the windbracing components — these are unique to the ShelterTube line.
Step 2: Assemble the Base Rails with Auger Anchors (30 minutes)
The ShelterTube uses a wider base rail system. Lay out the rails and install the integrated auger anchors at each foot plate position. Unlike the ShelterCoat, the ShelterTube anchors are typically installed during base assembly rather than at the end.
Step 3: Build and Raise Frame Ribs (60-90 minutes)
ShelterTube ribs are heavier gauge steel, so having a third person is highly recommended for the raising step. Assemble each rib flat on the ground, then coordinate the lift. The round profile distributes loads differently than a peaked design, so alignment is critical — a misaligned rib puts stress on the entire structure.
Step 4: Install Purlins and Wind Bracing (40-50 minutes)
In addition to horizontal purlins, the ShelterTube includes diagonal wind bracing that connects ribs at an angle. These braces are what give the ShelterTube its superior wind resistance. Install them exactly as shown in the manual — skipping or incorrectly installing wind bracing significantly reduces the structure's ability to handle wind loads.
Step 5: Install the Cover (40-60 minutes)
The ShelterTube cover is a heavier-duty fabric that requires more effort to pull tight. Work it over the frame from one end, and use the ratchet tensioning system to achieve a smooth, tight finish. Wrinkles or loose areas can collect water and snow, creating concentrated loads that stress the frame.
Step 6: Secure End Walls and Final Anchoring (30-40 minutes)
Install the end wall panels, which on ShelterTube models often include a solid rear wall and a zippered or roll-up front entry. Drive all remaining anchors to full depth, tighten every bolt connection, and verify the cover is uniformly taut across the entire structure.
ShelterTube vs. ShelterCoat: Setup Differences at a Glance
| Feature | ShelterCoat | ShelterTube |
|---|---|---|
| Assembly time | 3-4 hours | 4-6 hours |
| People required | 2 | 2-3 |
| Frame profile | Peak or round | Round (wider) |
| Steel gauge | Standard | Heavy-duty |
| Wind bracing | Not included | Diagonal braces included |
| Cover attachment | Pre-bonded to frame | Separate, ratchet-tensioned |
| Anchoring system | Post-assembly | Integrated during base assembly |
| Snow load capacity | Moderate | High |
| Best for | Seasonal/moderate climates | Year-round/harsh winters |
Canadian-Specific Considerations
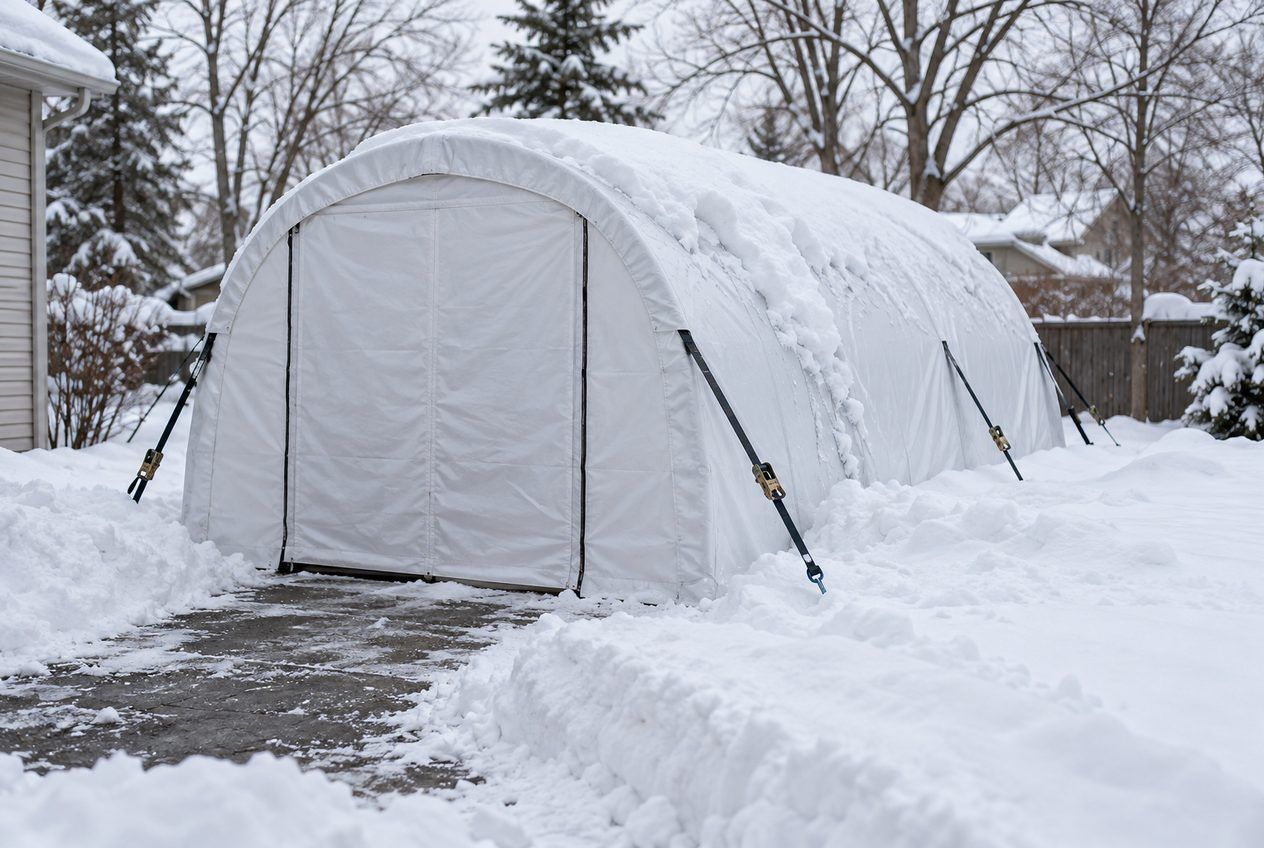
Setting up a portable garage in Canada comes with unique challenges that our neighbours to the south rarely face. Paying attention to these factors can mean the difference between a shelter that lasts years and one that collapses under the first heavy snowfall.
Frost Line Depth and Ground Anchoring
Canadian frost lines range from 4 feet in southern Ontario to over 8 feet in northern regions. While a portable garage doesn't require footings that extend to the frost line (it's not a permanent structure), frost heave can push auger anchors upward over the winter. To combat this:
- Use longer auger anchors (30" or longer) in areas with deep frost lines.
- Check and re-tighten anchors in early spring after the freeze-thaw cycle.
- Consider adding concrete anchor blocks at the base in permafrost regions.
Wind Direction and Snow Loading
Canadian winters bring both sustained winds and heavy snow, often at the same time. Position your portable garage so that:
- The rounded or peaked end faces the prevailing wind direction (usually west/northwest) — this minimizes the cross-section exposed to wind pressure.
- The open end faces away from drifting snow patterns on your property.
- There is adequate clearance for snow sliding off the sides — at least 3 feet from fences, walls, or neighbouring structures.
Snow Clearing Access
Snow accumulation is the leading cause of portable garage failures in Canada. Plan for it:
- Leave enough room on all sides for a snow blower or shovel access.
- After heavy snowfalls (15 cm or more), brush snow off the cover from the outside using a soft-bristle push broom or roof rake. Never use a metal shovel on the fabric.
- The ShelterTube's round profile lets snow slide off more easily than flat or low-peak designs, making it the preferred choice for regions with heavy snowfall.
- If you're in an area that regularly receives over 200 cm of annual snowfall, consider a ShelterTube over a ShelterCoat for the additional structural strength.
Seasonal Maintenance Schedule for Canadian Climates
| Season | Maintenance Tasks |
|---|---|
| Spring (April-May) | Re-tighten all anchors after frost heave; inspect cover for winter damage; check all bolt connections |
| Summer (June-August) | Inspect cover for UV wear; ensure ventilation openings are clear; trim nearby vegetation |
| Fall (September-October) | Pre-tension cover for winter; add extra anchors if needed; clear debris from roof |
| Winter (November-March) | Clear snow after each major storm; check for ice buildup at base; inspect anchors monthly |
Common Mistakes to Avoid
Even experienced DIYers make these errors. Being aware of them ahead of time saves you the headache of disassembling and starting over.
Products in this guide
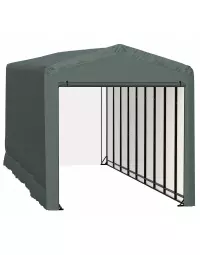
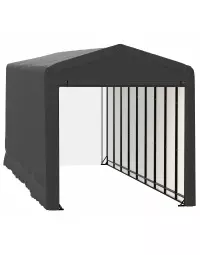
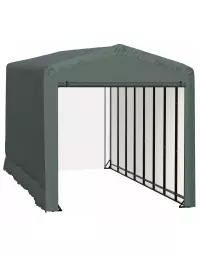
- Skipping the site levelling step. An uneven base creates uneven stress on the frame. Over time, this leads to bent tubes, torn cover fabric, and anchors pulling free. Take the time to level your surface properly before you start.
- Tightening bolts fully during initial assembly. Keep connections finger-tight until the entire frame is assembled. This allows for minor adjustments and alignment corrections. Fully torque everything only after the cover is on and the structure is anchored.
- Assembling in high wind. The cover acts like a sail during installation. Even moderate gusts can catch an unsecured cover and twist the frame or injure you. Wait for a calm day — your patience will be rewarded with a much easier install.
- Insufficient anchoring. The included anchor kit meets minimum requirements. In Canadian conditions with high winds and freeze-thaw cycles, doubling the number of anchors is a wise investment. Extra auger anchors are inexpensive insurance.
- Ignoring snow loads. A portable garage is not a "set it and forget it" structure in Canadian winters. Regular snow removal is essential. More portable garage failures in Canada are caused by snow overload than by any other factor.
- Not reading the manual. Every ShelterLogic model has unique assembly details. Components that look similar may not be interchangeable between models. The 15 minutes you spend reading the manual will save you hours of troubleshooting.
- Forgetting to check cover tension after the first week. New covers stretch slightly during the first few days. Go back after one week and re-tension the cover using the ratchet system. A loose cover flaps in wind, which accelerates wear.
Frequently Asked Questions
Can I set up a ShelterLogic portable garage by myself?
While it is technically possible to assemble a smaller ShelterCoat model alone, it is not recommended. The frame ribs need to be held upright while purlins are connected, and the cover installation requires someone to hold the fabric taut on one side while the other person secures it. For ShelterTube models, a solo assembly is impractical due to the weight of the heavy-gauge steel components. Plan for at least two people for a ShelterCoat and two to three people for a ShelterTube.
Do I need a building permit for a portable garage in Canada?
It depends on your municipality. Many Canadian municipalities exempt temporary or portable structures under a certain size (often 108 square feet or 10 square metres) from permit requirements. However, some require permits for any covered structure, regardless of whether it's permanent. Setback requirements from property lines and roads almost always apply. Contact your local building department before installation to avoid potential fines or forced removal.
How long does a ShelterLogic cover last in Canadian conditions?
With proper maintenance — regular snow removal, seasonal tension adjustments, and periodic inspections — a ShelterLogic cover typically lasts 3-5 years in harsh Canadian climates. Factors that shorten cover life include prolonged UV exposure, constant wind flapping from loose tension, and abrasion from tree branches. Replacement covers are available from IPATIO when the time comes, and installing a new cover on an existing frame takes about an hour.
What is the best surface to place a ShelterLogic portable garage on?
A compacted gravel pad (4-6 inches deep) is the best overall surface. It provides excellent drainage, prevents mud and standing water, and allows auger anchors to grip securely. Concrete is the second-best option if the pad already exists, though you'll need masonry anchors instead of auger anchors. Bare earth or grass works for short-term seasonal use but is not recommended for overwintering, as water pooling and frost heave become significant problems.
Get Started on Your Portable Garage Project
Setting up a ShelterLogic portable garage is a straightforward weekend project that delivers immediate value — protected vehicles, dry equipment, and a versatile covered workspace. Whether you choose the quick-assembly ShelterCoat for seasonal protection or the heavy-duty ShelterTube for year-round Canadian conditions, following the steps in this guide will ensure a solid, safe, and long-lasting installation.
IPATIO carries a full selection of ShelterLogic portable garages, replacement covers, and anchoring accessories with free shipping on orders over $88. Browse our collection to find the right size and style for your property.