Complete Guide to Backyard Solariums & Sunrooms in Canada
For Canadian homeowners, the dream of enjoying natural light year-round while staying protected from harsh winters, blistering summers, and relentless mosquitoes is more achievable than ever. A backyard solarium or sunroom transforms your outdoor living space into a versatile three-season retreat — and with modern kit-based designs, you can install one yourself in just a weekend or two.
In this comprehensive guide, we cover everything you need to know about choosing, sizing, and installing a solarium or sunroom for Canadian conditions. Whether you want a cozy reading nook, an expanded dining area, or a full garden room, this guide will help you make the right decision.
Solarium vs. Sunroom: What Is the Difference?
The terms "solarium" and "sunroom" are often used interchangeably, but there are subtle distinctions worth understanding before you invest.
Solarium
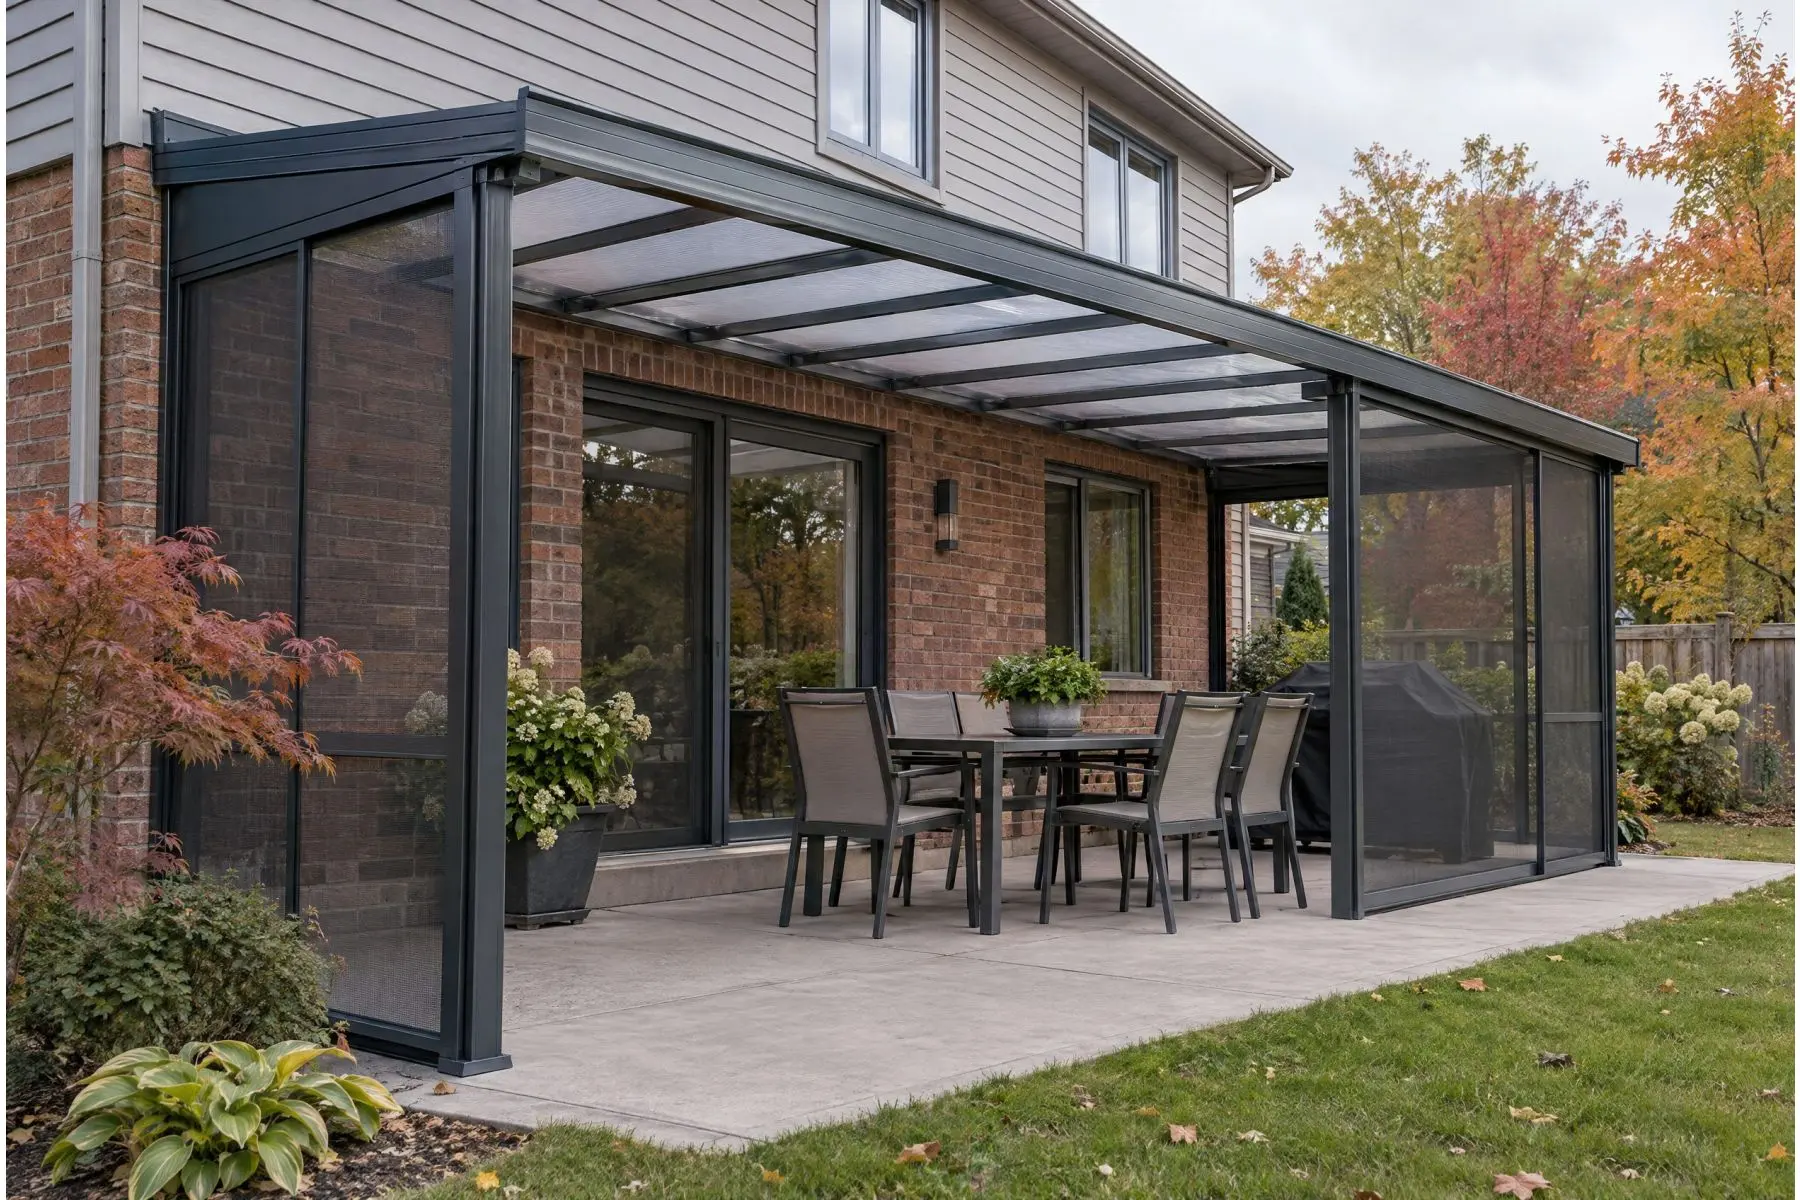
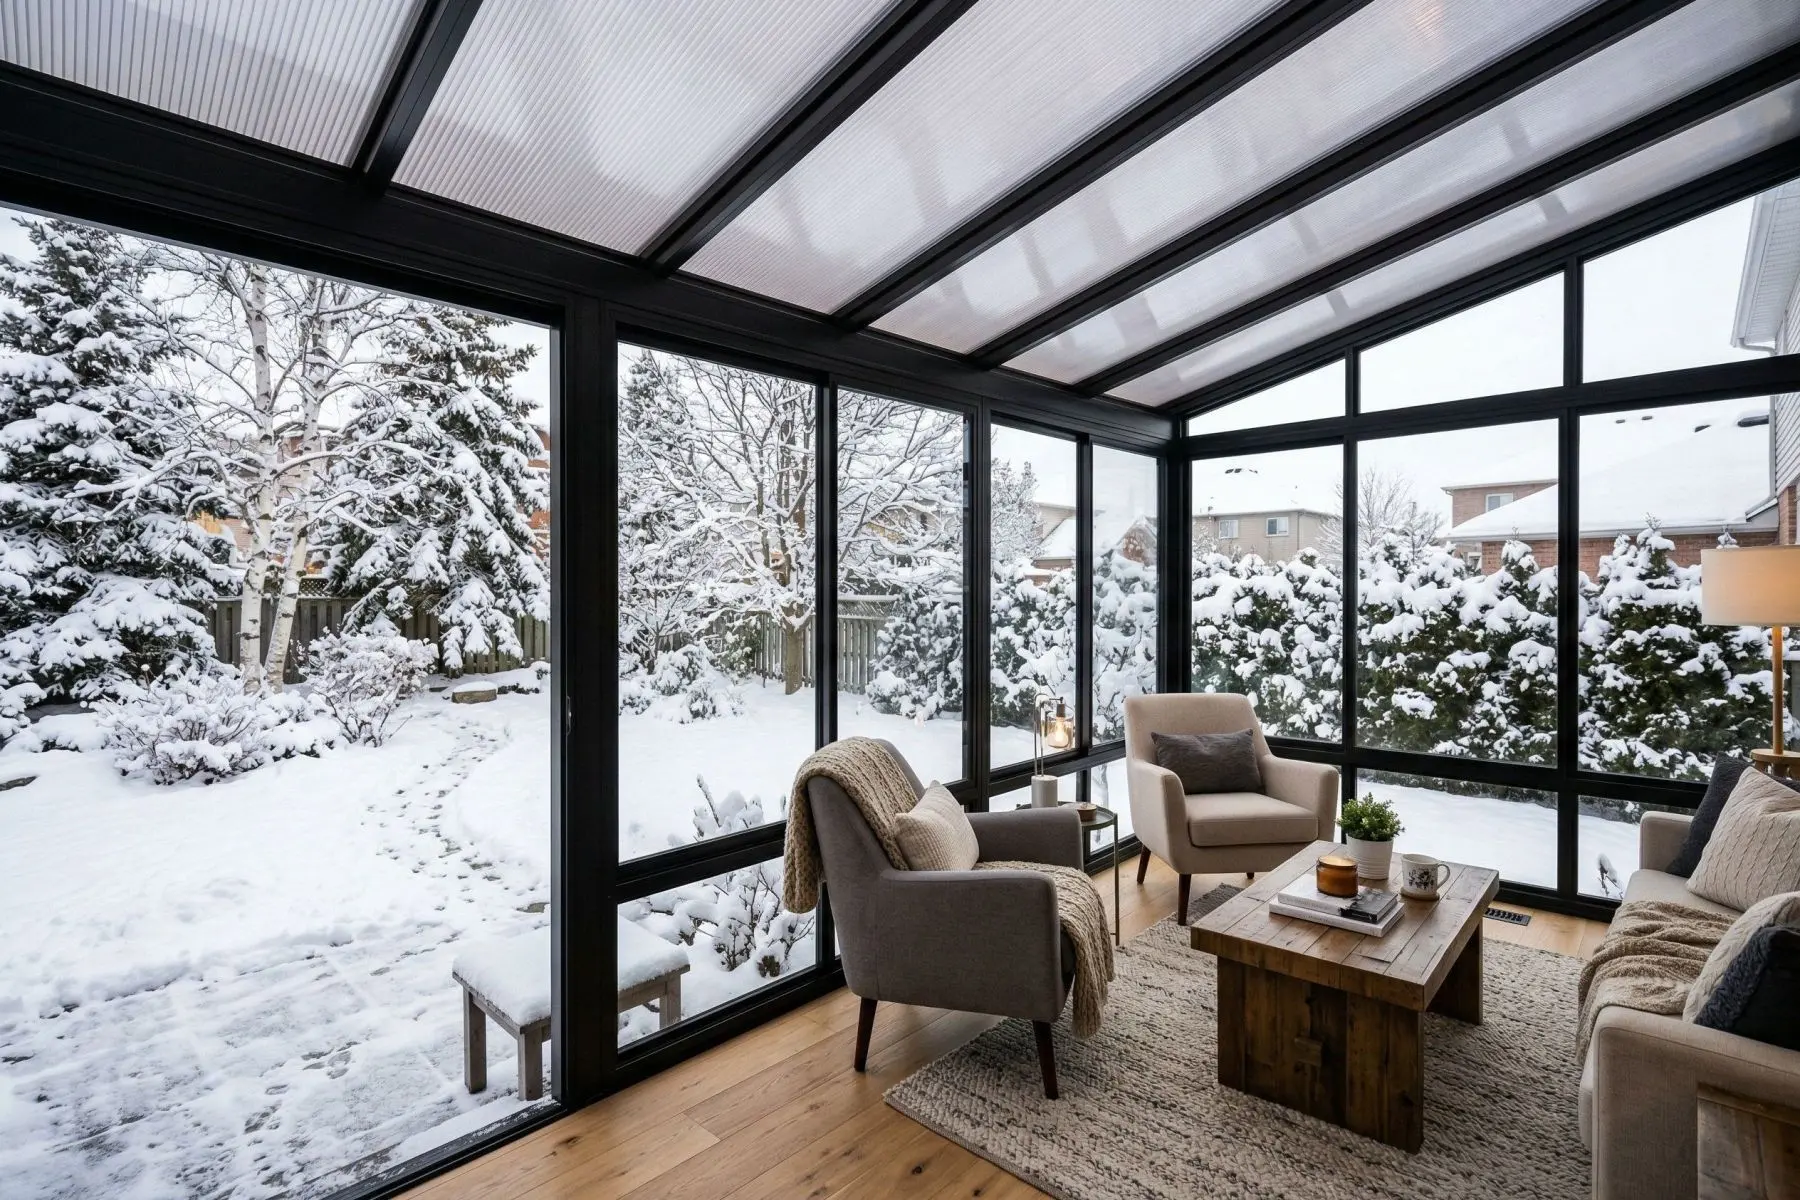
A solarium is a fully enclosed glass or polycarbonate structure with transparent or translucent roof panels. The roof allows maximum natural light penetration from above, creating a bright, airy space that feels like being outdoors. Modern solariums use multi-wall polycarbonate roofing rather than glass for superior insulation, impact resistance, and UV protection.
Sunroom
A sunroom is typically a room addition with large windows on the walls but a solid, opaque roof. Sunrooms let in plenty of side light but lack the overhead illumination that defines a solarium. They are often built as permanent home additions and may require more extensive construction.
Key Differences at a Glance
| Feature | Solarium | Sunroom |
|---|---|---|
| Roof | Transparent/translucent (polycarbonate or glass) | Solid/opaque (shingles, metal) |
| Natural Light | Maximum — overhead & sides | Good — sides only |
| Installation | Often DIY kit-based | Usually contractor-built |
| Cost | $5,000 – $18,000 (kit) | $20,000 – $80,000+ (built) |
| Permits | May or may not be required | Almost always required |
| Winter Use | No, three-season (spring to fall) | Yes, if properly insulated |
For most Canadian homeowners looking for an affordable, light-filled addition they can install themselves, a polycarbonate-roofed solarium is the ideal choice.
Why Canadian Weather Matters
Canada's climate is the single biggest factor driving solarium purchases. With temperatures ranging from -30°C in January to +35°C in July across much of the country, your outdoor structure needs to handle extremes.
A well-designed three-season solarium provides:
- Shoulder-season warmth: Multi-wall polycarbonate panels trap heat like a greenhouse, keeping the interior significantly warmer than outside — even without active heating
- Summer cooling: UV-blocking coatings and operable windows or screens allow ventilation while filtering harmful rays
- Snow load resistance: Engineered aluminum frames and sloped roofs handle Canadian snow loads (critical for provinces like Quebec, Ontario, and the Prairies)
- Bug protection: Full screen capability keeps mosquitoes, black flies, and other insects out during spring and summer
- Wind resistance: Solid construction withstands high winds common in coastal and prairie regions
The ability to use your solarium from early spring to late fall — not just during the brief Canadian summer — makes it one of the highest-value additions you can make to your home.
The Gazebo Penguin Florence Solarium: Canada's Top Choice
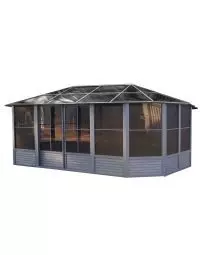
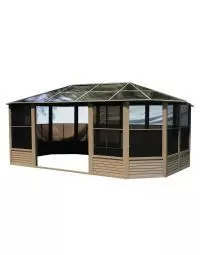
When it comes to three-season solariums designed for Canadian conditions, the Gazebo Penguin Florence stands out as the gold standard. Manufactured in Quebec, these solariums are engineered from the ground up for Canadian winters, snow loads, and temperature extremes.
Why the Florence Is So Popular
- Made in Canada: Designed and manufactured in Quebec with Canadian climate requirements built into every component
- Polycarbonate roof panels: 8mm twin-wall polycarbonate provides excellent insulation and light diffusion while handling heavy snow loads
- Heavy-duty aluminum frame: Powder-coated aluminum resists rust, rot, and UV degradation — no annual maintenance required
- Modular screen & panel system: Swap between PVC window panels (cooler months) and screen panels (summer) for true three-season versatility
- DIY installation: Designed for homeowner assembly with detailed instructions — no specialized tools or contractor needed
Available Sizes
The Florence lineup covers a wide range of footprints to suit any backyard and budget. Here is the complete sizing guide:
| Model Size | Footprint (ft) | Approx. Area (sq ft) | Best For |
|---|---|---|---|
| 8 x 12 | 8' × 12' | 96 | Compact spaces, reading nooks, small patios |
| 8 x 16 | 8' × 16' | 128 | Narrow yards, side-of-house installations |
| 10 x 10 | 10' × 10' | 100 | Square layouts, balanced proportions |
| 10 x 12 | 10' × 12' | 120 | Small families, casual dining area |
| 10 x 14 | 10' × 14' | 140 | Mid-size entertaining, lounge & dining |
| 12 x 12 | 12' × 12' | 144 | Square entertaining space, hot tub enclosure |
| 12 x 15 | 12' × 15' | 180 | Large families, multi-purpose rooms |
| 12 x 18 | 12' × 18' | 216 | Maximum space, full outdoor living room |
Available Colors
The Florence solarium comes in three elegant, neutral finish options that complement virtually any home exterior:
- Sand: A warm, light tone that blends beautifully with natural wood decks and stone patios. Popular with cottage-style and traditional homes.
- Slate: A sophisticated medium grey that pairs well with modern and contemporary home designs. The most versatile color choice.
- Black: A bold, modern finish that creates striking contrast against lighter siding. Ideal for contemporary and industrial-style homes.
All colors use durable powder-coat finishes that resist fading, chipping, and corrosion — even after years of exposure to Canadian weather.
Polycarbonate Roof: The Smart Choice for Canadian Solariums
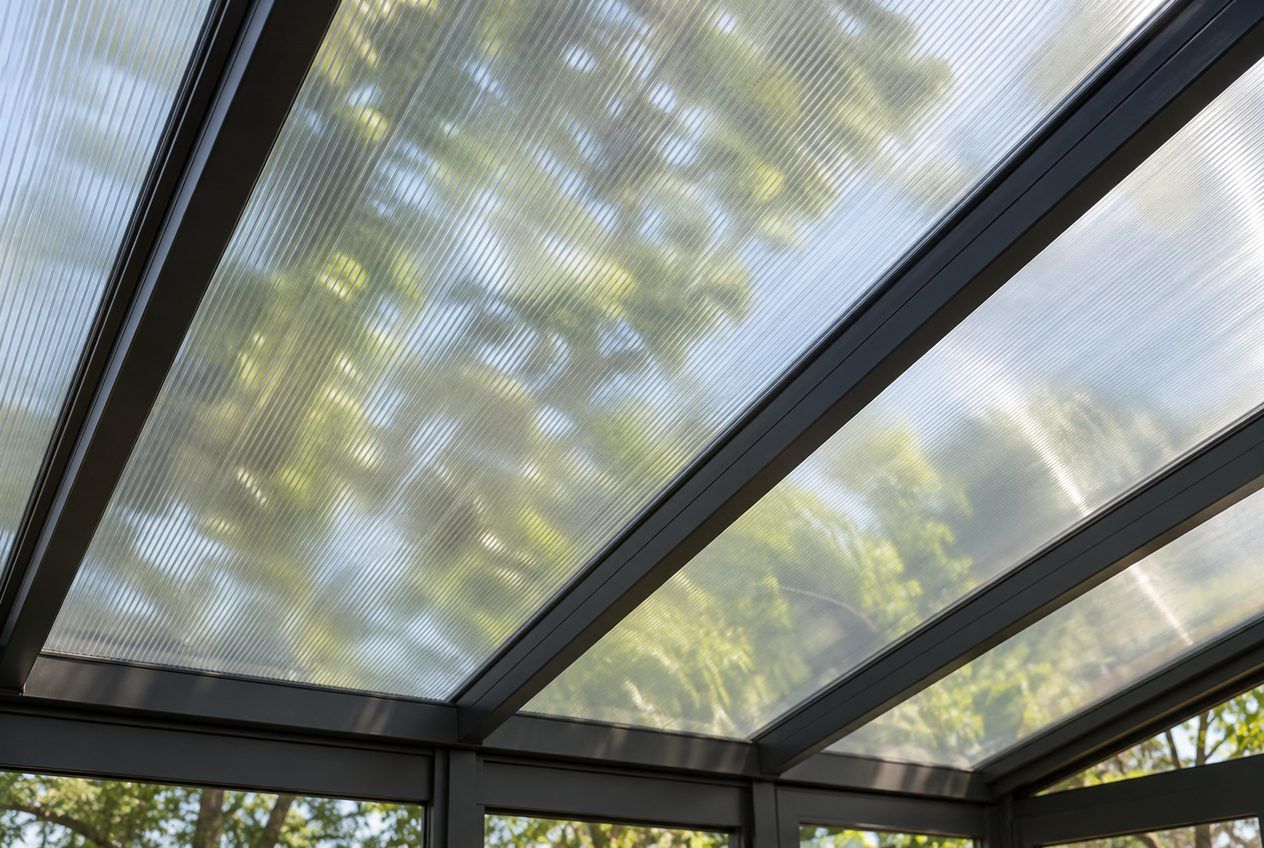
The polycarbonate roof is what truly sets modern solariums apart from older glass-roof designs. Here is why polycarbonate has become the preferred roofing material:
Benefits of Polycarbonate Roofing
- Insulation: Multi-wall (twin-wall or triple-wall) polycarbonate has air channels that provide natural insulation, reducing heat loss in winter and heat gain in summer
- Impact resistance: Virtually unbreakable — 200 times stronger than glass. Handles hail, falling branches, and heavy snow loads without cracking
- UV protection: Built-in UV coating blocks harmful ultraviolet rays while still allowing visible light through. Your furniture and flooring are protected from sun damage
- Light diffusion: Translucent panels scatter light evenly, eliminating harsh glare and hot spots that occur with clear glass roofs
- Lightweight: Dramatically lighter than glass, reducing structural requirements and making DIY installation feasible
- Snow shedding: The smooth surface allows snow to slide off more easily than textured roofing materials
Alternative Option: Sojag Korado
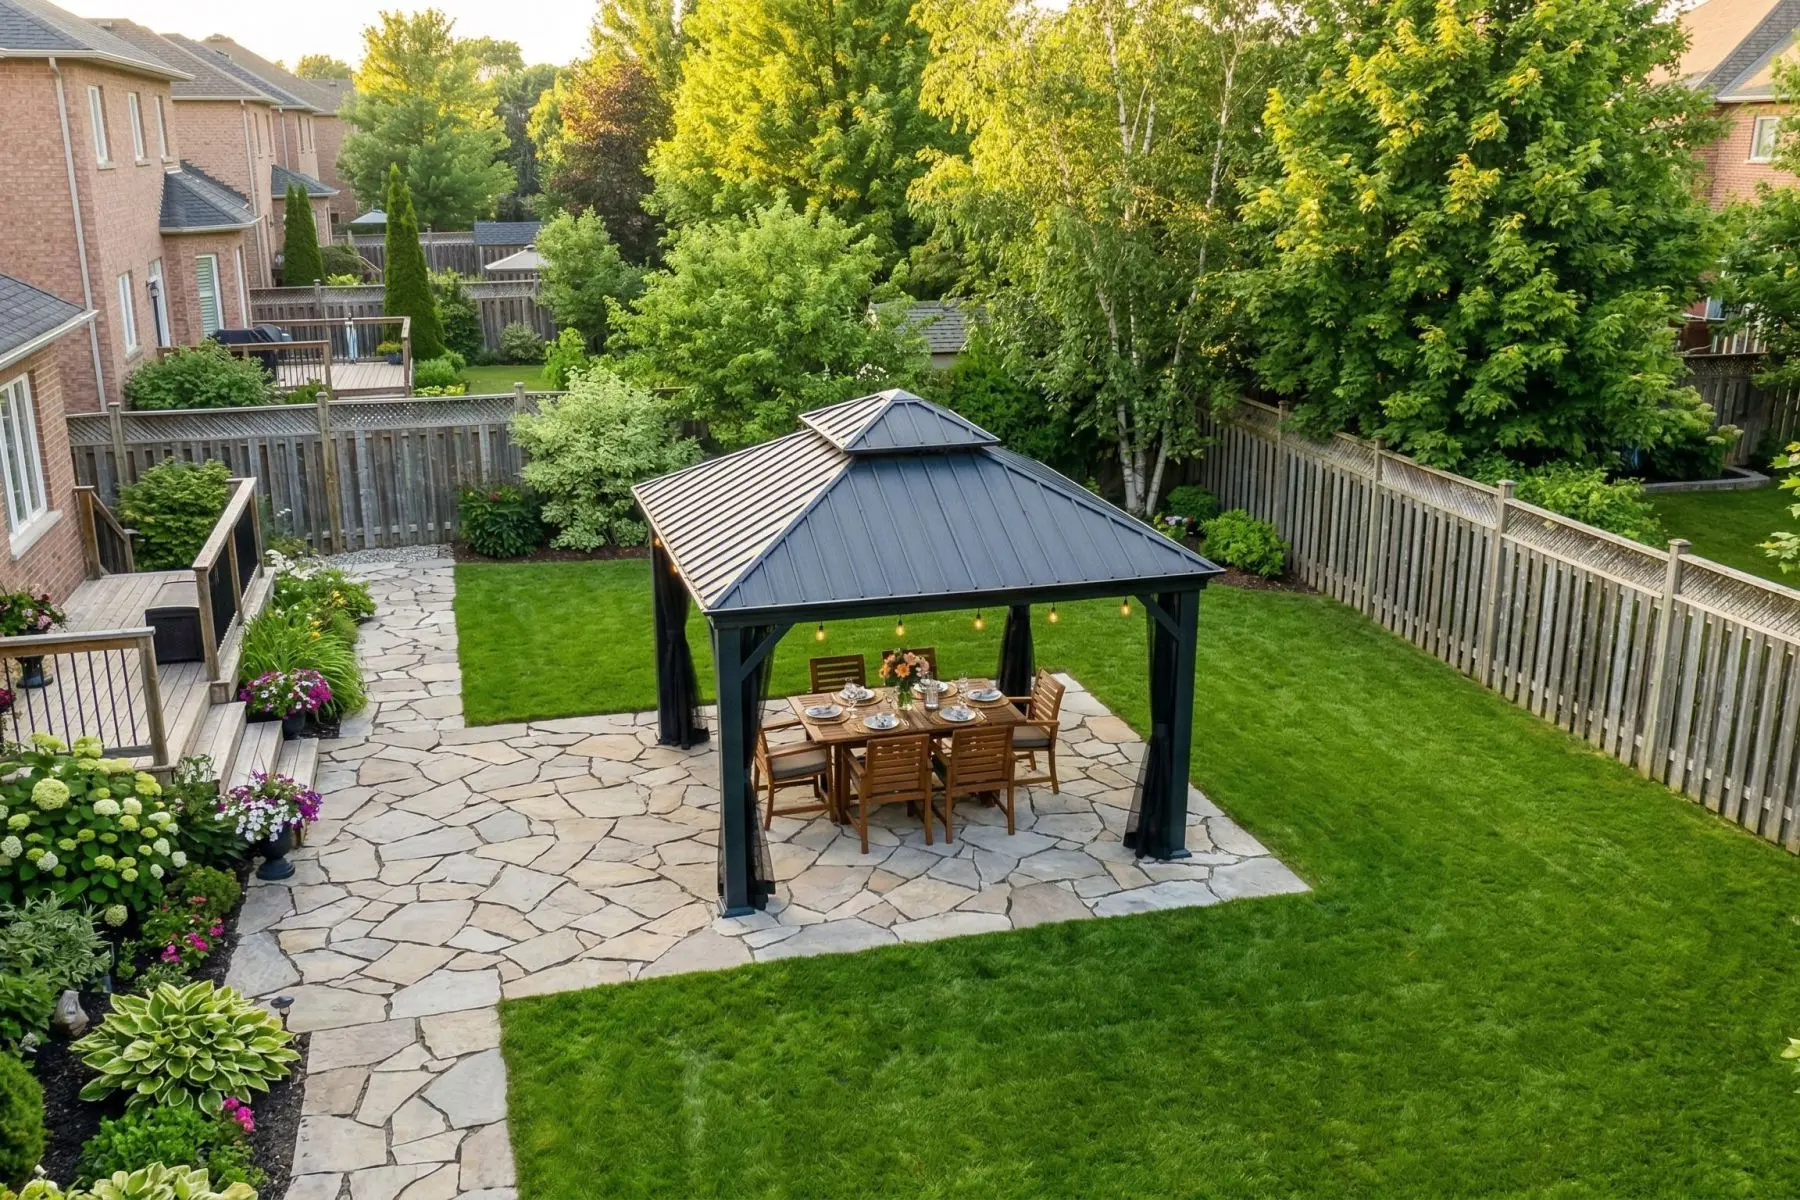
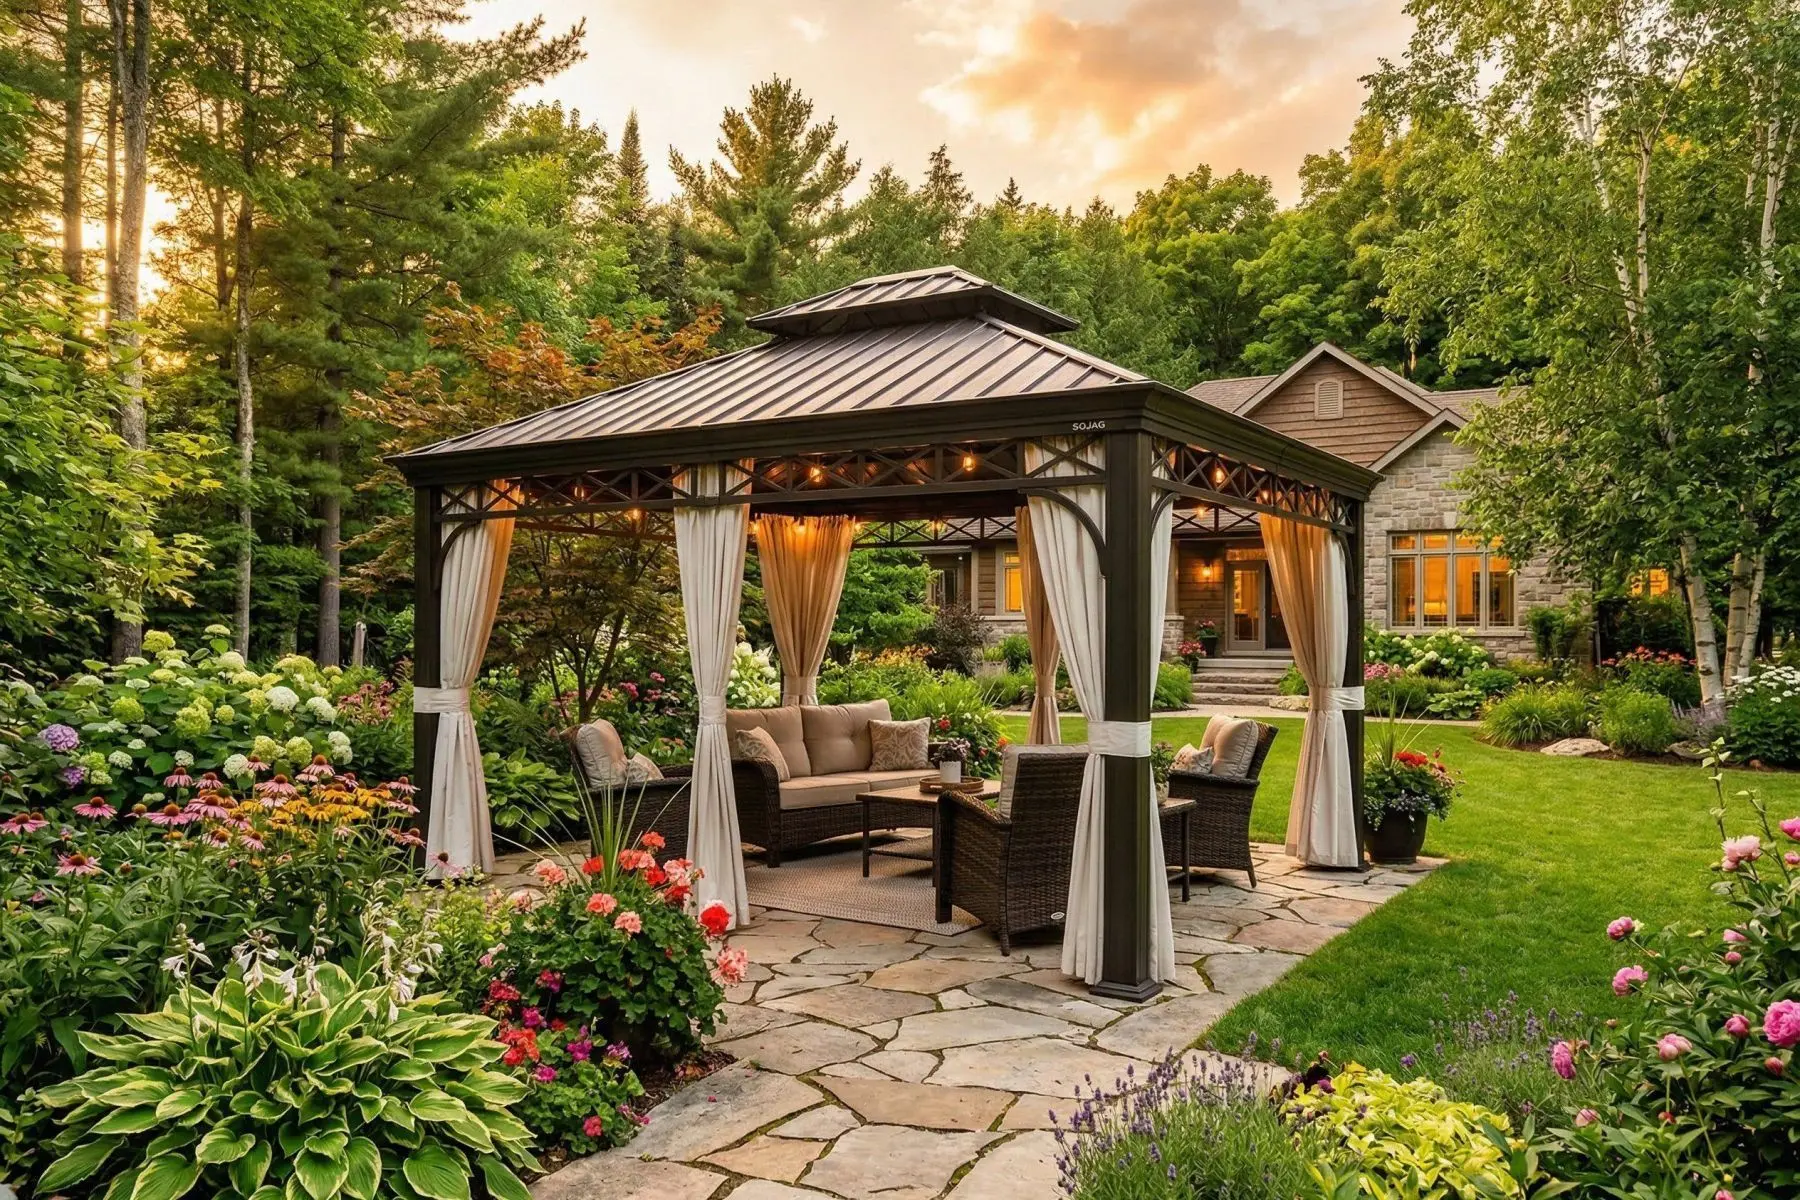
If you are exploring options beyond the Florence lineup, the Sojag Korado is another strong contender worth considering. The Korado offers a different aesthetic with its own set of advantages.
The Sojag Korado features a galvanized steel frame and is designed as a versatile shelter that can function as a screened gazebo or an enclosed solarium depending on which wall panels you install. It appeals to homeowners who want a more industrial, rugged look or who plan to use the structure primarily as a three-season screened room with the option to enclose it further.
While the Korado is a capable structure, the Gazebo Penguin Florence remains the preferred choice for homeowners prioritizing weather protection, three-season performance, and a polycarbonate roof engineered specifically for Canadian snow loads.
Installation: A True DIY Project
One of the biggest advantages of kit-based solariums like the Florence is that installation is genuinely achievable for handy homeowners. You do not need a contractor.
What to Expect
- Time: Plan for 1–2 weekends (2–4 days) depending on size and experience level
- People: Two adults minimum. A third helper makes roof panel installation much easier.
- Tools: Standard household tools — drill/driver, level, tape measure, stepladder, socket set. No welding, no cutting.
- Skill level: Intermediate DIY. If you have assembled a large piece of furniture or built a deck, you can handle this.
Installation Steps (Overview)
- Prepare the foundation (see below)
- Assemble the base frame on the prepared surface
- Erect the wall posts and connect them to the base
- Install the roof structure and polycarbonate panels
- Hang wall panels (glass or screen, depending on season)
- Seal and finish all connections
Foundation Requirements
A proper foundation is essential for the longevity and structural integrity of your solarium. The structure needs a flat, level, and solid surface.
Acceptable Foundation Types
- Concrete pad: The gold standard. A 4-inch thick concrete slab provides the most stable, permanent foundation. Ideal for a permanent installation.
- Existing patio: A level concrete or paver patio in good condition works well. Check for cracks, settling, or drainage issues first.
- Deck: A structurally sound wood or composite deck can work, provided it can support the weight. Verify with a structural calculator or contractor if unsure.
- Helical piles: An excellent option for Canadian conditions. Helical piles extend below the frost line, preventing heaving. Popular in Quebec and Ontario.
Foundation Tips
- Ensure the surface is level within 1/4 inch across the full footprint
- Allow for drainage away from the foundation to prevent water pooling
- In regions with deep frost (most of Canada), consider foundations that extend below the frost line (typically 4–5 feet deep) to prevent heaving
- Check local building codes for setback requirements from property lines and other structures
How to Choose the Right Size
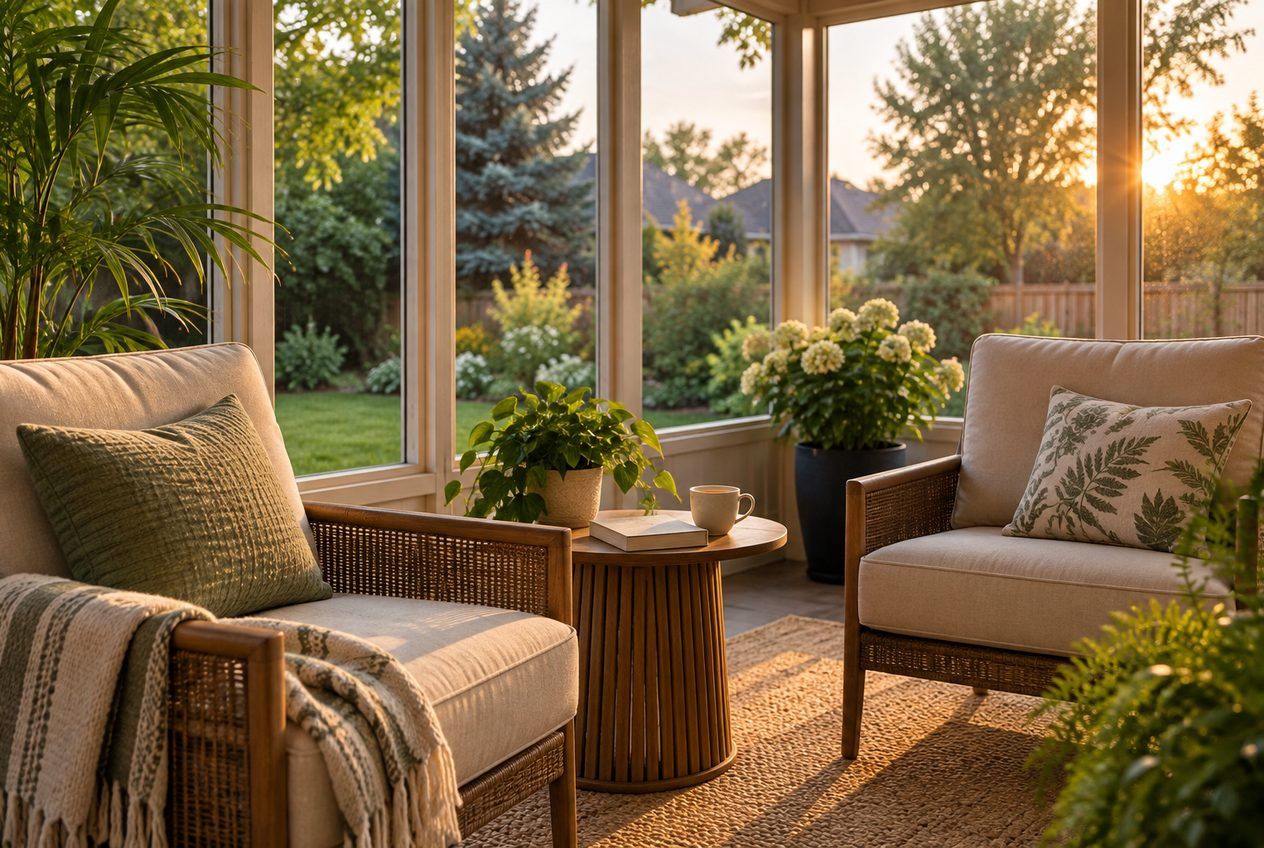
Selecting the right solarium size depends on your intended use, available space, and budget. Here is a quick decision framework:
Sizing Guide by Use Case
| Use Case | Recommended Size | Why |
|---|---|---|
| Reading nook / morning coffee | 8 x 12 or 10 x 10 | Cozy, intimate space for 1–2 people |
| Small family dining | 10 x 12 or 10 x 14 | Room for a table and 4–6 chairs |
| Entertaining guests | 12 x 12 or 12 x 15 | Enough space for seating groups and movement |
| Full outdoor living room | 12 x 15 or 12 x 18 | Multi-zone layout with lounge, dining, and plants |
| Hot tub enclosure | 12 x 12 or 12 x 15 | Accommodates tub plus changing/seating area |
| Narrow side yard | 8 x 16 | Long, slim profile fits tight spaces |
Pro tip: Always go one size larger than you think you need. The most common regret from solarium owners is not choosing a bigger model. The cost difference between sizes is modest compared to the value of extra space you will use every day.
Home Value & Return on Investment
A solarium is not just a lifestyle upgrade — it is a smart financial investment. According to real estate industry data, sunroom and solarium additions typically deliver a 50% to 75% return on investment at resale.
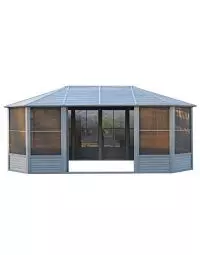
Products in this guide
Why Solariums Increase Home Value
- Additional living space: Buyers see a solarium as extra usable square footage, even if it is not heated to the same standard as the main house
- Curb appeal: A well-installed solarium dramatically improves the appearance and perceived quality of a home
- Three-season appeal: In Canada, where outdoor enjoyment is limited for months of the year, a year-round sunroom is a powerful selling feature
- Low maintenance costs: Aluminum and polycarbonate structures require virtually no upkeep, which appeals to buyers
Beyond resale value, consider the lifestyle return: hundreds of hours of additional enjoyment every year in a space that connects you to your backyard and natural light, regardless of the weather outside.
Permit Considerations for Canadian Homeowners
Permit requirements vary significantly across Canadian municipalities. Here is what you need to know:
When You Likely Need a Permit
- The structure is attached to your home
- The structure exceeds a certain size threshold (often 100–120 sq ft, but varies by municipality)
- You are building a new foundation (concrete pad, footings, or piles)
- Your property is in a heritage district or has specific zoning restrictions
When You May Not Need a Permit
- Freestanding structures under your municipality's size threshold
- Placement on an existing patio or deck without foundation modifications
- Temporary or seasonal structures (though most solariums are permanent installations)
Best Practice
Always contact your local building department before installation. A quick phone call can save you from fines, forced removal, or complications when selling your home. Most municipalities in Ontario, Quebec, British Columbia, and Alberta have straightforward processes for accessory structures.
Maintenance & Care
One of the greatest advantages of modern aluminum-frame solariums is their minimal maintenance requirements:
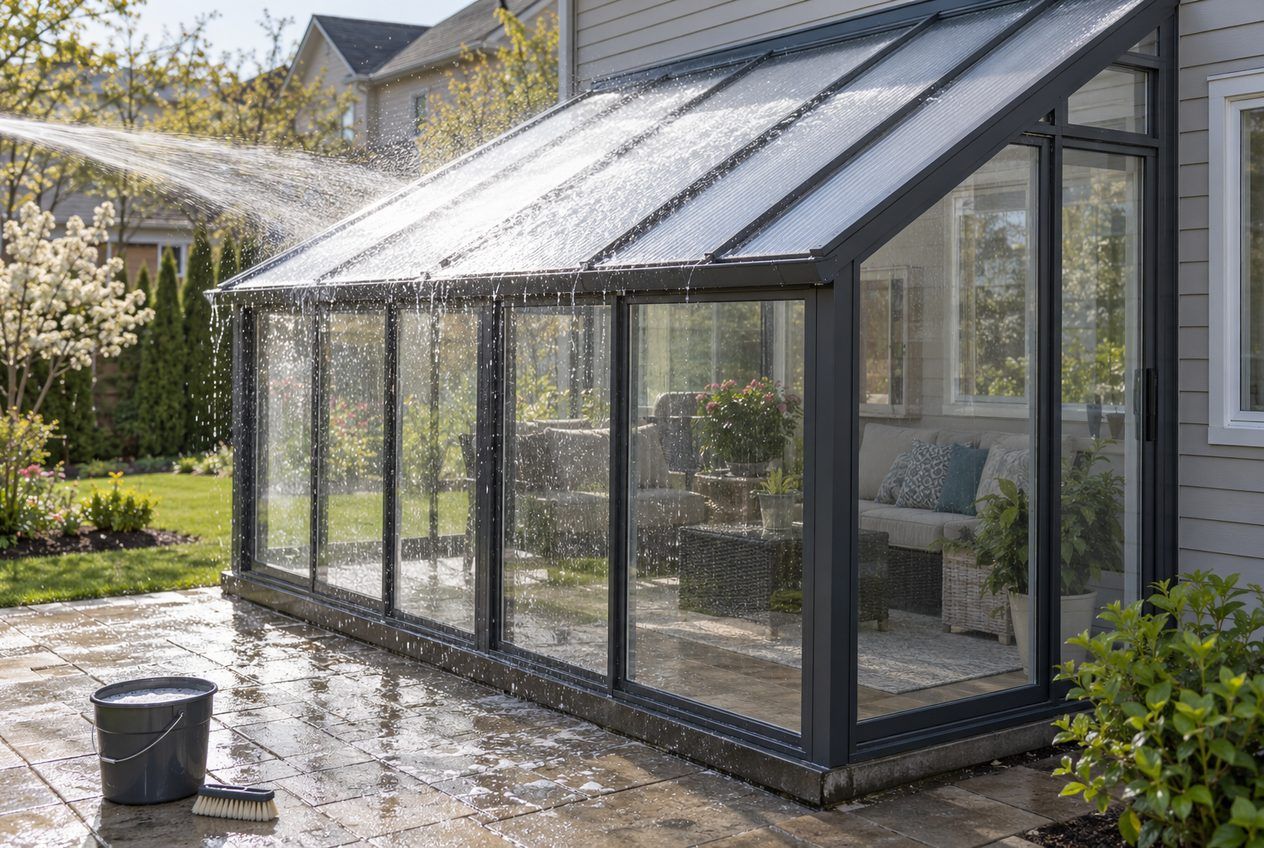
- Roof panels: Rinse with a garden hose 2–3 times per year. Use mild soap for stubborn dirt. Never use abrasive cleaners.
- Aluminum frame: Wipe down with a damp cloth as needed. The powder-coat finish resists fading and corrosion.
- Glass/screen panels: Clean glass panels with standard glass cleaner. Inspect screens annually for tears.
- Weatherstripping: Check seals around panels once per year and replace if they become compressed or cracked.
- Snow removal: Most polycarbonate roofs are designed to handle normal snow loads. After exceptionally heavy snowfalls, you can gently brush off accumulation with a soft broom from inside (if the design allows) or from a ladder.
Free Shipping on Orders Over $88
At IPATIO, we offer free shipping across Canada on orders over $88. All Gazebo Penguin Florence solariums and Sojag Korado models qualify for free shipping, delivered by freight carrier, usually curbside. Our team is available to help you choose the right size and color for your space.
Frequently Asked Questions
Can I use a polycarbonate solarium in the winter in Canada?
Not as a heated living space. Polycarbonate-roofed solariums like the Gazebo Penguin Florence are three-season structures: the twin-wall roof and PVC windows keep the interior noticeably warmer than the outside air in spring and fall, but they are not insulated for winter occupancy. The aluminum frames and roof panels are engineered to handle Canadian snow loads, and the sloped roof design encourages snow to slide off naturally.
How long does it take to install a solarium by myself?
Most homeowners complete installation in 1 to 2 weekends (approximately 2 to 4 full days of work). You will need at least one helper — two adults minimum, with a third person helpful for lifting roof panels into place. No specialized tools or professional skills are required. The kits come with all necessary hardware and detailed step-by-step instructions. If you have experience with deck building or large furniture assembly, you will find the process straightforward.
Do I need a building permit for a backyard solarium?
It depends on your municipality. In many Canadian cities and towns, freestanding structures under a certain size (often 100 to 120 square feet) placed on existing foundations may not require a permit. Larger structures, those attached to the house, or those requiring new foundations typically do require permits. Rules vary widely between provinces and municipalities, so always check with your local building department before starting. A quick phone call can clarify requirements specific to your address.
What is the best foundation for a solarium in Canada?
A concrete pad is the most reliable foundation for a permanent solarium. For Canadian conditions specifically, helical piles are an excellent option because they extend below the frost line and prevent the heaving that can occur with shallow foundations in freeze-thaw cycles. An existing level concrete patio or a structurally sound deck can also work well. The key requirements are that the surface must be flat, level (within 1/4 inch), and capable of supporting the structure's weight plus any snow load.