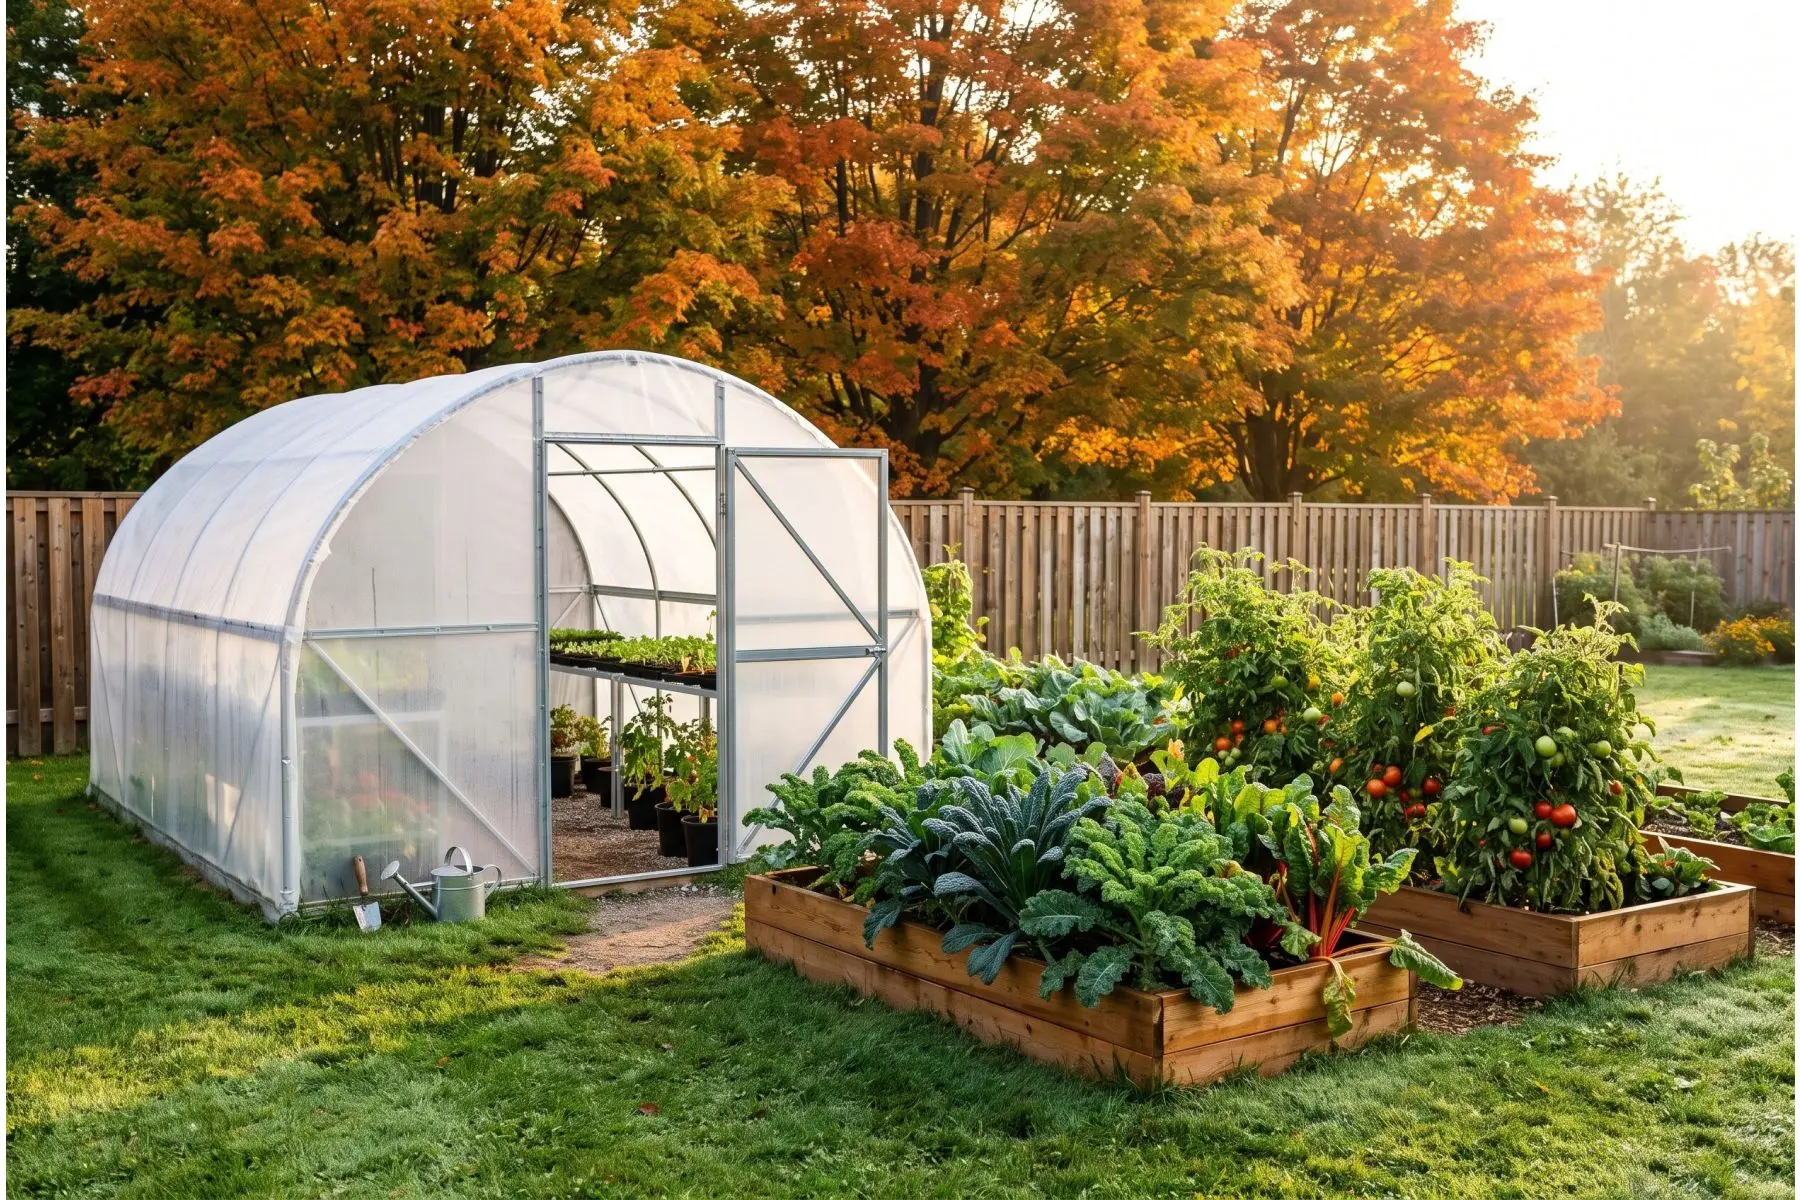
A backyard greenhouse is the single cheapest way to buy yourself more growing season, and in Canada that matters more than almost anywhere else. Depending on where you garden, the frost-free window runs from roughly 90 days on the Prairies to about 220 days on the south coast of British Columbia. A greenhouse can add four to eight weeks at each end of that window — enough to start tomatoes from seed in March instead of buying transplants in June, and to keep kale, chard and peppers producing well past the first hard frost. This buying guide covers the sizes, cover materials, frames and siting decisions that actually matter, using the greenhouses we stock.
Why a Greenhouse Earns Its Keep in a Canadian Backyard
Canadian gardeners live and die by two dates: the last spring frost and the first fall frost. In Vancouver those fall around late March and early November. In Toronto and Halifax, early May and mid-October. In Montreal, early May and early October. On the Prairies — Winnipeg, Regina, Calgary — you are often looking at late May and mid-September, and Calgary gardeners know a August frost is not unheard of. That is a very short runway for anything that needs heat: tomatoes, peppers, eggplant, melons, basil.
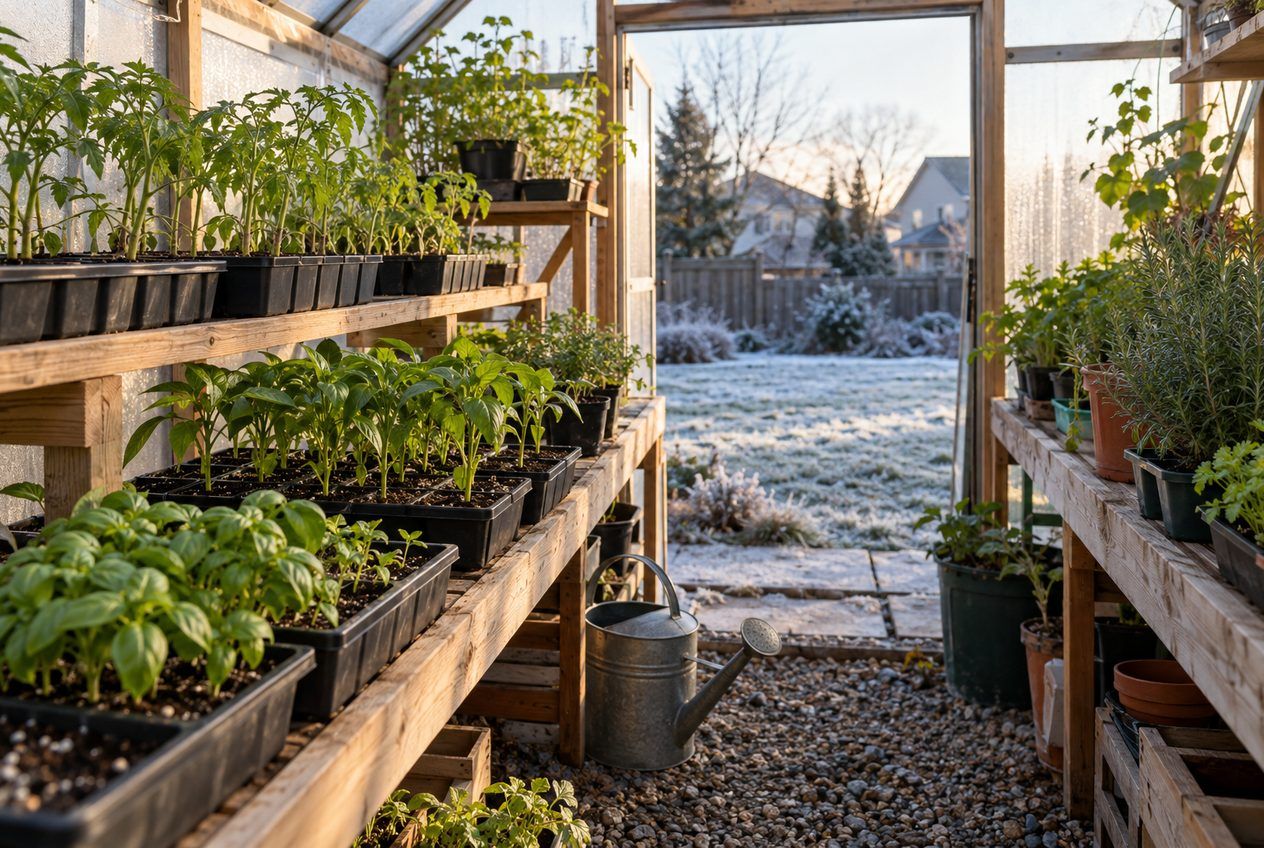
A greenhouse solves three problems at once. First, it lets you start seedlings six to eight weeks early in a protected, bright space instead of crowding every south-facing windowsill in the house. Second, it holds daytime heat into the shoulder seasons, so September and early October stay productive instead of being written off. Third, it is a shelter for anything that needs to be hardened off gradually or overwintered — potted perennials, fig trees, dahlias in their pots, cuttings you are not ready to plant out.
What a hobby greenhouse does not do, unless you heat it, is give you a year-round tropical room. Through a Canadian January an unheated structure is essentially a cold frame: it will keep hardy greens alive under row cover and protect dormant plants from wind and freeze-thaw cycles, but it will not ripen tomatoes. Set expectations there and you will be very happy with the result.
Greenhouse Sizes: Mini, Walk-In or Heavy Duty?
The most common regret we hear is buying too small. A greenhouse fills up faster than anyone expects, because it becomes the staging area for the whole garden. If you are on the fence between two sizes, take the larger one — the cost per square foot drops sharply as you go up.
Here is how the range breaks down, with the footprints and price bands from our current greenhouses at the time of writing:
| Type | Typical footprint | Best for | Cover | Price band |
|---|---|---|---|---|
| Mini / shelf | 23 x 17 in. to 4 ft 8 in. square | Seed starting, hardening off, balconies | Fabric or poly | Under $110 |
| Compact walk-in | 6 x 4 ft to 6 x 6 ft | One gardener, herbs and seedlings | Light-diffusion fabric | $175 – $240 |
| Standard backyard | 6 x 8 ft | Full vegetable starts plus overwintering pots | Translucent polyethylene | $265 – $290 |
| Large hoop | 10 x 10 ft to 10 x 20 ft | Rows of beds, serious production | Poly over 3-rib steel | $535 – $800 |
| Heavy duty | 12 x 20 ft to 12 x 24 ft | Market gardens, long-season crops | Poly over 6-rib steel | $1,275 – $1,600 |
| Permanent panel | 8 x 7 ft, 9 ft peak | A finished, year-round structure | Polycarbonate panels | Around $2,500 |
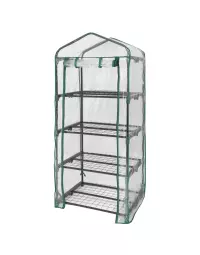
At the entry end, the Miracle-Gro Mini Greenhouse 23 x 17 x 57 in. is a shelved cabinet you can stand on a balcony or a deck — four tiers of trays, a cover, a frame and tie downs, and that is the whole kit. It is a seed-starting tool, not a garden building, but for under $60 it removes an enormous amount of windowsill pressure in March.
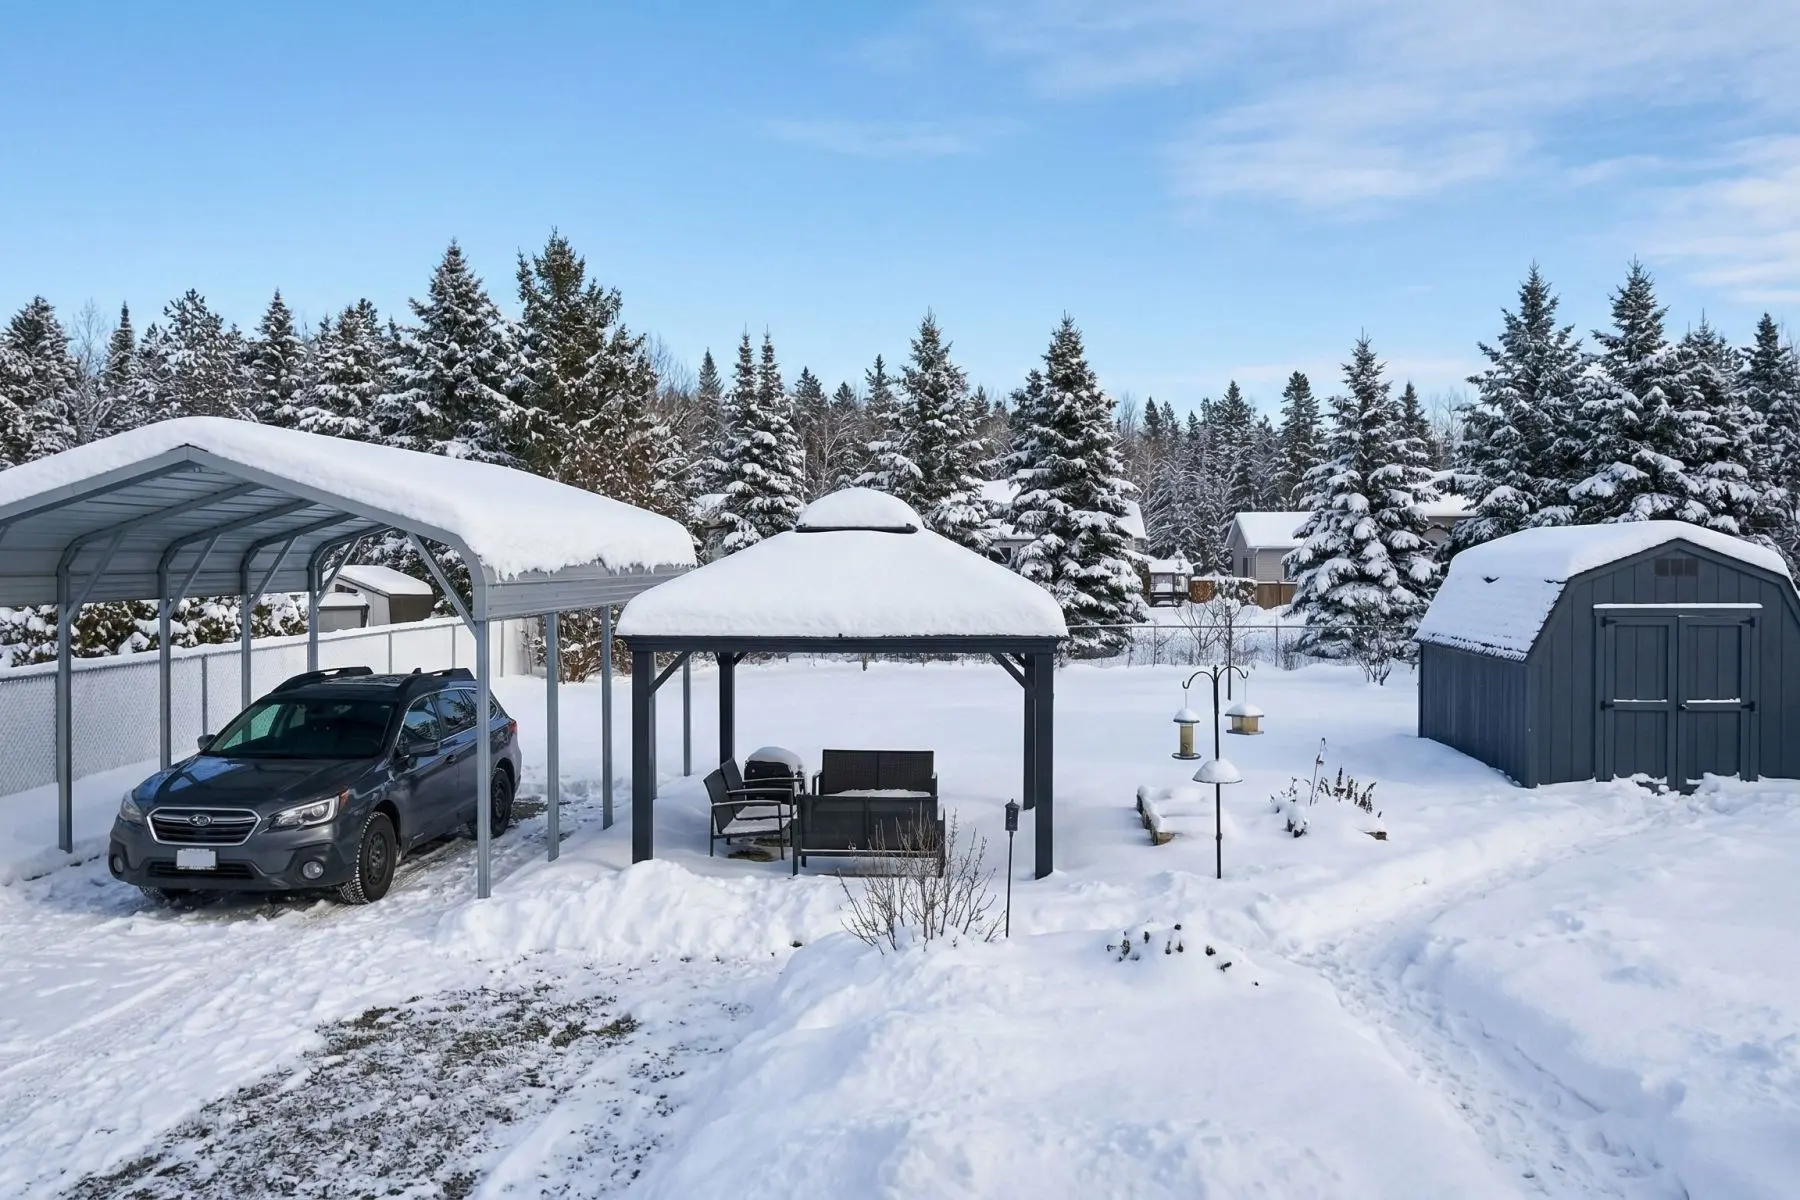
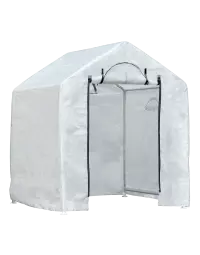
The first true walk-in size is 6 x 4 ft. The GrowIT Backyard Greenhouse 6 x 4 x 6 ft 6 in. is the classic version: a steel frame with welded T connectors, a one-piece 5 oz light-diffusion fabric cover, vents at both ends, a two-zipper door and four 15-inch auger anchors. One person fits comfortably; two people and a wheelbarrow do not.
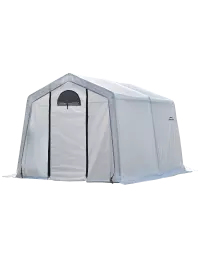
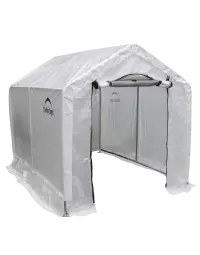
For most families the sweet spot is 6 x 8 ft. The GrowIT 6 x 8 ft. Backyard Greenhouse adds a three-rib all-steel frame, a translucent polyethylene cover, a double zippered front door with a vent, a rear vent panel and two 4 ft shelving kits in the box — so your bench space is sorted on day one. Step up again and the GrowIT Greenhouse-in-a-Box 10 x 10 ft. Peak Greenhouse gives you room for two rows of raised beds and a walking aisle, and ships with bungee cords, auger anchors and eight ratchet tie-downs for a properly tensioned cover.
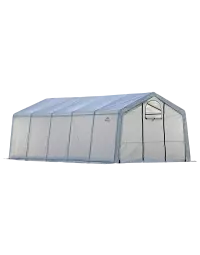
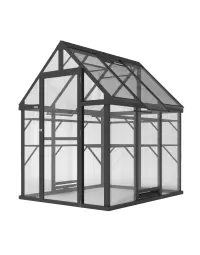
If you are growing at volume, the GrowIT Heavy Duty 12 x 20 ft. Greenhouse is a different animal: a six-rib all-steel frame, two double zippered doors with screened vents so you can run a breeze straight through on a hot July afternoon, and 30-inch auger anchors instead of 15-inch. And at the top of the range, the Sojag 8 x 7 x 9 ft Black Breen Greenhouse trades the fabric cover for rigid polycarbonate panels on a black frame — a permanent structure that reads as architecture rather than equipment.
Covers and Glazing: Polyethylene, Fabric or Polycarbonate
The cover is what you will replace first, and it is the biggest difference between a $300 greenhouse and a $2,500 one.
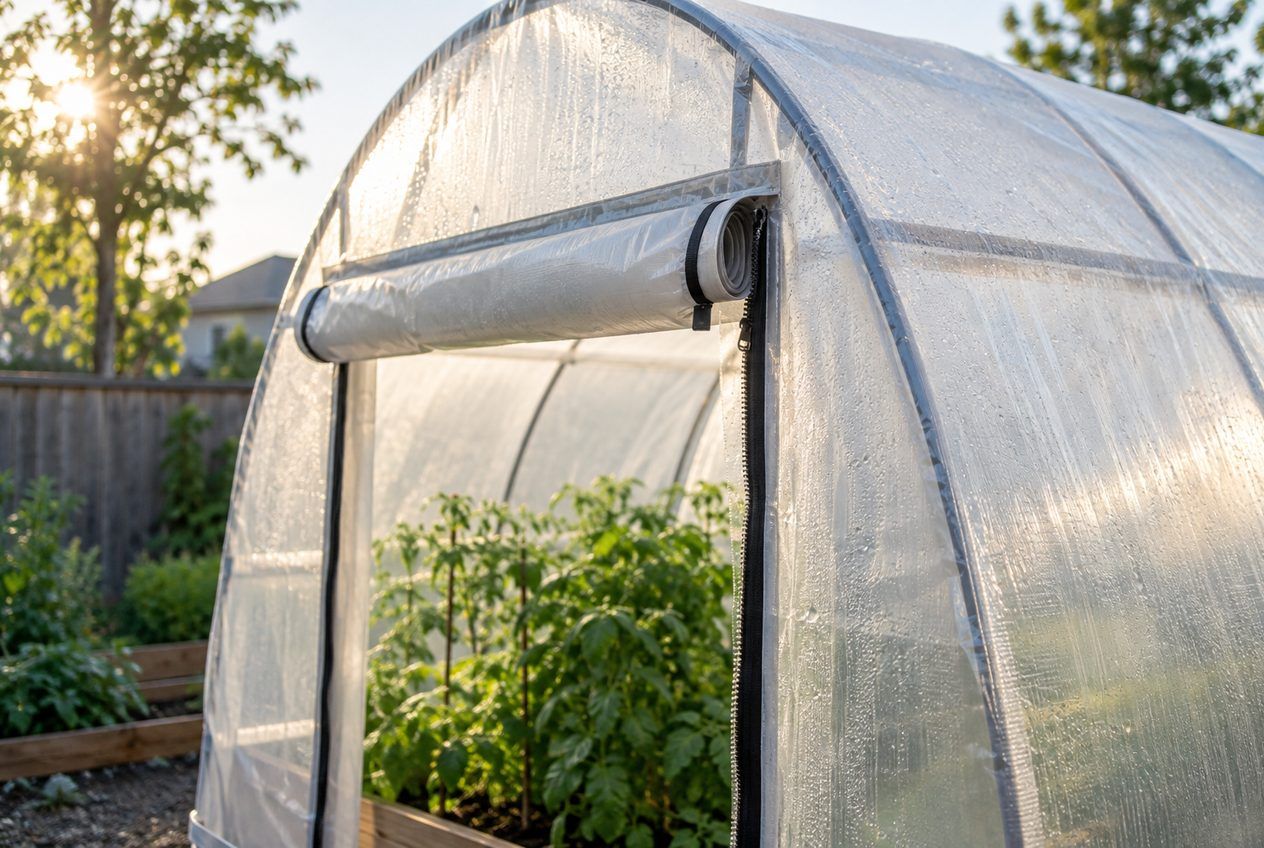
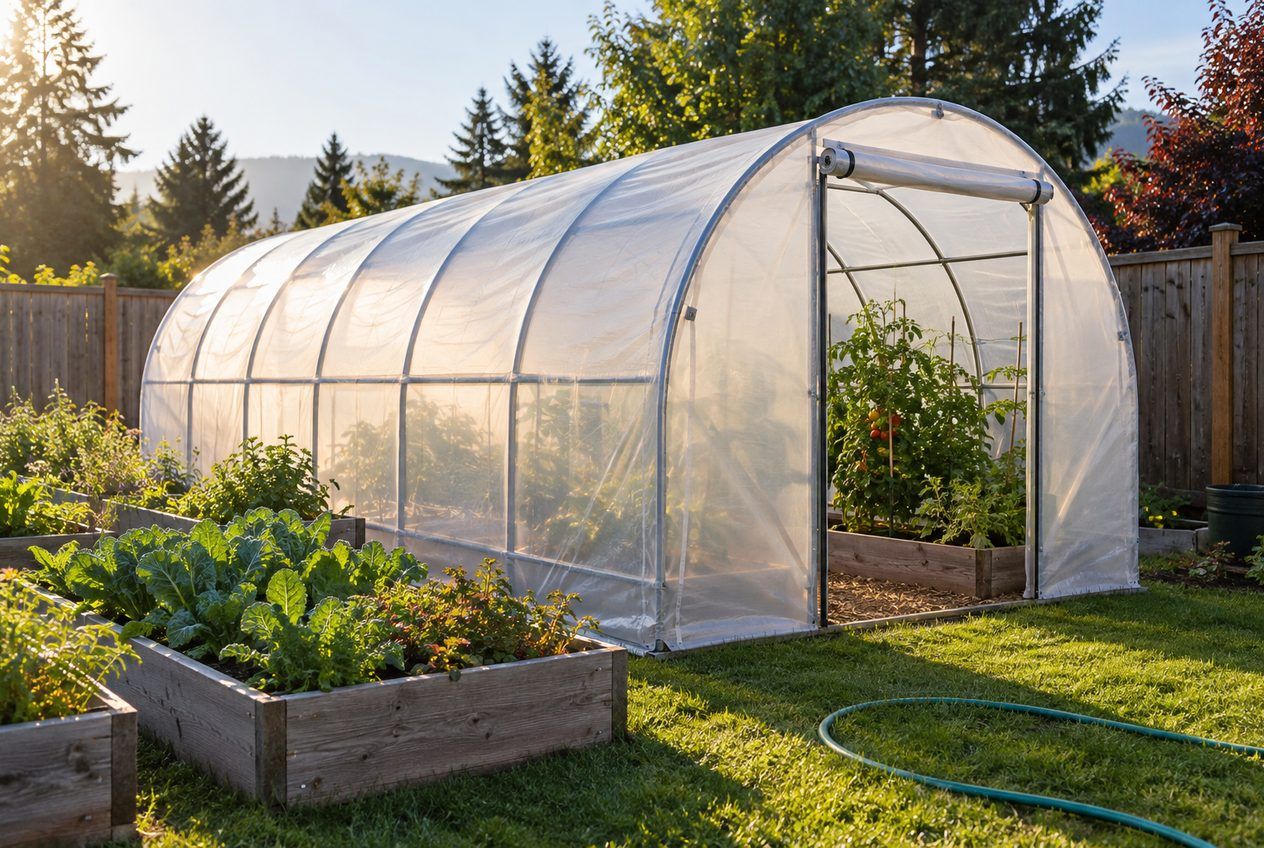
Translucent polyethylene is the workhorse. It is inexpensive, it diffuses light well, and it is easy to re-tension. On the hoop-style greenhouses it is held down with bungee cords or ratchet tie-downs, which means you can strip it off in November and store it dry — the single best thing you can do for its lifespan. Expect several seasons of service, longer if you take it down over winter.
Light-diffusion fabric is the step up on the compact walk-in models. The one-piece triple-layer ripstop covers used on the Miracle-Gro greenhouses scatter incoming sunlight rather than letting it fall in hard beams, which reduces leaf scorch and gives you more usable growing area at the edges of the bench. Diffused light also means fewer hot spots on a bright day in June.
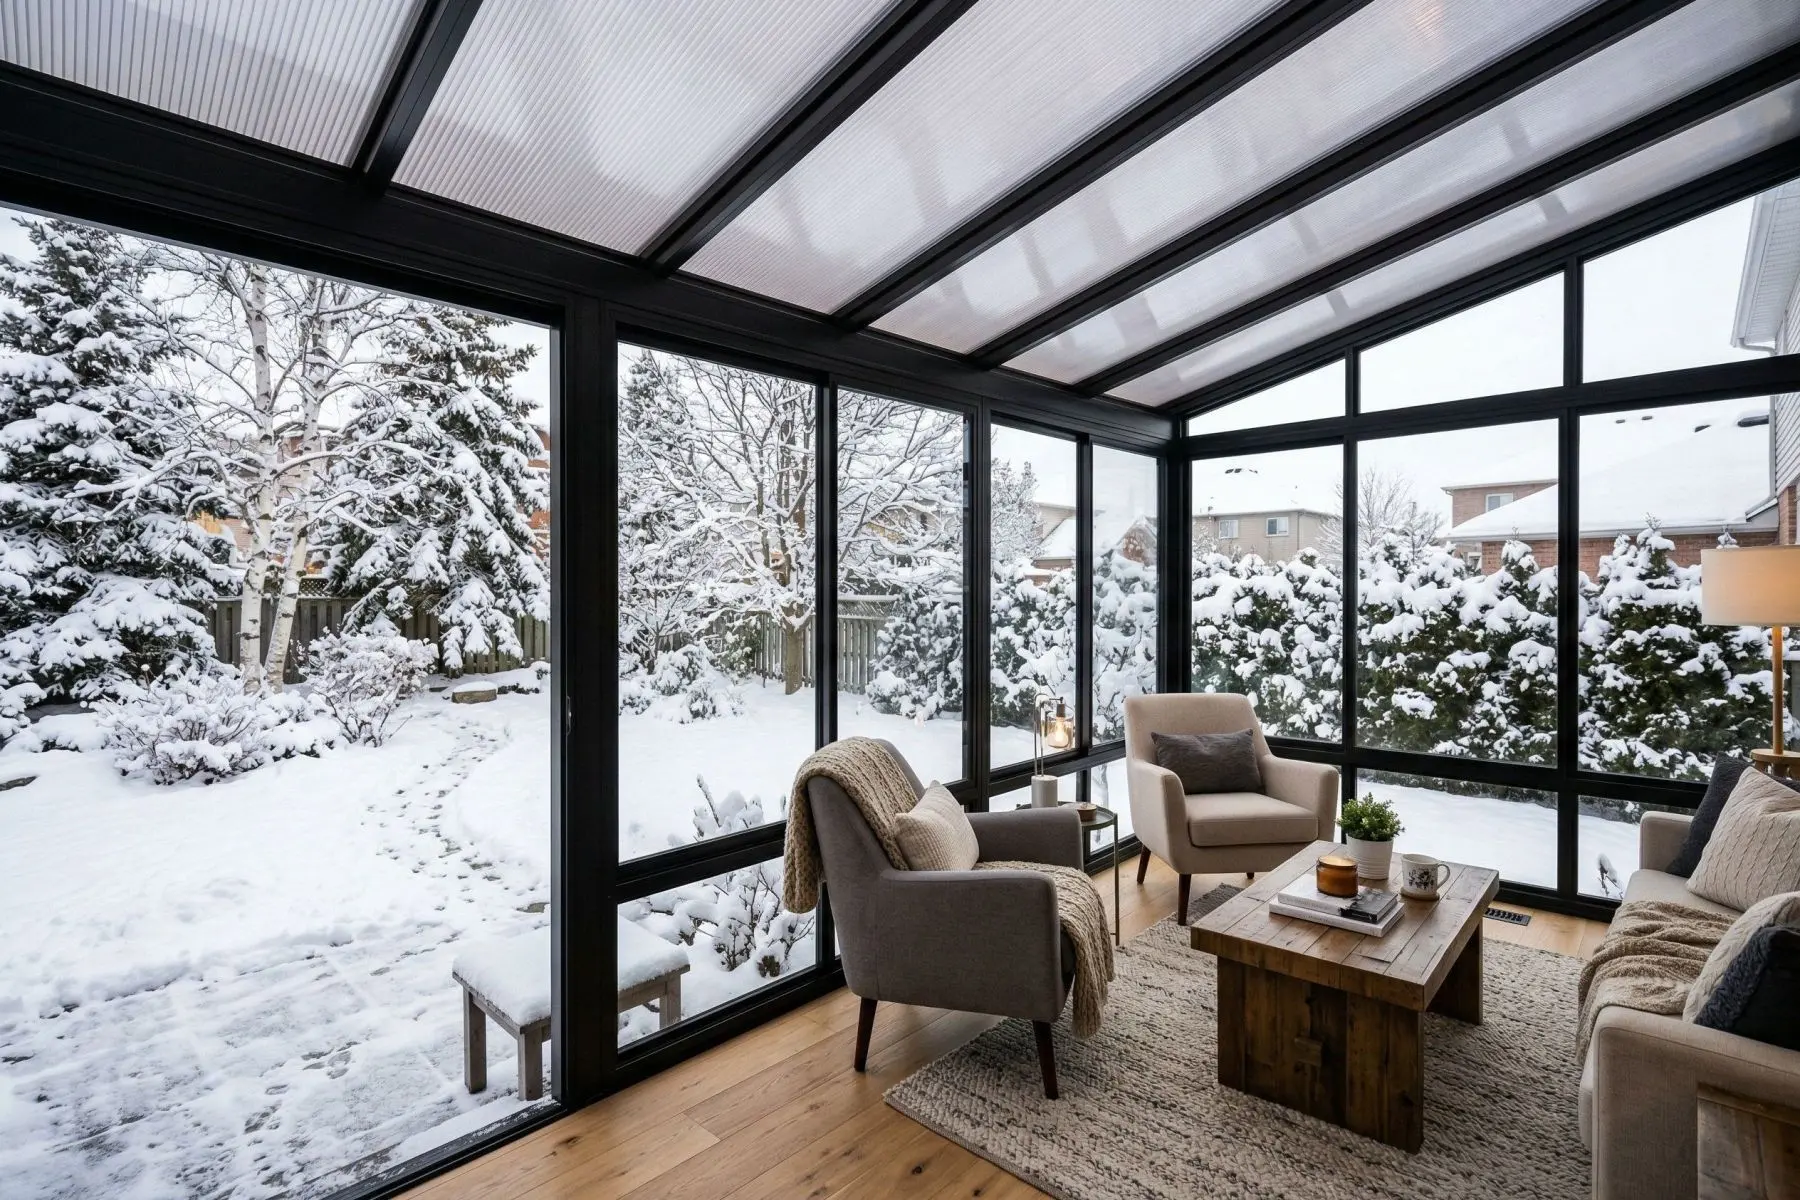
Polycarbonate panels are rigid, hold heat better than a single skin of film, and do not flap, tear or need seasonal removal. They are also the most expensive option and the heaviest to install. Choose panels if you want a structure that stays up all year and still looks intentional from the kitchen window — and if you are ready to give it a proper anchored base.
Whatever the material, look for UV treatment on the outer face. Untreated film degrades quickly under the long daylight hours of a Canadian summer, and a cover that has gone brittle will split at the first ice storm.
Frames, Snow and Wind: Building for a Canadian Winter
Rib count is the number worth checking. A three-rib frame is fine for a 6 x 8 ft or 10 x 10 ft footprint in most of southern Canada; a six-rib frame, like the one under the 12 x 20 ft Heavy Duty model, is what you want when the structure is long enough that a snow load has somewhere to accumulate. All-steel frames with powder coating resist the corrosion that comes from constant condensation inside a humid greenhouse.
Products in this guide
The honest advice for hoop greenhouses in snow country: plan to take the cover off. Snow slides off peaked and rounded profiles reasonably well, but a wet March snowfall in Ontario or Quebec can dump 20 to 30 kg per square metre in a night, and no fabric-covered hobby structure is rated for that with the cover on. Stripping the cover in late fall and leaving the bare frame standing takes an hour, costs nothing, and is the difference between a five-year greenhouse and a one-year one. If you want a structure that genuinely stays up through the winter, that is the argument for polycarbonate panels on a rigid frame — the same logic that applies to choosing carports and garages over lighter shelters.
Wind matters as much as snow. An empty greenhouse is a very effective sail, and on the Prairies or an exposed lakeshore lot it will move if it is not held down properly.
Siting, Anchoring and What to Put Inside
Give the greenhouse the sunniest spot you have, with the long axis running roughly east to west so the broad side faces south. Aim for at least six hours of direct sun; morning sun is worth more than late-afternoon sun because it warms the space when it is coldest. Keep it clear of tree drip lines, away from where snow slides off the house roof, and close enough to a tap that watering does not become a chore by July.
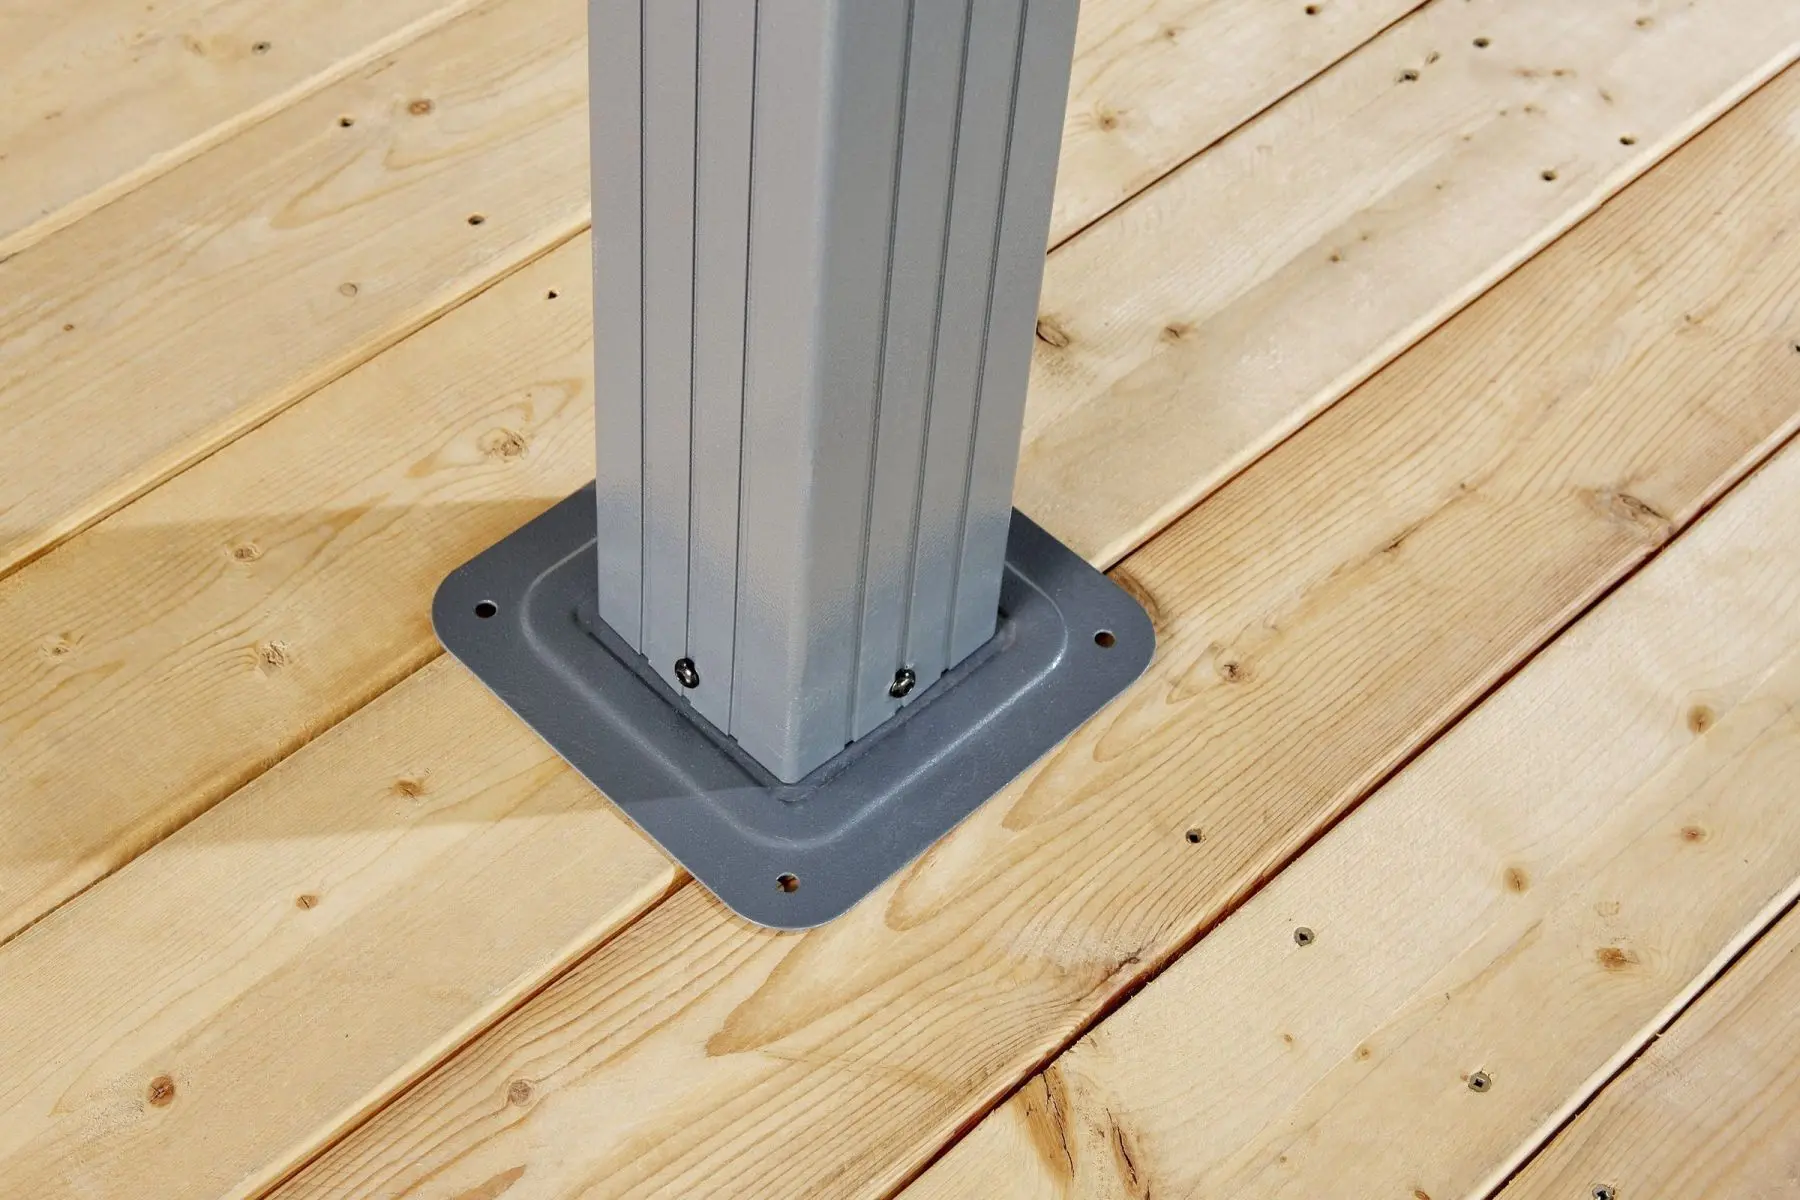
Anchor it properly. The kits ship with auger anchors — 15-inch on the smaller models, 30-inch on the heavy-duty ones — and those are sized for turf, not for a windy corner lot. On grass, drive every anchor the manufacturer supplies and add ratchet tie-downs over the cover. On a deck, gravel or concrete you will need different hardware entirely; the same surface-by-surface anchoring rules that apply to a gazebo apply here.
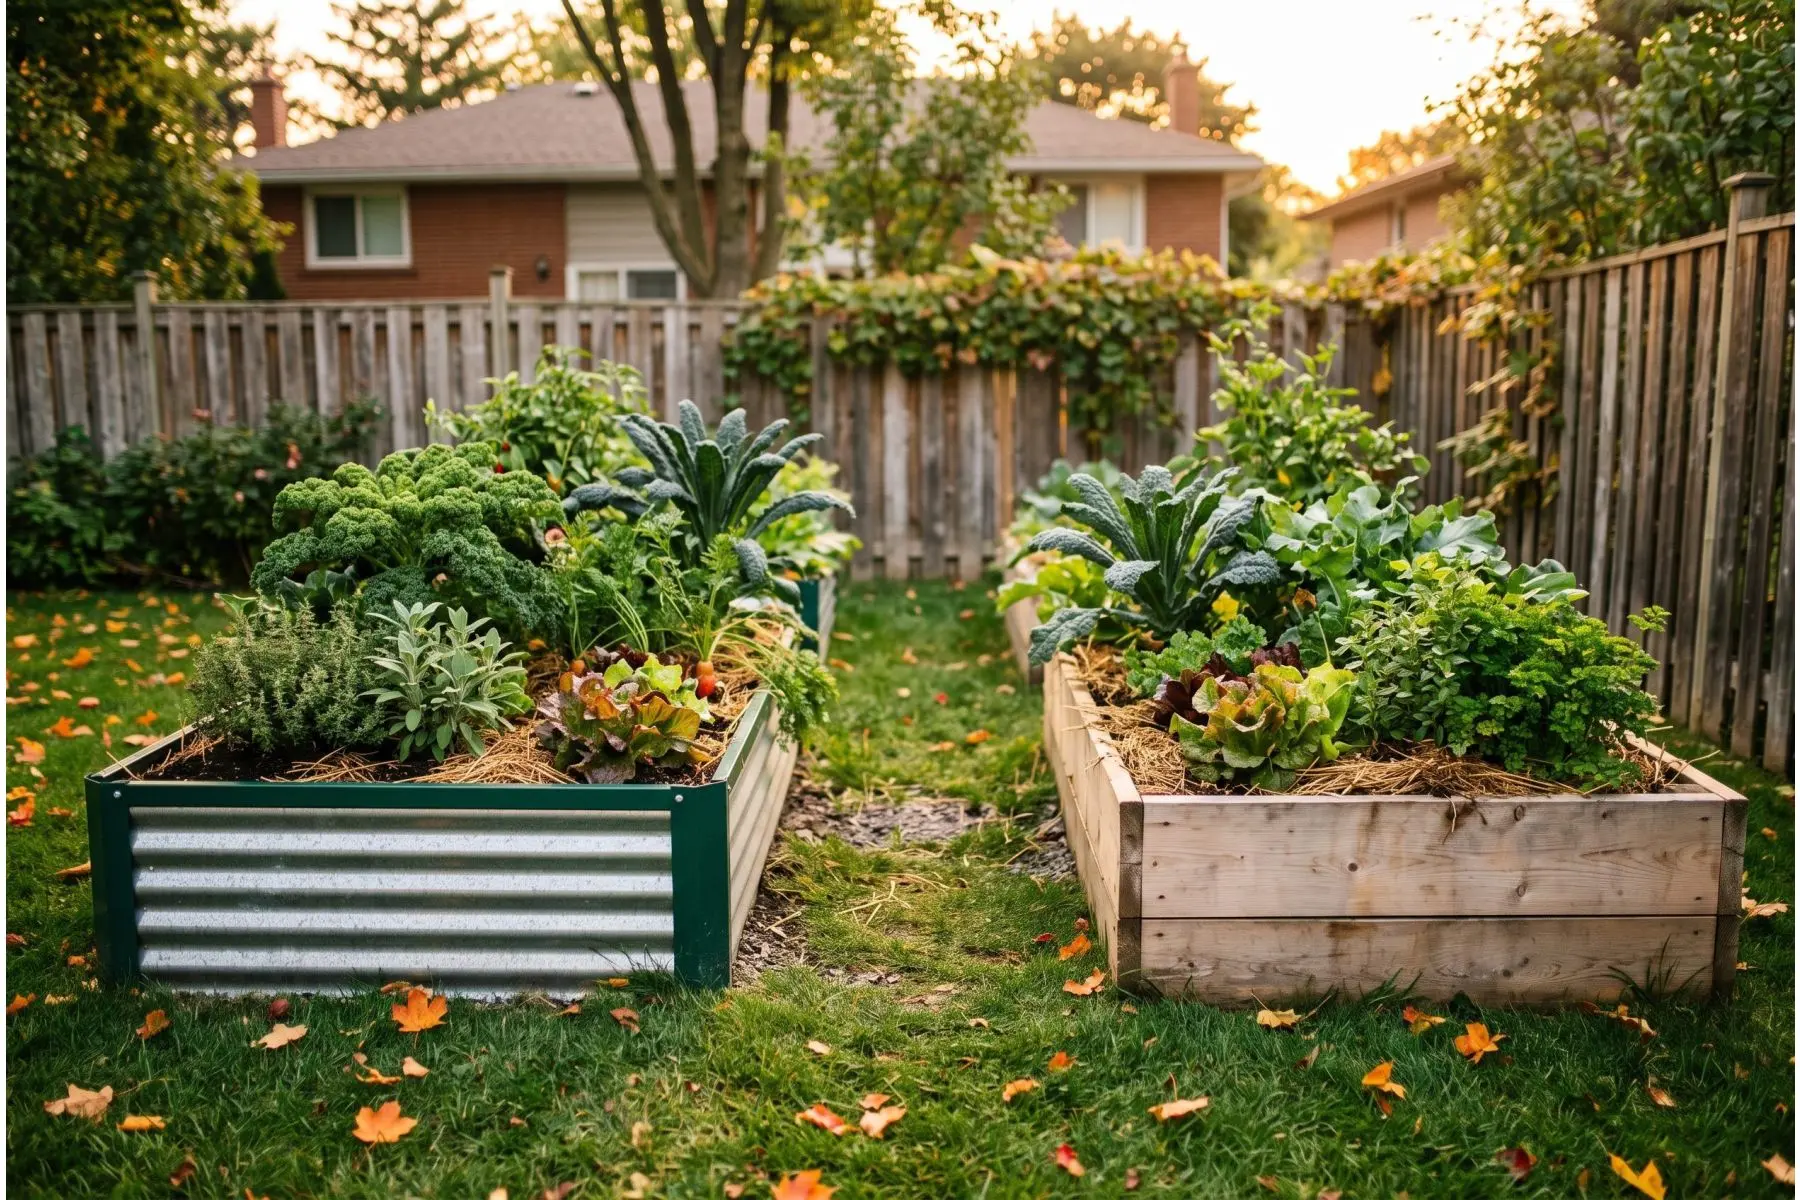
Inside, the two upgrades that pay off immediately are shelving and ventilation. Tiered benching doubles your usable area — the Sojag 7x8 ft. Greenhouse Shelf Kit, for instance, wraps two tiers of rustproof aluminum shelving around the whole interior. For ventilation, open both ends on any day above about 25 °C; a closed greenhouse in full July sun can climb 20 degrees above ambient and cook everything in it. A max-min thermometer costs almost nothing and will teach you more in one week than any guide can. Raised beds inside the footprint warm faster than in-ground soil, and planters on the benches let you rotate plants out as they harden off.
Frequently Asked Questions
Can I leave a backyard greenhouse up all winter in Canada?
With a fabric or polyethylene cover, no — not safely in most of the country. Take the cover off in late fall, store it clean and dry, and leave the steel frame standing. Wet snow loads are what destroy hobby greenhouses, and a bare frame lets them slide off harmlessly. If you want a structure that stays fully assembled through the winter, choose a rigid polycarbonate-panel greenhouse on an anchored base instead.
What size greenhouse do I need for a family vegetable garden?
A 6 x 8 ft greenhouse handles seed starting and overwintering for a typical household vegetable plot, and usually ships with shelving included. If you want to grow crops to maturity inside rather than just raise transplants, step up to 10 x 10 ft so you have room for two beds and an aisle. Almost nobody regrets going one size larger; plenty of people regret going one size smaller.
How much extra growing season does a greenhouse actually give you?
Unheated, expect roughly four to six weeks at each end of the season — so a Zone 5 garden with a mid-May to early-October frost window effectively behaves like Zone 6. Adding a simple heat source or thermal mass such as water barrels pushes that further. The bigger gain for most gardeners is the ability to start seeds in March, which brings the first tomato harvest forward by a month or more.
Do I need a permit to put a greenhouse in my backyard?
It depends on your municipality. Many Canadian cities exempt accessory structures under a set floor area — often around 10 to 15 square metres — from a building permit, but setback rules from property lines almost always still apply, and some neighbourhoods have covenants about what can be seen from the street. Portable, non-permanent hoop greenhouses are usually treated more leniently than foundation-mounted panel structures. Call your local building department before you order a large one.
Choosing Your First Greenhouse
Start with the honest question of what you want out of it. If the answer is "stop losing seedlings on the windowsill", a mini greenhouse on the patio does that for the price of a few flats of transplants. If it is "grow real food for longer", a 6 x 8 ft walk-in with a translucent polyethylene cover and built-in shelving is the size that suits most Canadian backyards, and it will pay for itself in transplants alone within two or three seasons. If you are already gardening seriously and the limit is space, go to a 10 x 10 or 12 x 20 hoop with a heavier rib count. And if you want a permanent structure that stays up through the snow and looks like part of the house, polycarbonate panels on a rigid frame are the only honest answer.
Whichever way you go, budget for the things that make a greenhouse work rather than just stand: proper anchoring for your surface, ventilation you will actually use, shelving to double the floor area, and raised beds or planters sized to the footprint. Browse our greenhouses to compare sizes side by side, and pair one with the plant support and protection gear that keeps the season going once the nights turn cold.